Loading ...
Loading ...
Loading ...
English
38
Note:
•
If the cover of DVD insertion block is open, the ACCESS/PC indicator will blink when an image is displayed on the LCD
monitor screen: In this case, the DVD video camera/recorder will not turn off even if the power switch is set to “OFF”.
If the cover remains open after a while, the DVD video camera/recorder will automatically turn off.
• Disc cannot be inserted or removed unless a charged battery or AC adapter/charger is connected to the DVD
video camera/recorder.
• If there is some delay before recording starts, refer to “Troubleshooting” on page 145.
• Do not close the cover if a disc is not properly loaded on the turntable.
• If a single-sided disc is inserted into DVD video camera/recorder with the printed label facing the inside, an error
message will appear. Remove the disc and reinsert it with its recording side facing the inside. See “Trouble
Messages” on page 138.
• Do not remove the battery or disconnect the AC adapter/charger during removal of the disc or until power is
completely turned off: If you do, the disc cover will not open. If this happens, reattach the battery or AC adapter/
charger, push down the DISC EJECT button once, and then release it.
• Do not insert anything other than the 8 cm DVD-RAM/DVD-RW/DVD-R/+RW into the DVD insertion block: Doing
so could cause malfunctions.
• When inserting or removing the disc, BE SURE NOT to look into the lens in laser pickup: Doing so could damage
your eyesight.
• Close the cover of DVD insertion block gently: Using force could cause a fault.
• When using double-sided disc
Recording is possible on both sides of double-sided disc. However, when recording or playback on one side is
finished, recording or playback will not move automatically to the other side. Remove the disc once from the DVD
video camera/recorder, turn over the disc and insert it again for continued use.
The recording surfaces of double-sided disc are likely to become dirtied or scratched: Always make sure that
there is no dirt or scratch on the recording surface facing the pickup lens, and then use the disc taking great care
that it is not dirtied or scratched. Use the provided disc cleaning cloth to wipe off any dirt on disc (see page 10).
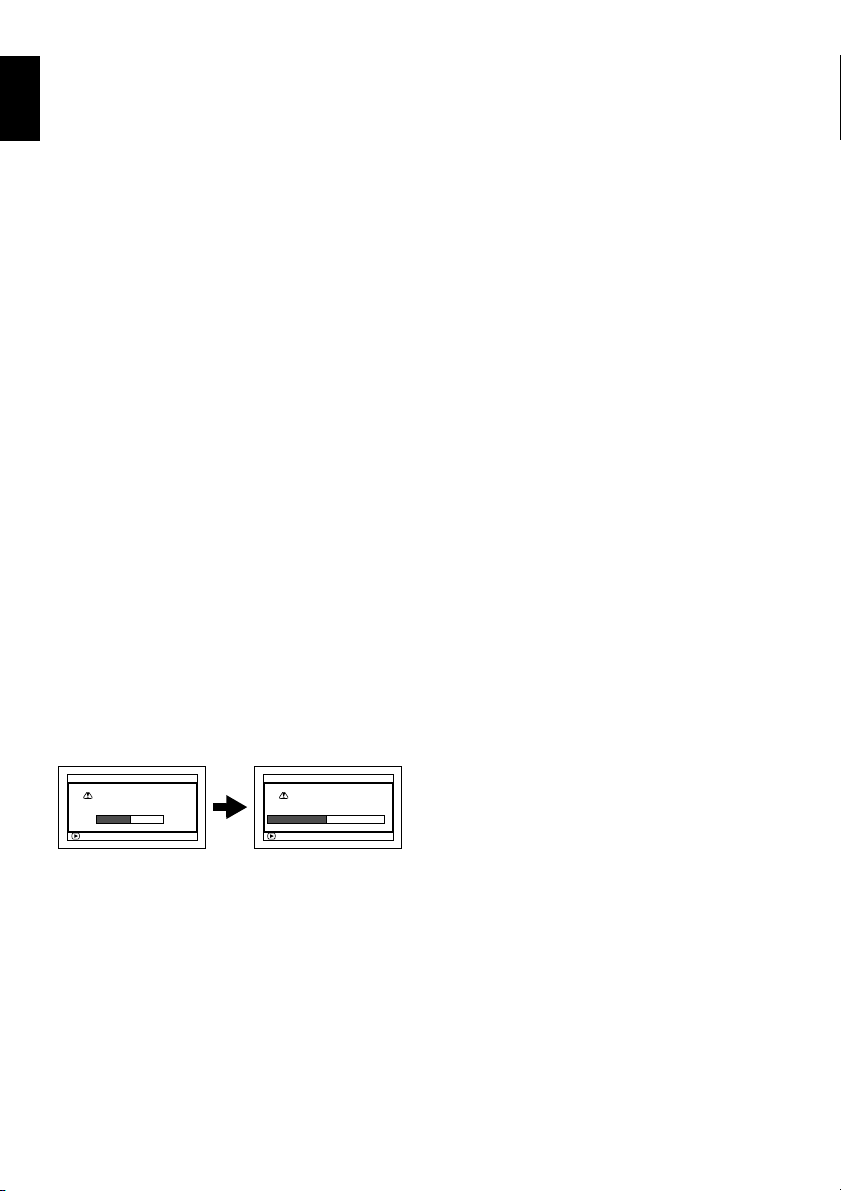
●When using brand-new DVD-RW/+RW
When a disc is first loaded in the DVD video camera/recorder, the “Format DVD” screen will
appear.
When recording on this DVD video
camera/recorder:
Choose “Yes” on the “Format DVD” screen, and
then press button.
When using DVD-RW, choose the recording
format (VR or VF mode), and then press the
button.
The disc will be formatted.
When recording data from PC:
While the “Format DVD” screen is displayed,
choose “No” and then press button, or
press the button.
However, if data from PC has not yet been
recorded, the disc can be made usable on this
DVD video camera/recorder. When inserting
the disc into this DVD video camera/recorder,
the same message will appear: If you wish to use
it on this DVD video camera/recorder, choose
“YES”.
(When using DVD-RW)
ENTER
DVD Format.
Select record for
m
at.
For
m
at DVD
VR
M
ode VF
M
ode
ENTER
For
m
at DVD
YES NO
DVD is not formatted.
Format the DVD now?
Loading ...
Loading ...
Loading ...