Loading ...
Loading ...
Loading ...
Function
38
6. Set IP address of PC and set that of projector to be in the same width with PC.
Press the ∧,∨ button to change number, and the <,> to move to next category
IP Address Subnet Mask Gateway
PC 192.168.0.10 255.255.255.0 192.168.0.1
Projector 192.168.0.5 255.255.255.0 192.168.0.1
IP Address
Subnet Mask
Gateway
1 9 2 . 1 6 8 . 0 0 0 . 0 0 5
2 5 5 . 2 5 5 . 2 5 5 . 0 0 0
1 9 2 . 1 6 8 . 0 0 0 . 0 0 1
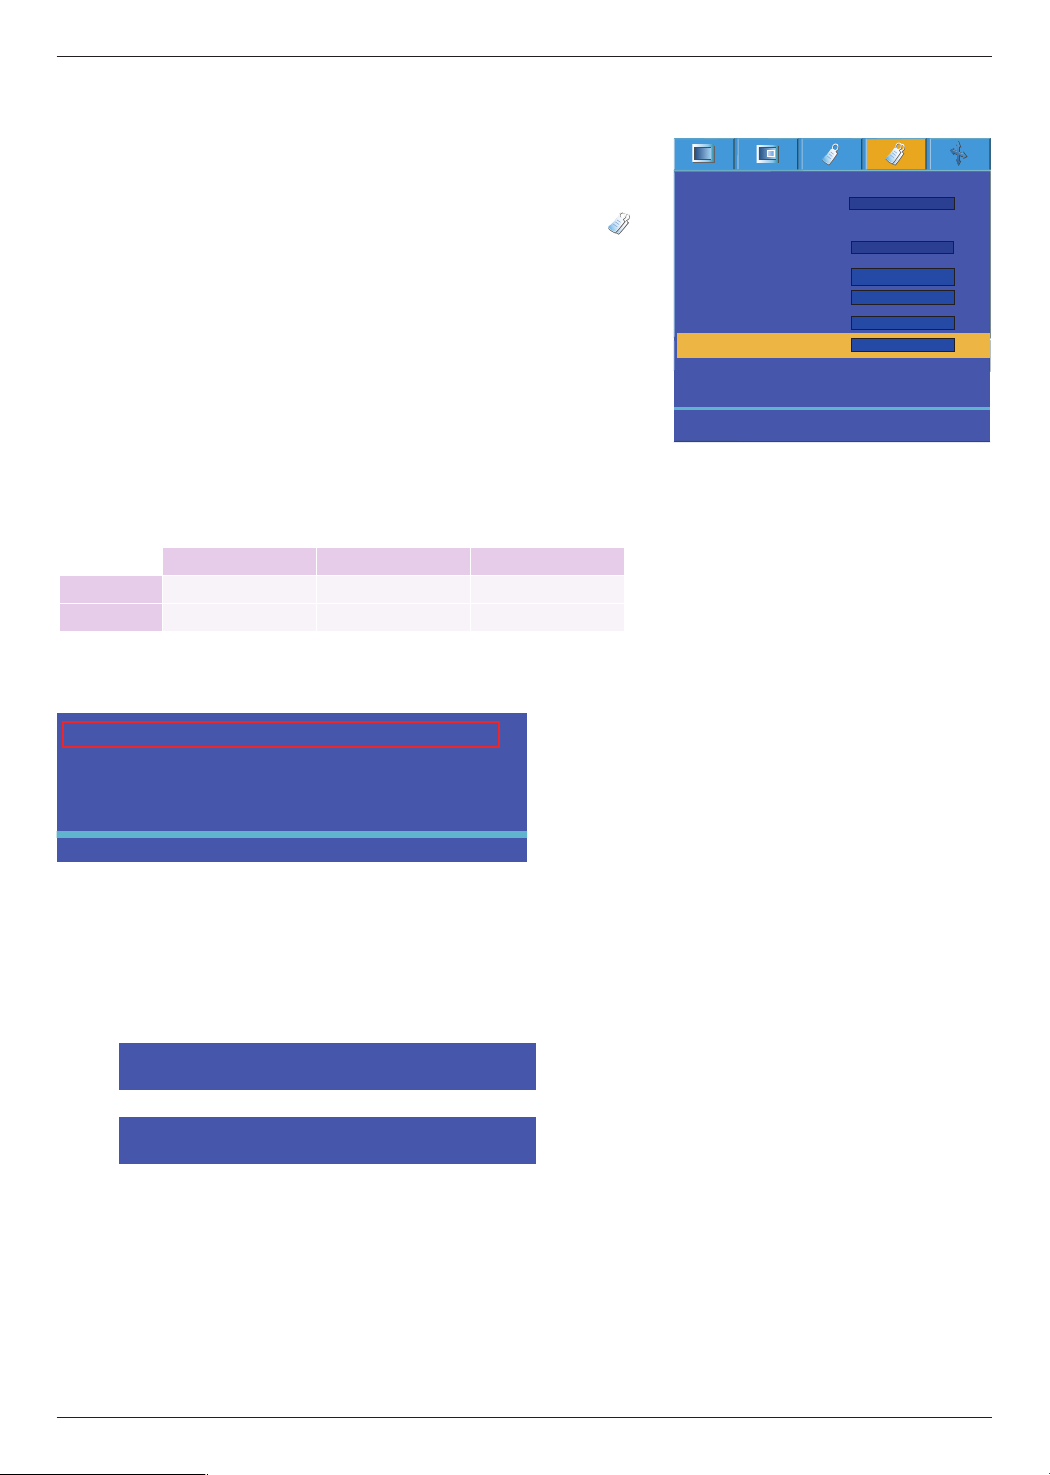
< Method >
1. Press the MENU button and then use <,> button to select the
menu.
2. Press the ∧,∨ button to select Communication.
3. Press the <,> button to select LAN.
4. Press the ∧,∨ button to select Network Setting.
5. Press the <,> button to select Manual setting.
Manual setting
• Press menu button to go back.
IP setting in progress, Please wait…
IP setting is succeeded.
7. Press ◉ confirm button after IP setting.
IP address is saved.
8. Network setting is done manually
ꘀ
Prev.
<> Move
Adjust
Press OK Key
ꕌ
ꕍ
ꘀ
Prev.
<> Move
◉
OK
Keystone
Blank Image
Screen Capture
Lamp mode
Monitor Out
Communication
Set ID
Network Setting
High Altitude
Lamp Time
RGB1
LAN
1
>
<
>
<
>
<
>
<
>
<
Manual
>
<
0 Hr
Black
High bright
Loading ...
Loading ...
Loading ...