Loading ...
Loading ...
Loading ...
Function
26
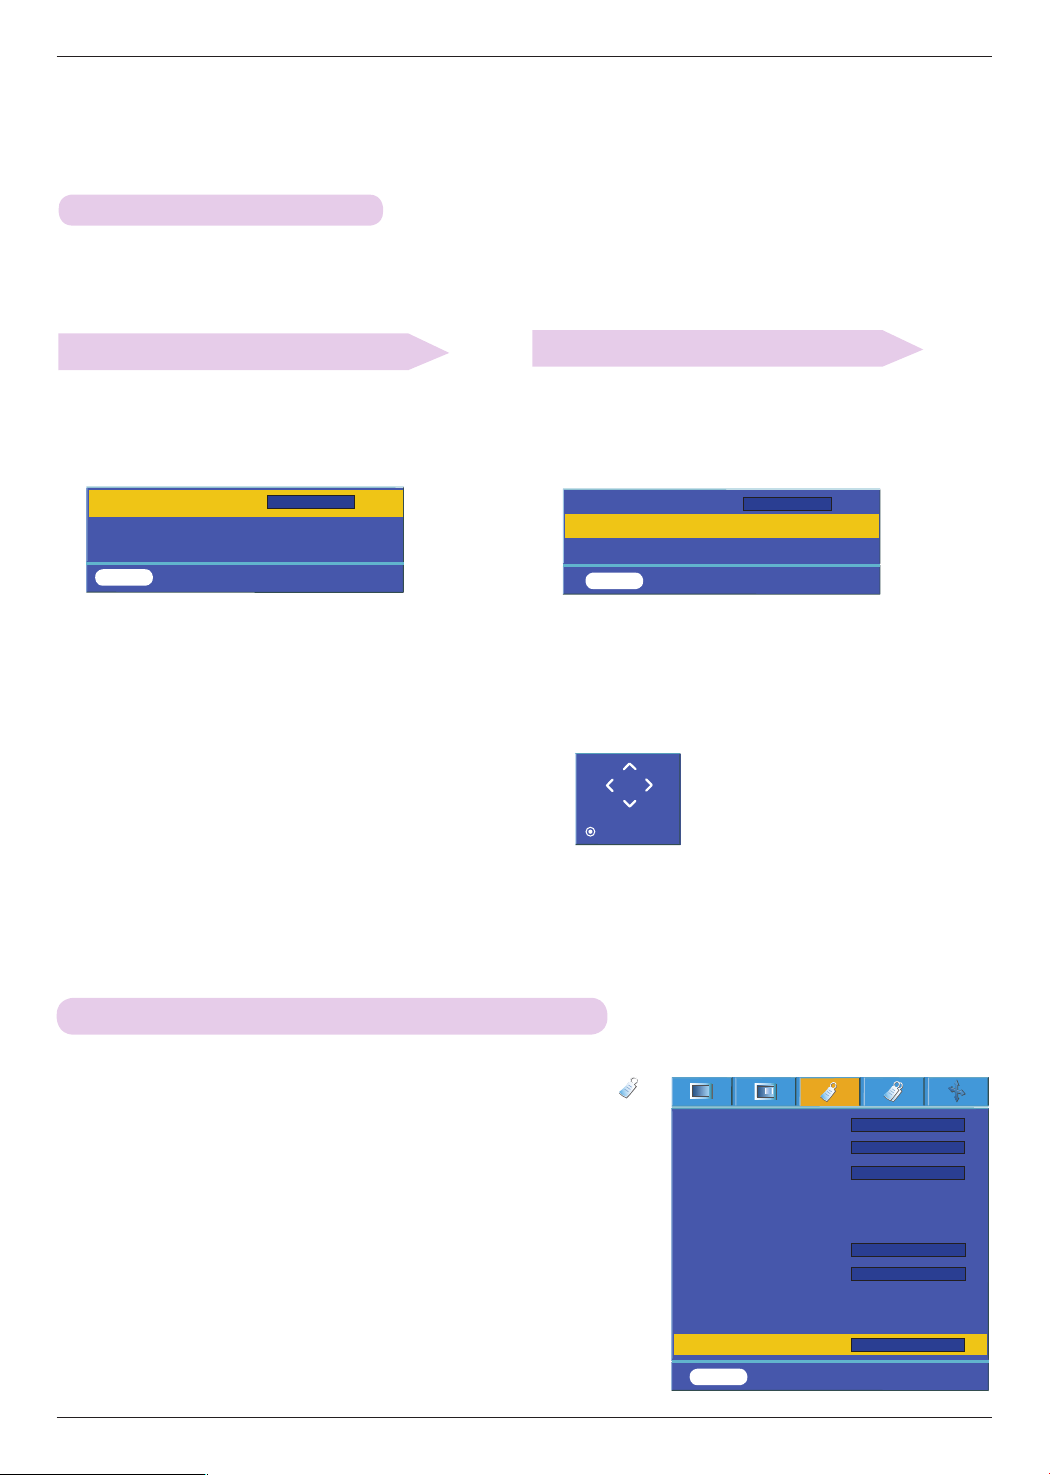
Using the Digital Zoom Function
Adjusting the Zoom
Adjusting the Position
* This function is available only in RGB input mode. The Zoom -/+ and Position values return to their default when you
change the SOURCE or input signal, or turn the power off.
1. Press the ZOOM button on the remote control.
2. Press the ∧,∨ button to select Zoom -/+ item.
1. Press the ZOOM button on the remote control.
2. Press the ∧,∨ button to select Position item.
Zoom -/+
Position
Reset
100 %
MENU Exit Move <> Select
3. Press the <,> button to adjust Zoom -/+ to your
choice.
• You can adjust Zoom -/+ in 5% increments from 100% to
250%.
• You can also use this function by using the MENU button.
• Press the EXIT button to exit the menu screen.
3. Press the ◉ OK button. When the window below
appears at the bottom right corner of the screen, press
the ∧,∨,<,> to adjust the position. When the arrow
turns black, maximum adjustment has been reached
and no further adjustment can be made.
• Position is activated only when Zoom -/+ is set to more than
105%.
• You can also use this function by using the MENU button.
• Press the EXIT button to exit the menu screen.
Prev.
ꕌ
ꕍ
>
<
Zoom -/+
Position
Reset
110 %
MENU Exit Move ◉ OK
Press OK to Start
>
<
ꕌ
ꕍ
1. Press the MENU button and then use <, > button to select the
menu.
2. Press the ∧, ∨ buttons to move to Auto Power and press the ◉OK
button.
3. Press the ∧, ∨ buttons to move to On and press the ◉OK button.
• On : Connecting
power cord
to the projector turns on the projector.
• Off : Connecting
power cord
to the projector makes the projector in standby
state.
• Press the MENU button twice or the EXIT button to exit the menu screen.
To make the project turn on when power is applied
Language
Aspect Ratio
Overscan
Flip horizontal
Flip vertical
Sleep time
Auto sleep
Presentation timer
Digital Zoom
Auto Power
English
4 : 3
10%
60 Min
Off
MENU Prev. Move ◉ OK
ꕌ
ꕍ
Off
>
<
>
<
>
<
>
<
>
<
>
<
Loading ...
Loading ...
Loading ...