Loading ...
Loading ...
Loading ...
Function
30
Auto configure Function
Screen Menu Options
* Auto configure is the function that finds optimal video condition by automatically adjusting width and calibration of internal
signal of the projector and various graphic signal of PC in RGB mode.
* Auto configure operates only for RGB input.
When executing auto configure during video playback of PC graphic signal, the projector may not be
able to find optimal video condition. Please execute auto configure in freeze frame.
ꘀ
Prev.
Move
◉ OK
1. Press the MENU button and then use <, > button to select the menu.
2. Press the ∧,∨ button to select auto configure.
• It automatically configures the location of image and calibration.
3. In some cases, auto configure itself cannot find optimal video quality.
If it needs manual adjustment even after auto configure due to various PC mode
input, adjust using phase, clock, horizontal and vertical from the menu.
ꕌ
ꕍ
Auto Configure
Phase 8
Clock 0
Horizontal 0
Vertical 0
Checking lamp time
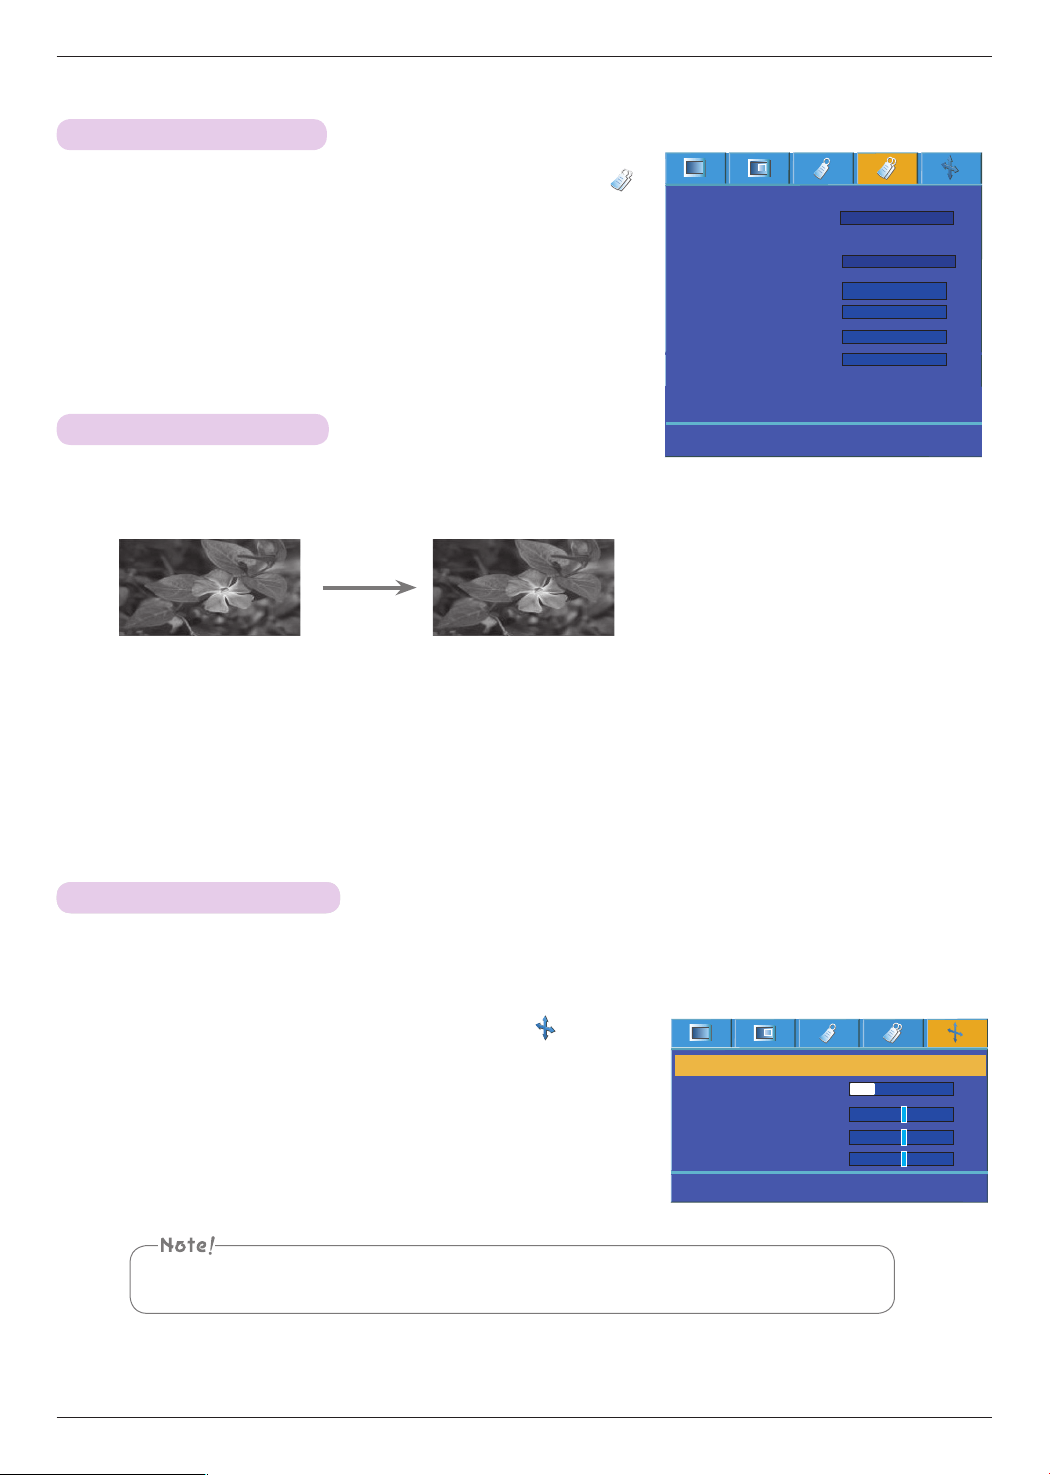
1. Press the STILL button of remote control.
• You can freeze the input image.
2. To exit STILL, press any button .
• The STILL function will release automatically after approximately 10 minutes.
Using Still Function
<Moving Image>
<Still Image>
1. Press the MENU button and then use <, > button to select the
menu.
2. You can check lamp usage hours
• Red warning lamp will light when it needs to be replaced. (Please refer page 10)
• When lamp usage hour exceeds the limit, red warning lamp is lit when the power
is turned on.
• Press the MENU button twice or the EXIT button to exit the menu screen
ꘀ
Prev.
Move
<>
Select
Keystone
Blank Image
Screen Capture
Lamp mode
Monitor Out
Communication
Set ID
Network Setting
High Altitude
Lamp Time
RGB1
Serial
1
>
<
>
<
>
<
>
<
>
<
ꕌ
ꕍ
Auto
>
<
0 Hr
Black
High bright
Loading ...
Loading ...
Loading ...