Loading ...
Loading ...
Loading ...
Suspension
(cont’d)
Servicing Your Honda 93
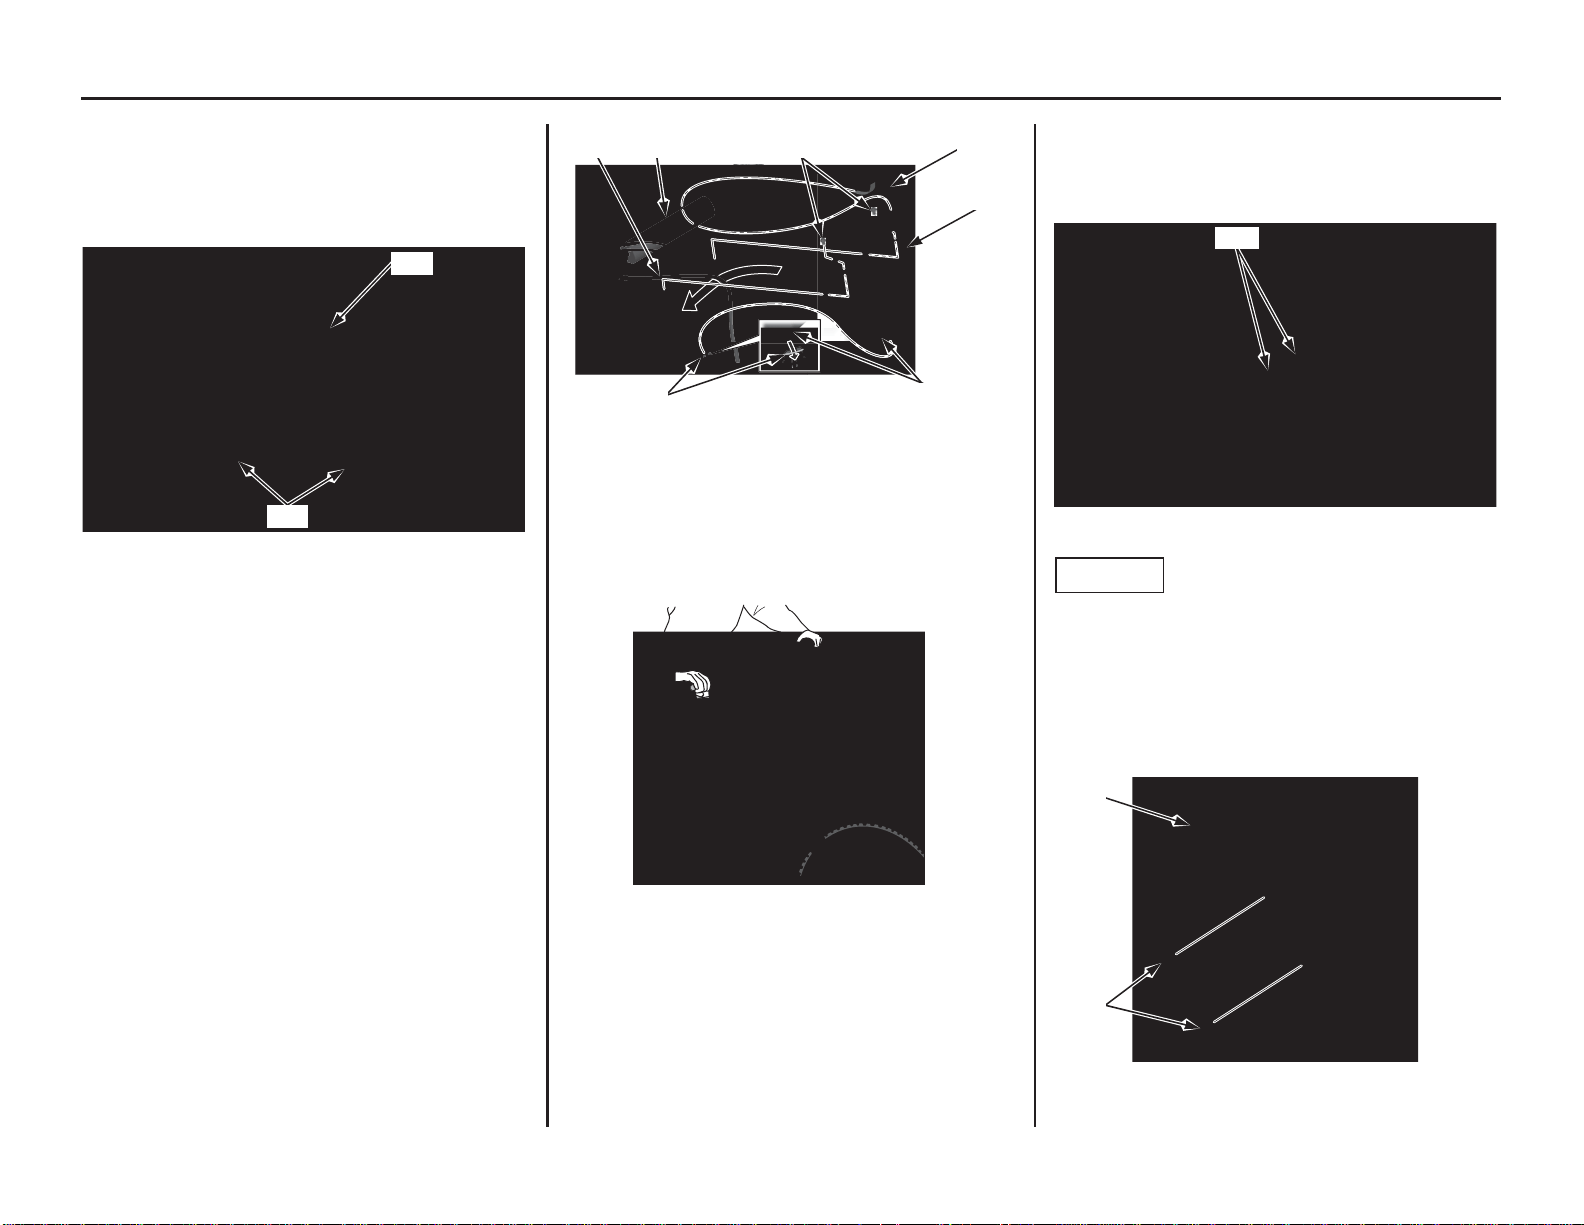
15. Install the handlebar (23), mounting rubbers,
washers and handlebar lower holder nuts (24)
and tighten the handlebar holder nuts to the
specified torque:
32 lbf·ft (44 N·m, 4.5 kgf·m)
16. Install the number plate (25) by aligning its tab
(26)
with the slit (27) on the front
fender.
Install and tighten the bolts (28).
Route the number plate tab (29) around the
handlebar pad (30) as shown. Make sure that
the brake hose (13) is routed properly in front
of the number plate.
17. With the front brake applied, pump the fork up
and down several times to seat the axle and
check front brake operation.
18. While keeping the forks parallel, alternately
tighten the right axle pinch bolts (31) to the
specified torque:
15 lbf·ft (20 N·m, 2.0 kgf·m)
NOTICE
To avoid damage when torquing the axle pinch
bolts, be sure the axle is seated firmly onto the left
fork leg clamp inner surface.
19. Install the disc cover (32) and tighten the disc
cover socket bolts (33) to the specified torque:
10 lbf·ft (13 N·m, 1.3 kgf·m)
(23) handlebar
(24) mounting rubbers, washers and handlebar lower
holder nuts
(24)
(23)
(13) brake hose (28) bolts
(25) number plate (29) number plate tab
(26) tab (30) handlebar pad
(27) slit
(29)(13) (30)
(25)
(26)(27)
(28)
(31) right axle pinch bolts
(32) disc cover (33) disc cover socket bolts
(31)
(32)
(33)
Loading ...
Loading ...
Loading ...