Loading ...
Loading ...
Loading ...
Suspension
(cont’d)
Servicing Your Honda 95
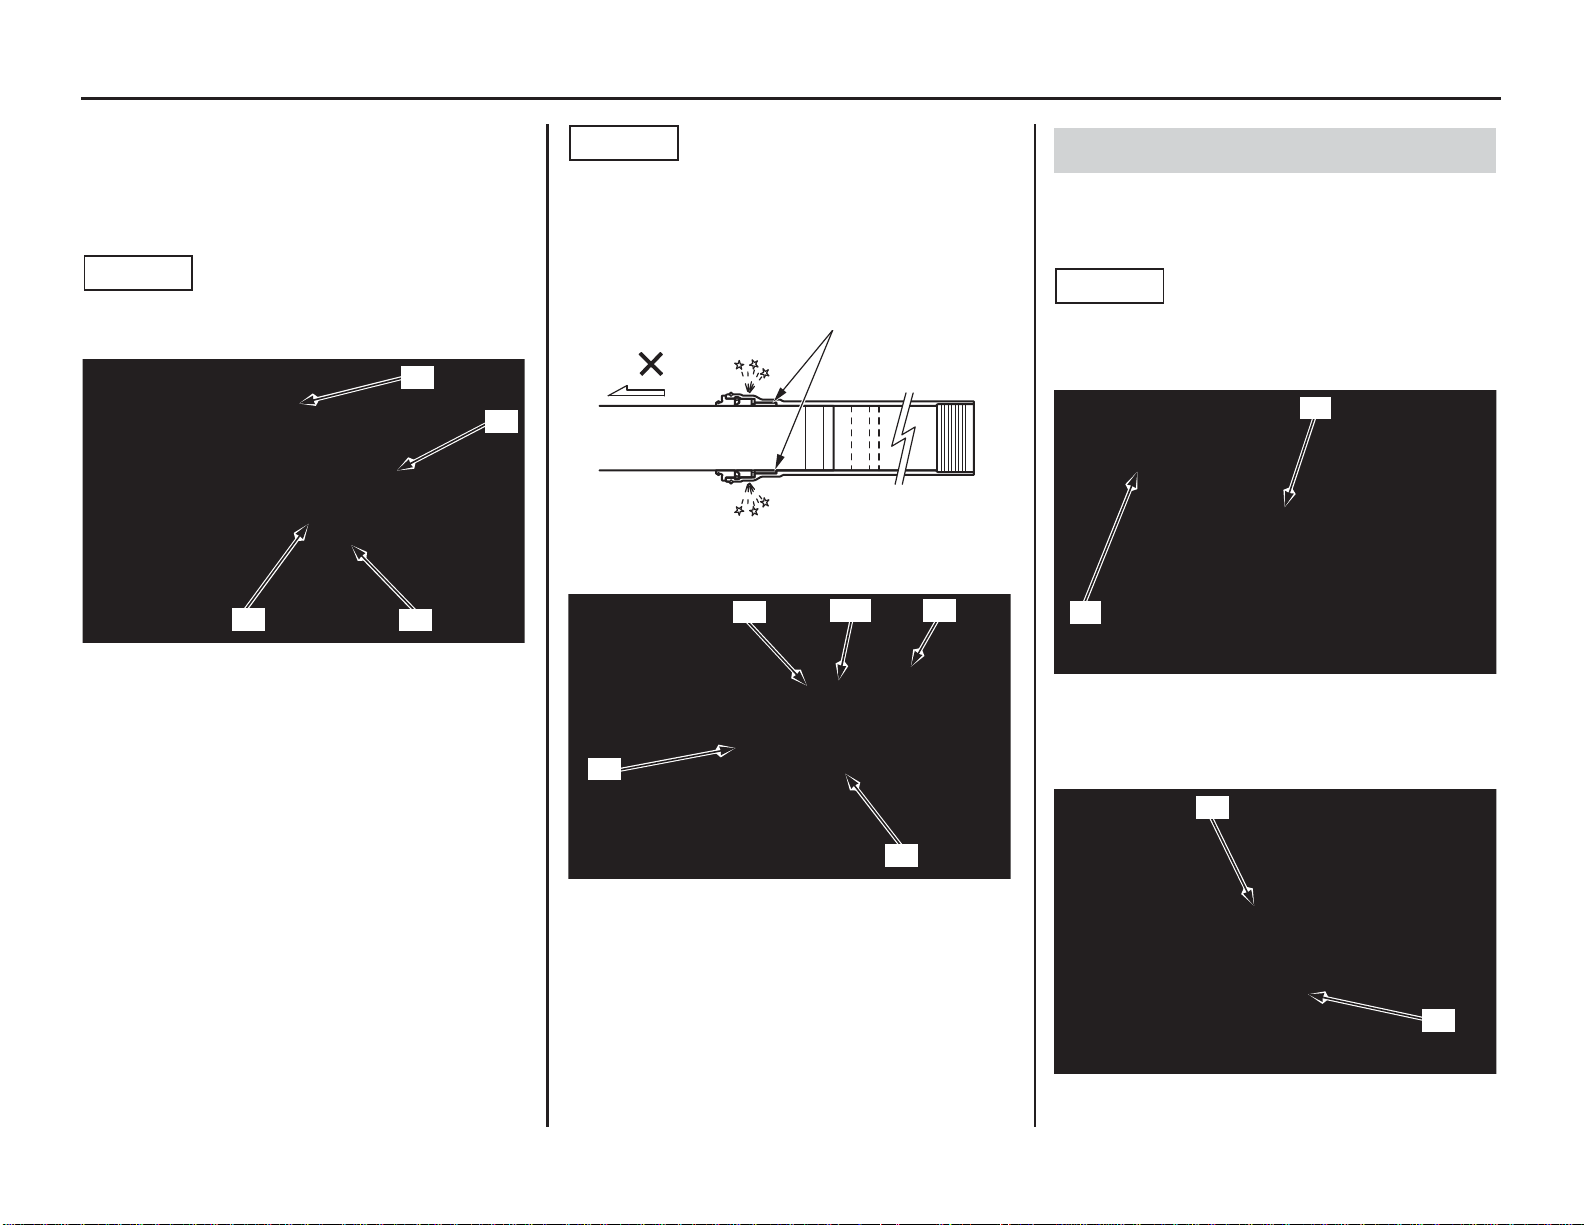
8. Remove the push rod (5) from the fork damper.
9. Remove the piston base (4) or mechanic’s
stopper tool between the axle holder (1) and
fork center bolt lock nut (3) while pushing the
fork outer tube.
NOTICE
Be careful not to damage the lock nut and fork
center bolt hole.
10. Remove the fork damper assembly (6) from
the fork assembly (7).
Remove the fork from the vise.
Remove the fork spring (8), spring seat collar
(9)
and back-up ring/seat stopper (10) from the
fork assembly.
NOTICE
Do not attempt to separate the fork assembly and
drop the axle holder out from the outer tube, which
can damage the guide bushings (12).
To avoid damage, hold both the outer tube and
slider.
1. Check the fork center bolt lock nut (1) is
installed on the fork damper piston rod (2)
properly.
NOTICE
If the lock nut was removed, the piston rod will fall
into the fork damper and you will not be able to
reassemble the fork damper.
2. Loosen the fork bolt assembly (3) while
holding the fork damper assembly (4).
(1) axle holder (4) piston base
(3) fork center bolt lock nut (5) push rod
(1)
(4)
(5)
(3)
(12) guide bushing
(6) fork damper assembly
(7) fork assembly
(8) fork spring
(9) spring seat collar
(10) back-up ring/seat stopper
(12)
(9)
(6)
(7)
(8)
(10)
Damper Oil Change
(1) fork center bolt lock nut
(2) fork damper piston rod
(3) fork bolt assembly (4) fork damper assembly
(1)
(2)
(3)
(4)
Loading ...
Loading ...
Loading ...