Loading ...
Loading ...
Loading ...
56 Working in a TI-Nspire™ CX Premium Teacher Software Classroom
The login screen shows the connection status and displays the network name when
the connection is successful.
6. Type your username and password.
7. Select Login.
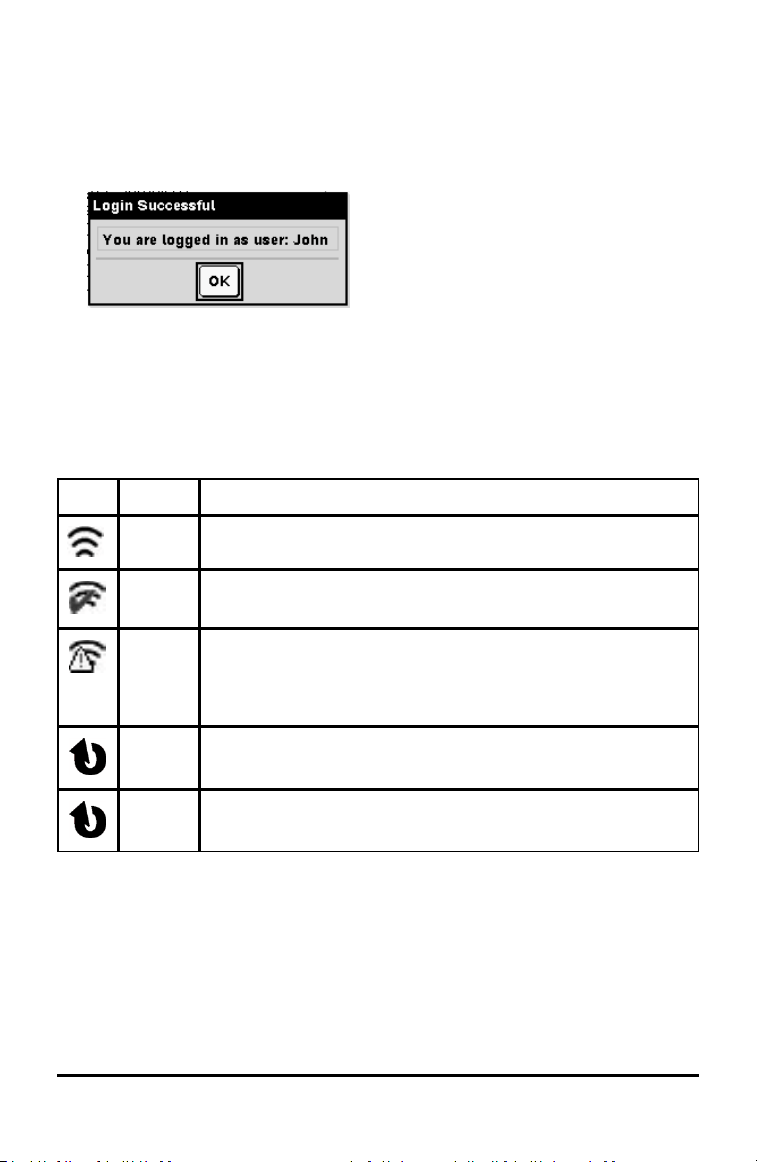
The Login Successful screen opens.
8. Click OK.
TI-Nspire™ Handheld Login Status Icons
The icons on the TI-Nspire™ CX II and TI-Nspire™ CX II CAS handheld screens indicate
the communication status between the handheld and the access point, wireless
adapter, wireless cradle, or TI-Navigator™ network. The icons indicate status as
follows.
Icon Status Meaning
Blinking The handheld is searching for an access point.
Solid The handheld has found an access point.
Solid The handheld is not communicating with the adapter or cradle.
Remove the handheld from the adapter or cradle, wait for the icon
to disappear, and then reattach the handheld to the adapter or
cradle.
Blinking The handheld is connected to the network and is ready to login.
Solid The handheld is logged in to the network.
Understanding File Transfers
During a class session, the teacher can send files to student handhelds and collect or
delete files from student handhelds.
Note: Before class starts, teachers can set up actions to send or collect files. When you
log in, the files are sent or collected. If the teacher set up actions to both send and
collect files, you will only see the dialog box for the last action completed.
Loading ...
Loading ...
Loading ...