Loading ...
Loading ...
Loading ...
First Things First
6
Auto Power Off
To conserve energy, the camera goes into “sleep” mode automatically if no buttons or
switches are pressed for approximately 2 minutes. Press the ON/OFF button on the back
of the camera to turn it back on.
Recording Pictures
Since there needs to be pictures taken before the camera will display stored files, let’s
walk through the steps to capture images.
Your camera automatically defaults to the recording mode (as indicated by the icon
on the rear LCD display) the first time it is turned on. If, for some reason, the camera is
not in record mode, quickly pressing and releasing the button near the lower right of
the LCD screen should display the record icon.
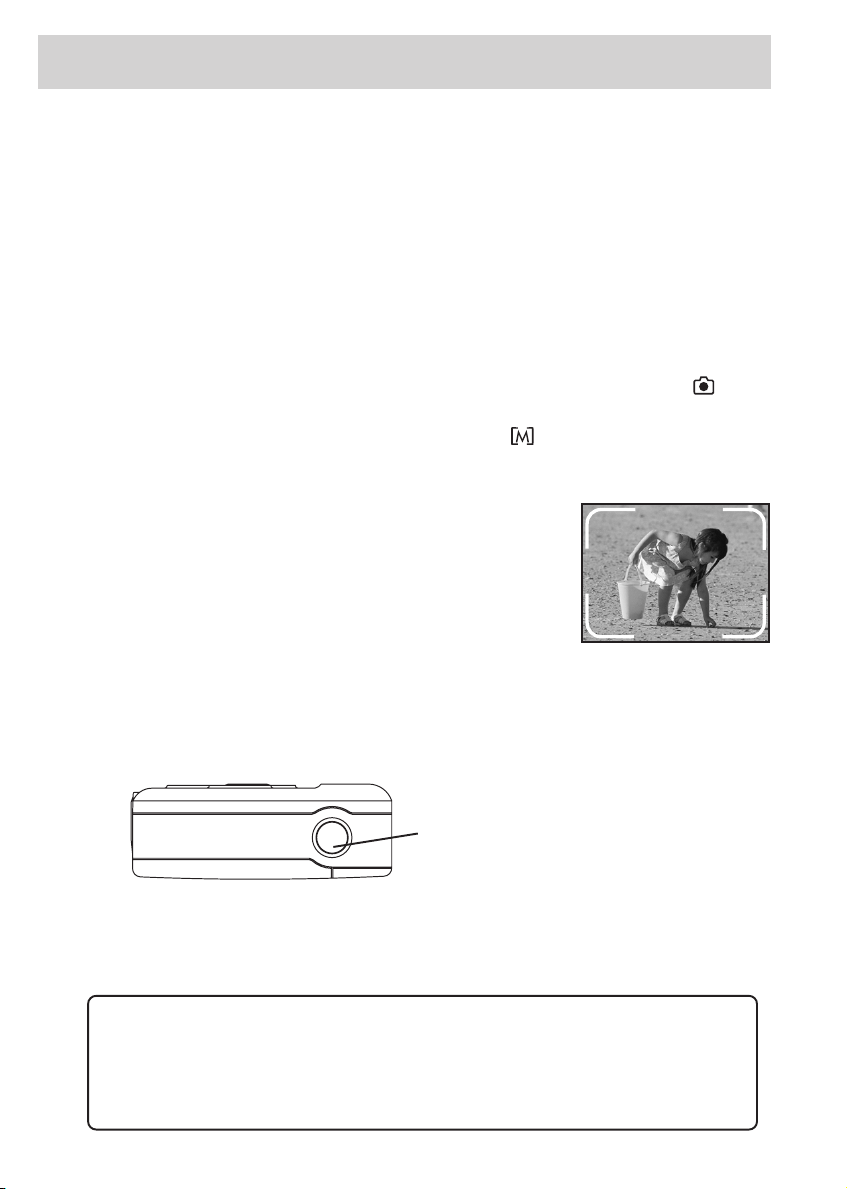
Frame Your Picture
Frame the picture with the optical viewfinder using the
marks on the edge to enclose the image you want to take.
The actual picture captured will be slightly larger than
what you see in the optical viewfinder.
Capturing Images
Center the image you want to take in the viewfinder and hold the camera still and level
while you press the shutter release button on top of the camera to capture the image.
• Do not block the lens or flash with your fingers or open the battery chamber cover.
After the picture is taken, the green light near the optical viewfinder on the back of the
camera blinks while the image is processing. The picture number on the LCD screen
may decrease by one after the picture is stored, depending on camera settings.
Shutter Release Button
WARNING: While the camera is processing, uploading, or erasing images, the
green LED light located on the back of the camera flashes. While the green light is
flashing, DO NOT remove the batteries, remove power from the camera, turn the
camera off, disconnect the camera from a computer, or perform any other
operation. This will cause fatal damage to the operating system of the camera.
Loading ...
Loading ...
Loading ...