Loading ...
Loading ...
Loading ...
www.foodsaver.ca 1-877-804-5383
12
www.foodsaver.ca 1-877-804-5383
11
Using FoodSaver
®
Vacuum Sealing Accessories
Avoid wrinkles when inserting the bag into the
Vacuum Channel (F).
Wrinkles in seal may cause leakage and allow
air to return into bag. To eliminate any wrinkles
while inserting bag, gently slide bag curl down
into the Vacuum Channel (F), and hold bag
with two hands gently stretching bag flat until
vacuum pump begins. If you find wrinkles after
sealing bag, simply cut bag open and vacuum
seal again.
If motor runs for more than 30 seconds without
stopping, consider the following:
If you are vacuum sealing with a bag,
make sure one end of the bag is properly sealed.
(See “How to Make a Bag From a Vacuum Sealing
Roll” on page 9.)
If vacuum sealing with an accessory, check
Handheld Sealer connections to ensure a
tight fit.
Removing Air from a Bag
This FoodSaver
®
model comes with a convenient,
pull-out drawer to access the Drip Tray (O).
1. Simply slide it out, then pull up on side handles
of Drip Tray to remove.
2. Drip Tray can be emptied and washed with
warm, soapy water or in the dishwasher on
the top rack.
FreshSaver
®
Zipper Bags
1. Place food into Zipper Bag. Make sure not to
put any food under valve. Press zipper closed
with finger while bag is lying down on a flat
surface.
2. Pull Retractable Handheld Sealer from appli-
ance. Place end over the gray valve on bag.
3. Push accessory button to begin vacuum
process. Motor will run until vacuum process
is complete.
Containers
1. Prepare container according to FoodSaver
®
Accessory Guidelines, which are included
with accessory purchases.
2. Pull Retractable Handheld Sealer from
appliance. Place end over gray valve
on container.
3. Push accessory button to begin vacuum
process. Motor will run until vacuum process
is complete.
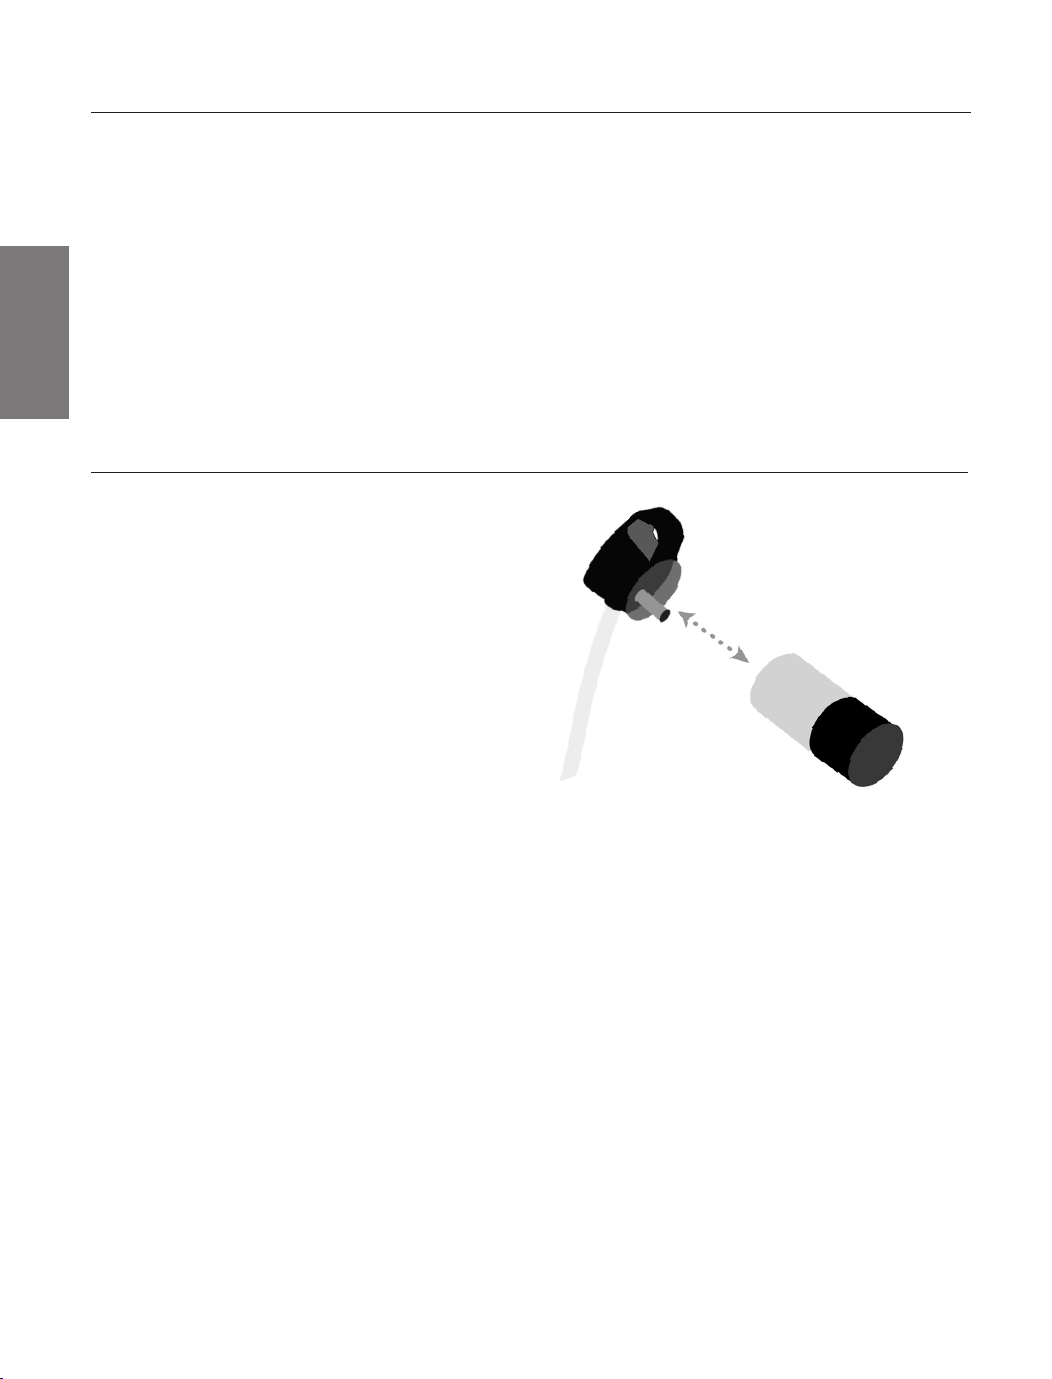
Canisters
1. Prepare canister according to FoodSaver
®
Accessory Guidelines, which are included with
accessory purchases.
2. Pull Retractable Handheld Sealer from
appliance and remove clear bottom portion of
Retractable Handheld Sealer from top handle.
Insert the end into the port on accessory. Twist
tab while inserting to ensure a tight fit.
3. Push Accessory Button to begin vacuum
process. Motor will run until vacuum process
is complete. (To Marinate, follow instructions
found in Marinating with your FoodSaver
®
Appliance section of this Guide on page 13.)
4. When motor turns off, gently twist and remove
Retractable Handheld Sealer from accessory.
Emptying Drip Tray
Fig. 1
HOW TO
HOW TO
O
Note: if you are using a canister with large white
knob, rotate knob clockwise to
the “Closed” position, then gently twist
and remove Retractable Handheld Sealer
from accessory.
5. To test vacuum, simply tug on accessory lid.
It should not move.
6. To retract Handheld Sealer, while holding
unit, gently pull to allow hose to retract into
appliance. Do not release freely as it may
damage the Retractable Handheld Sealer.
Important: When pulling hose Do Not extend
beyond green line marked on hose.
Note: Appliance should be used in vertical
orientation and not laid on its back.
Note: Appliance will time out after a couple of
minutes if vacuum cannot be reached.
FSFSSL4825-033_13EFM1.indd 11-12 7/23/13 10:07 AM
Loading ...
Loading ...
Loading ...