Loading ...
Loading ...
Loading ...
The essentials
8. Start the engine of the vehicle with the flat
b
att
er
y and wait for 2 or 3 minutes until
the engine is running.
Removing the jump leads
9. Before you remove the jump leads, switch
off the dipped beam headlights (if they
are switched on).
10.Turn on the heater blower and heated rear
window in the vehicle with the flat battery.
This helps minimise voltage peaks which
are generated when the leads are discon-
nected.
11.When the engine is running, disconnect
the leads in reverse order to the details
given above.
Make sure the battery clamps have sufficient
metal-to-metal contact with the battery termi-
nals.
If the engine fails to start, switch off the start-
er after about 10 seconds and try again after
about 1 minute.
WARNING
●
Plea
se note the safety warnings referring to
working in the engine compartment
›››
page 186.
●
The battery providing assistance must have
the same voltage as the flat battery (12V) and
approximately the same capacity (see imprint
on battery). Failure to comply could result in
an explo
sion.
●
Never use jump leads when one of the bat-
teries is frozen. Danger of explosion! Even af-
ter the battery has thawed, battery acid could
leak and cause chemical burns. If a battery
freezes, it should be replaced.
●
Keep sparks, flames and lighted cigarettes
away from batteries, danger of explosion.
Failure to comply could result in an explo-
sion.
●
Observe the instructions provided by the
manufacturer of the jump leads.
●
Do not connect the negative cable from the
other vehicle directly to the negative terminal
of the flat battery. The gas emitted from the
battery could be ignited by sparks. Danger of
explosion.
●
Do not attach the negative cable from the
other vehicle to parts of the fuel system or to
the brake line.
●
The non-insulated parts of the battery
clamps must not be allowed to touch. The
jump lead attached to the positive battery
terminal must not touch metal parts of the ve-
hicle, this can cause a short circuit.
●
Position the leads in such a way that they
cannot come into contact with any moving
parts in the engine compartment.
●
Do not lean on the batteries. This could re-
sult in chemical burns.
Note
The vehicles must not touch each other, oth-
erwi
se electricity could flow as soon as the
positive terminals are connected.
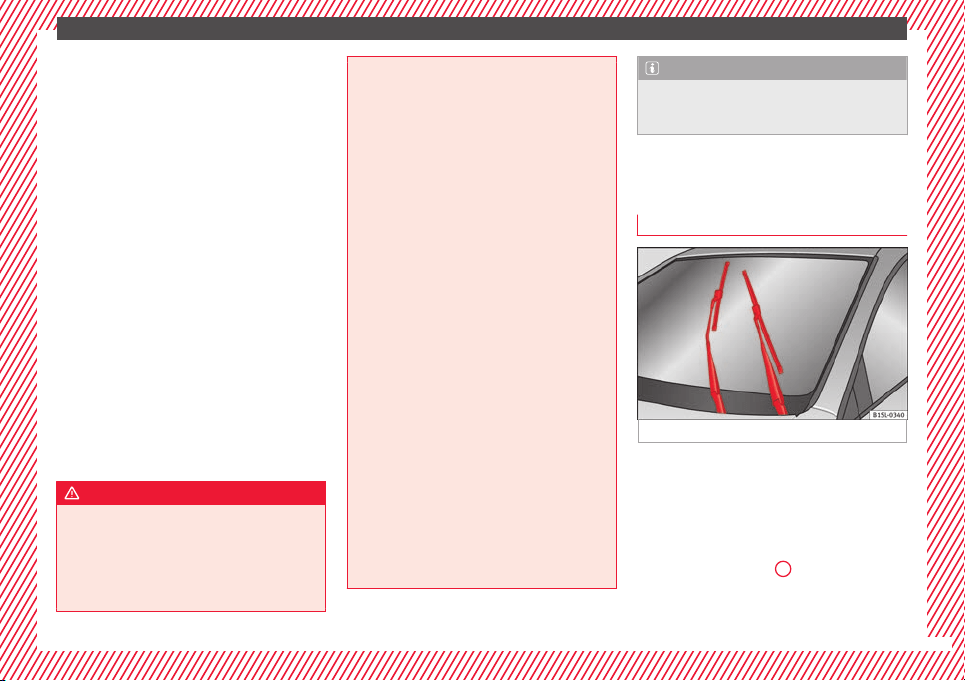
Changing the wiper blades
Winds
creen wipers service position
Fig. 61 Wipers in service position
The wiper arms can be raised when the wip-
er
s
ar
e in service position
›››
Fig. 61.
●
Close the bonnet
›››
page 186.
●
Switch the ignition on and off.
●
Press the windscreen wiper lever down-
wards briefly
›››
Fig. 32
4
.
»
45
Loading ...
Loading ...
Loading ...