Loading ...
Loading ...
Loading ...
93
Wi-Fi/Bluetooth
(ENG) DVQX1052
1 Turn on the Wi-Fi function in the setting menu.
2 On the Wi-Fi setting screen, select the SSID displayed on the
camera.
3 Start “Image App ”.
• When the connection confirmation screen is displayed on the camera,
select [Yes] to connect. (For first time connection only)
Preparations:
Set the [Wi-Fi Password] to [ON].
> [Setup] > [Wi-Fi] > [Wi-Fi Setup] > [Wi-Fi Password] > [ON]
Select the menu. (P27)
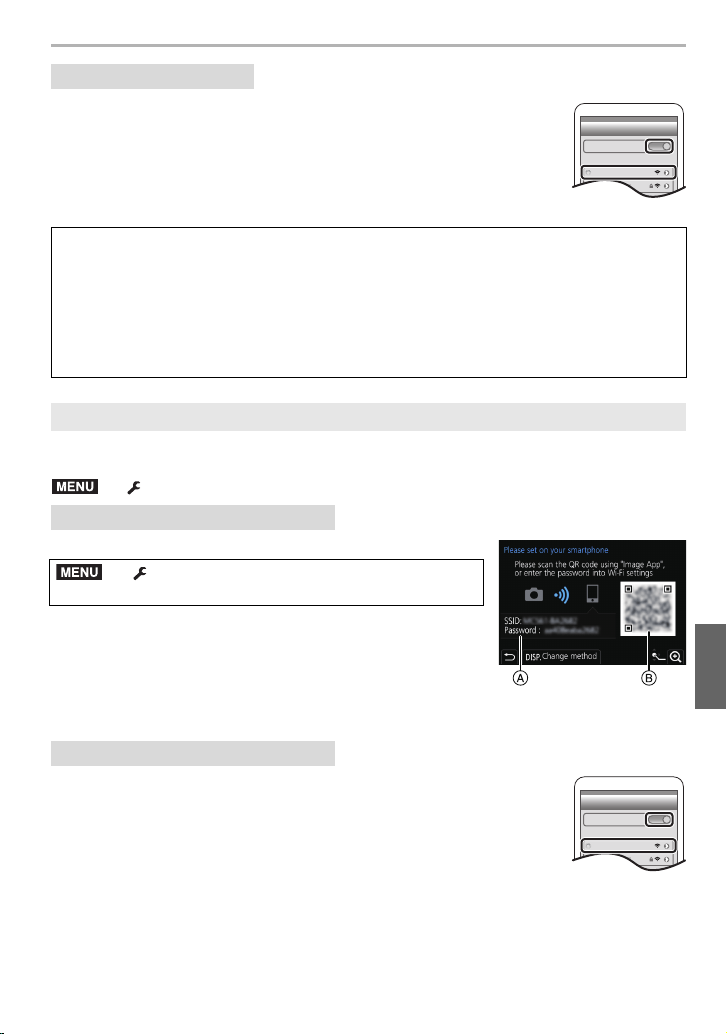
A SSID and password
B QR code
• When the camera is ready to be connected to the smartphone,
the QR code, SSID and password are displayed.
• You can also display the information by pressing [Wi-Fi] on the
camera.
1 Turn on the Wi-Fi function in the setting menu.
2 On the Wi-Fi setting screen, select the SSID displayed on the
camera.
3 Enter the password displayed on the camera into the
smartphone. (For first time connection only)
• If you are using an Android device, marking the box for password
display will allow the device to display the password as you enter it.
4 Start “Image App ”.
On your smartphone
At the time of purchase, [Wi-Fi Password] is set to [OFF].
Before connecting to a Wi-Fi network, ensure that the device displayed on the
connection confirmation screen is the one you actually want to connect to. When a
wrong device is displayed, if you select [Yes], the camera will automatically connect to
that device.
We recommend that you set [Wi-Fi Password] to [ON] if, for example, there is another
Wi-Fi device nearby.
Using a password to set up a connection
On the camera
> [Setup] > [Wi-Fi] > [Wi-Fi Function] >
[New Connection] > [Remote Shooting & View]
On your smartphone
Wi-Fi
0123456789ABC
MENU
MENU
Wi-Fi
0123456789ABC
DC-GH5LBodyP-DVQX1052_eng.book 93 ページ 2017年2月2日 木曜日 午後3時21分
Loading ...
Loading ...
Loading ...