Loading ...
Loading ...
Loading ...
Recording
66
DVQX1052 (ENG)
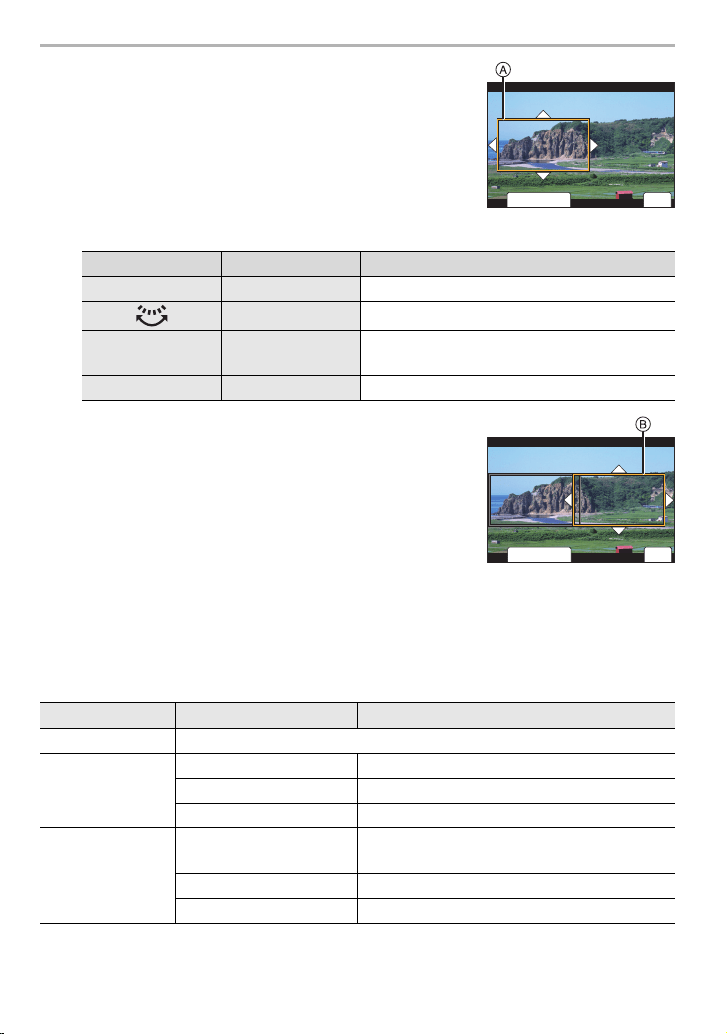
3 Set the cropping start frame.
A Cropping start frame
• When making settings for the first time, a cropping start
frame of size 1920k1080 is displayed. (After setting the
cropping start frame and end frame, the start frame and
end frame that you set immediately before will be
displayed.)
• The camera will remember the frame position and size
even when the camera is turned off.
4 Repeat step 3, and then set the cropping end frame.
B Cropping end frame
5 Press the motion picture button (or shutter button)
to start recording.
• Immediately release the motion picture button (or the
shutter button) after pressing it.
• When the set operating time has elapsed, recording
automatically ends.
To end recording midway, press the motion picture button
(or the shutter button) again.
∫ Changing the position and size of a crop frame
Press 2 while the recording screen is displayed, and perform steps
3 and 4.
∫ [Rec Format] and [Rec Quality] settings available for recording
Button operation Touch operation Description of operation
3/4/2/1 Touching Moves the frame.
Pinching out/in Enlarges/reduces the frame.
[DISP.] [Reset]
Returns the position of the frame to the center
and its size to the default setting.
[MENU/SET] [Set] Decides the position and size of the frame.
[Rec Format] [System Frequency] [Rec Quality]
[AVCHD] s
[MP4]
[59.94Hz (NTSC)] [FHD/28M/60p]/[FHD/20M/30p]
[50.00Hz (PAL)] [FHD/28M/50p]/[FHD/20M/25p]
[24.00Hz (CINEMA)] s
[MP4 (LPCM)]
[MOV]
[59.94Hz (NTSC)]
[FHD/8bit/100M/60p]/[FHD/8bit/100M/30p]/
[FHD/8bit/100M/24p]
[50.00Hz (PAL)] [FHD/8bit/100M/50p]/[FHD/8bit/100M/25p]
[24.00Hz (CINEMA)] [FHD/8bit/100M/24p]
ュリヴヱハ
5HVHW
6HW
ュリヴヱハ
5HVHW
6HW
DC-GH5LBodyP-DVQX1052_eng.book 66 ページ 2017年2月2日 木曜日 午後3時21分
Loading ...
Loading ...
Loading ...