Loading ...
Loading ...
Loading ...
103
Wi-Fi/Bluetooth
(ENG) DVQX1052
3 Select [PC].
4 Select the connection method.
Example: Selecting [WPS (Push-Button)] to set up a connection
1 Select [Via Network].
2 Select [WPS (Push-Button)].
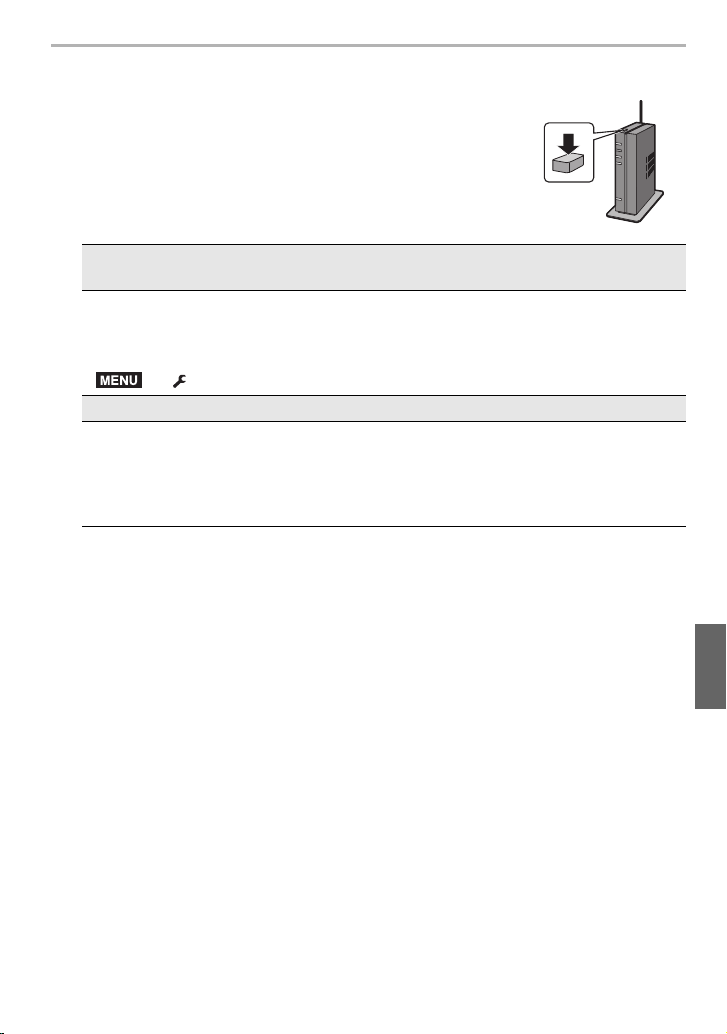
3 Press the wireless access point WPS button until it switches
to WPS mode.
5 On the camera, perform the operation that matches your
purpose.
• Folders sorted by the sent date are created in the specified folder, and pictures are saved in
those folders.
• If the screen for a user account and password entry appears, enter the one you set on your PC.
• When the computer name (NetBIOS name for Mac) contains a space (blank character), etc., it
may not be recognized.
In that case, we recommend changing the name to one consisting only of 15 or less
alphanumeric characters.
• When [Auto Transfer] in [Bluetooth] is set to [ON], [Wi-Fi Function] is not available.
Sending an image each time a recording is made
([Send Images While Recording])
1 Select the PC you want to connect to and the destination folder.
2 Check the send settings, and select [Set].
3 Take a picture with the camera.
• To terminate the connection, follow the steps below:
> [Setup] > [Wi-Fi] > [Wi-Fi Function] > [Yes]
Select and send the images ([Send Images Stored in the Camera])
1 Select the PC you want to connect to and the destination folder.
2 Check the send settings, and select [Set].
3 Select [Single Select] or [Multi Select], and then select the images you want to
send.
• To change the send setting, press [DISP.]. To terminate the connection, select [Exit].
MENU
DC-GH5LBodyP-DVQX1052_eng.book 103 ページ 2017年2月2日 木曜日 午後3時21分
Loading ...
Loading ...
Loading ...