MERCEDES CDi INJECTOR STUD REPAIR KIT
MODEL NO: VS640
Thank you for purchasing a Sealey product. Manufactured to a high standard, this product will, if used according to these instructions,
and properly maintained, give you years of trouble free performance.
IMPORTANT: PLEASE READ THESE INSTRUCTIONS CAREFULLY. NOTE THE SAFE OPERATIONAL REQUIREMENTS, WARNINGS & CAUTIONS. USE
THE PRODUCT CORRECTLY AND WITH CARE FOR THE PURPOSE FOR WHICH IT IS INTENDED. FAILURE TO DO SO MAY CAUSE DAMAGE AND/OR
PERSONAL INJURY AND WILL INVALIDATE THE WARRANTY. KEEP THESE INSTRUCTIONS SAFE FOR FUTURE USE.
1. SAFETY
WARNING! Ensure Health and Safety, local authority and general workshop practice regulations are adhered to when using tools.
8 DO NOT use the kit if any parts are missing or damaged.
8 DO NOT use this tool for any purpose other than that for which it is designed.
9 When work on the vehicle is finished ensure that there are no tools left under the bonnet.
9 Maintain the tool components in good and clean condition for best and safest performance.
9 Wear approved eye protection. A full range of personal safety equipment is available from your Sealey stockist.
9 Wear suitable clothing to avoid snagging. DO NOT wear jewellery and tie back long hair.
9 Keep children and other unauthorised persons away from the working area.
9 Ensure there is adequate lighting prior to using this tool.
IMPORTANT: Always refer to the vehicle manufacturer’s service instructions, or proprietary manual, to establish the current
procedures
and data.
2. INTRODUCTION
Threaded insert repair kit for Mercedes CDi engine Injector clamping bolt. Enables a broken stud repair to be carried out with minimal
dismantling. Contents: M8 x 1mm Tap, 7mm/8mm Stepped Drill, 6mm Drill, Drill Guide, Thread Insert Fitting Tool, M8 x 1mm Threaded Inserts
(x5). Thread inserts available separately in packs of ve Part no: VS640RF.
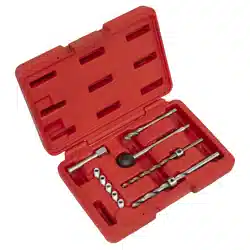
3. CONTENTS
4. OPERATION
This kit provides the specialised tools required to drill out the broken injector clamping bolt on Mercedes CDi engines and t a new M6
threaded insert. This allows the correct size OEM M6 bolt to be used after repair. This kit is a great time saving tool because the repair
can be performed with the minimum amount of dismantling. The instructions show a dismantled engine for ease of photography.
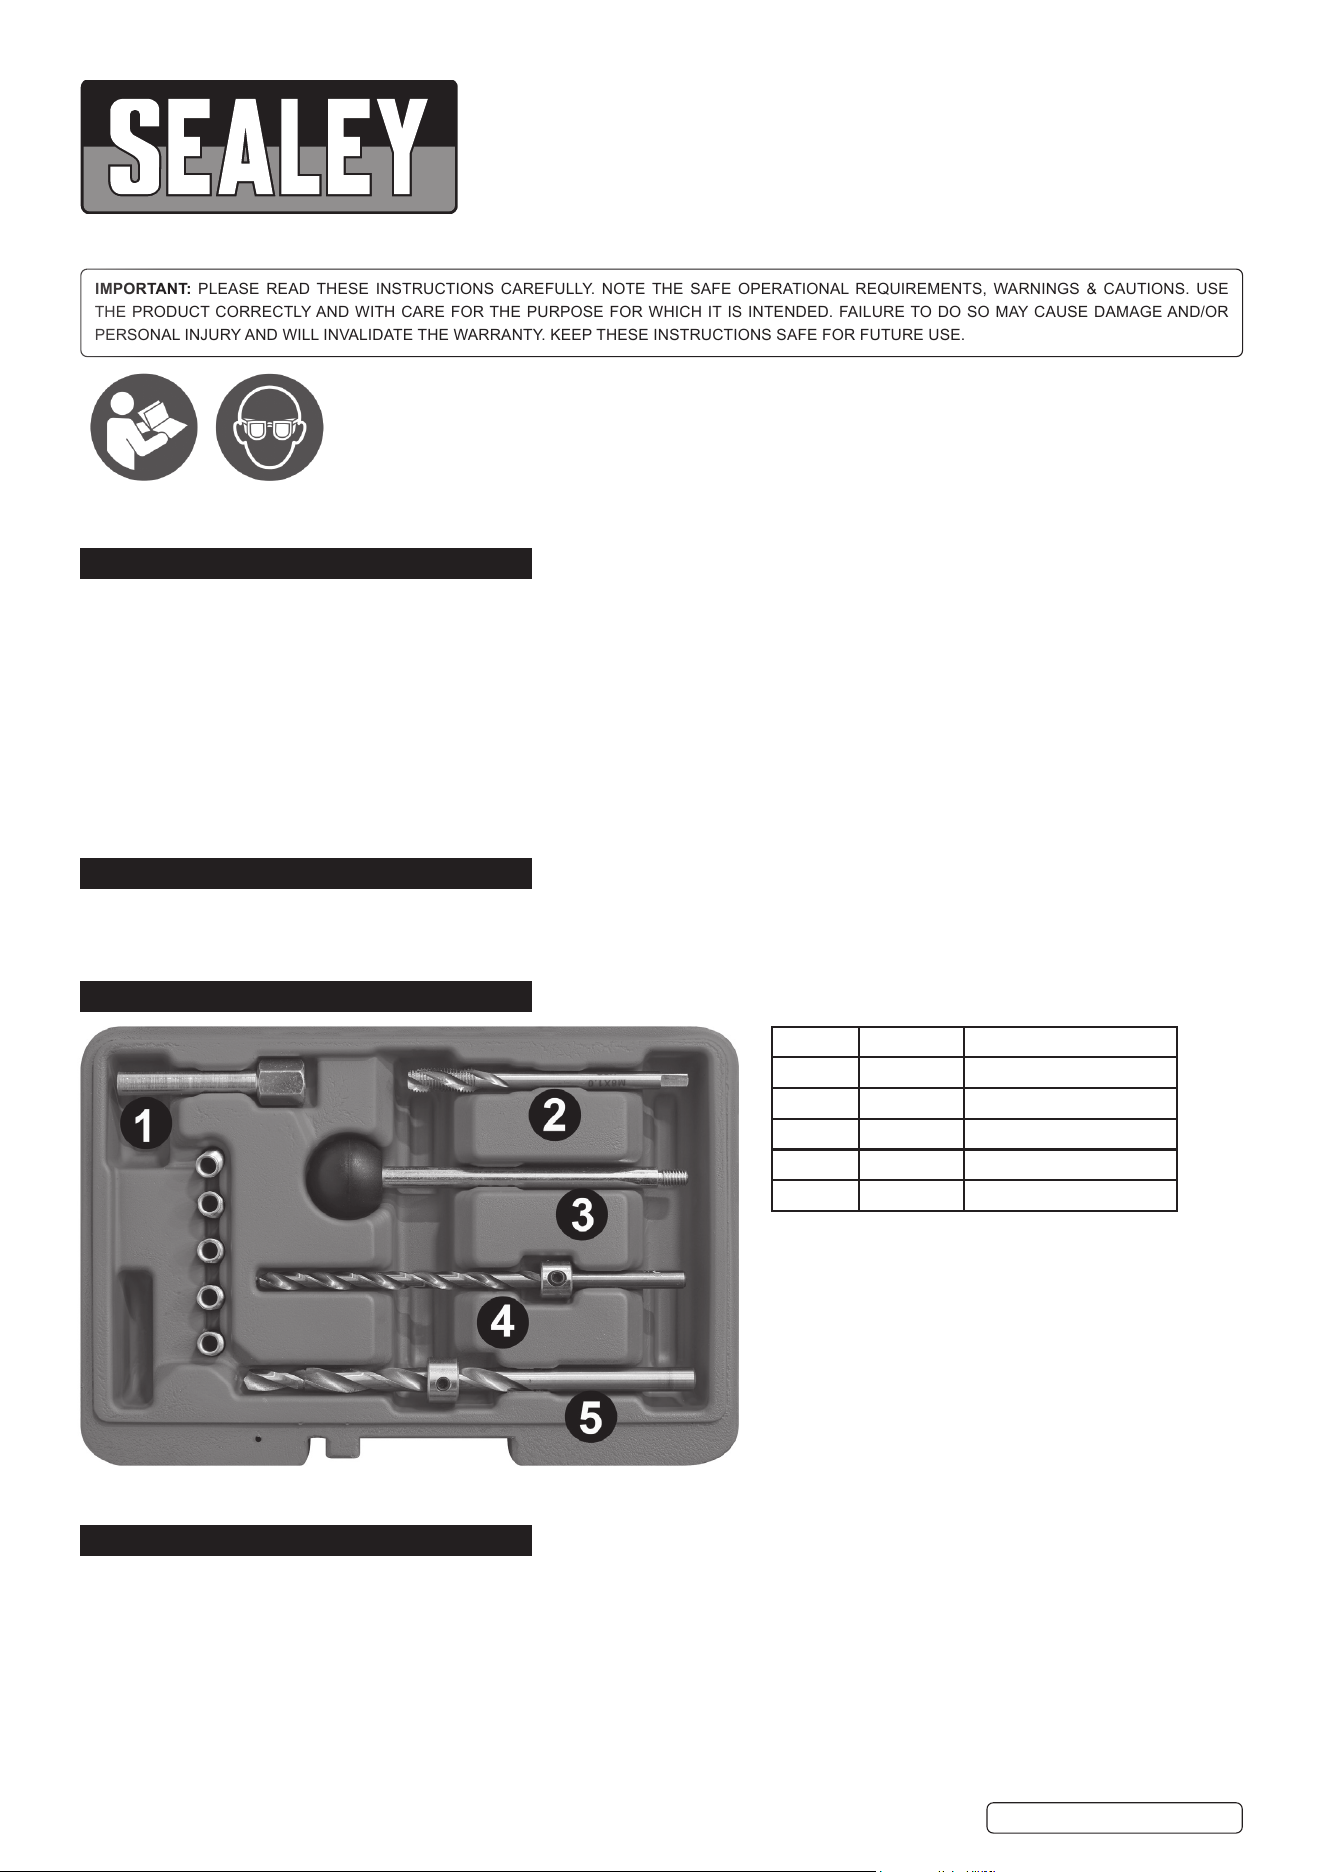
4.1. DRILLING OUT THE BROKEN BOLT
4.1.1. Based on the length of the replacement injector bolt, calculate the depth of drilling required. Adjust the 6mm drill stop accordingly.
And insert through the drilling guide as shown. (g.1) It is essential to use a high quality lubricant when performing this operation.
Sealey SCSCF400 is ideal for this purpose.
Refer to
instruction
manual
Wear eye
protection
Original Language Version
© Jack Sealey Limited
Item no. Part no. Description
1 VS640.02 Drill guide
2 VS640.05 Tap M8 x 1mm
3 VS640.06 Thread insert tting tool
4 VS640.03 Drill 6mm
5 VS640.04 Stepped drill 7/8mm
VS640 | Issue:1 06/01/20
Original Language Version
© Jack Sealey Limited
4.1.2. Once the desired depth has been achieved, remove the drill and drill guide. Set the stop
on the stepped drill (g.2) and drill to the required depth.
4.1.3. Using a suitable Tap Wrench such as the Sealey AK727, (g.3) cut a new thread using the M8 x 1.0mm Tap, ensure Tapping and
Cutting Fluid is used and follow normal engineering good practice when creating threads.
Note: There will be light thread tapping to the bolt hole as the tap makes its way down.
4.1.4. Once the thread has been created, remove the tap and thoroughly clean and dry
the area, ensuring all swarf has been removed.
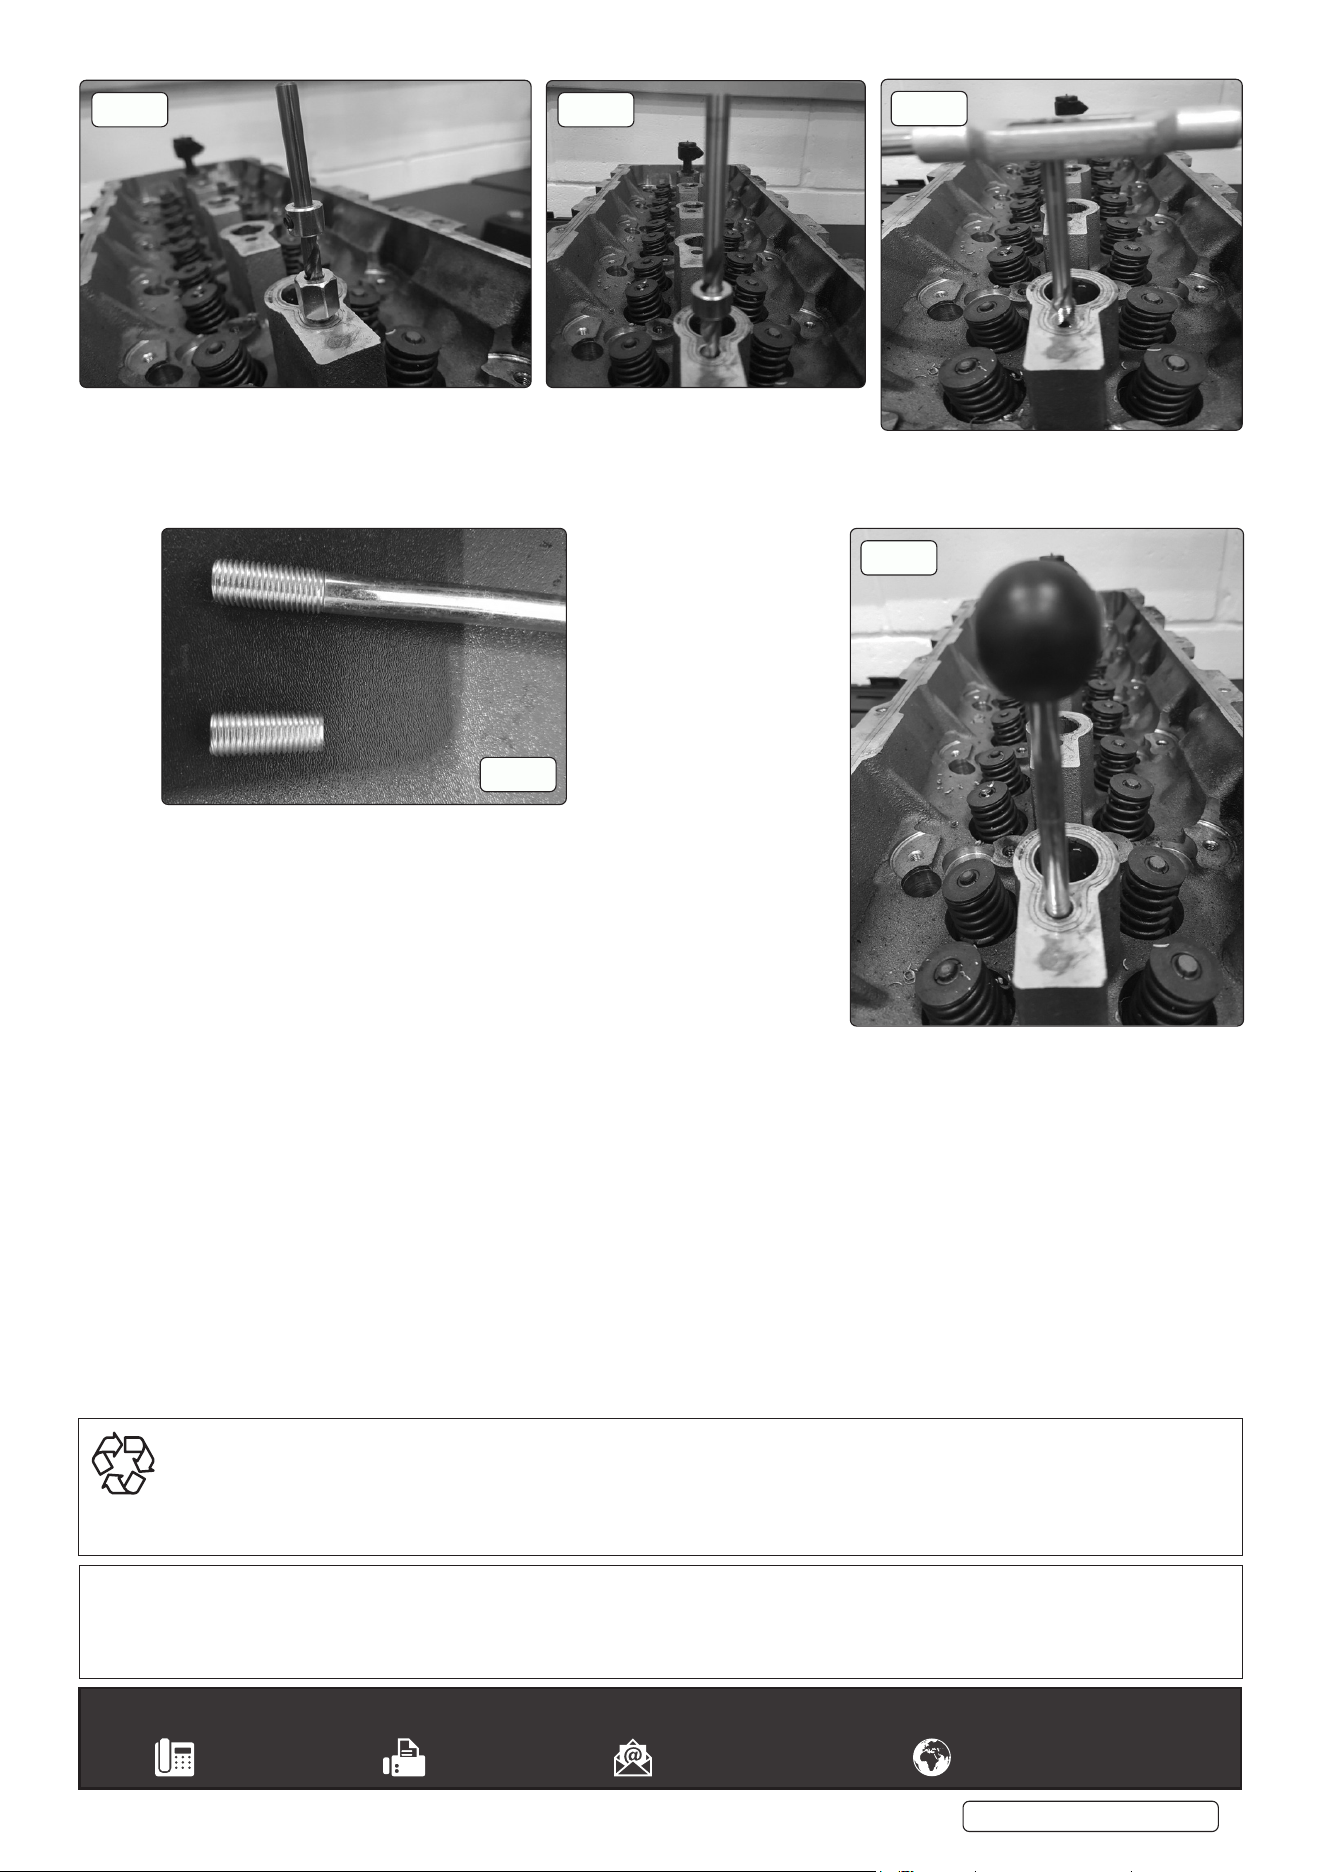
4.1.5. Lightly oil the thread insert tting tool thread and fully screw the thread insert
onto it.(g.4) Apply a suitable high strength thread retainer such as
Sealey SCS638S to the thread insert.
4.1.6. Screw the threaded insert fully into position. Once tightened into position,
unscrew the thread tting tool. Once the High Strength Thread retainer has had
sucient time to cure, reassembly can take place.
4.1.7. For replacement thread inserts please order Sealey VS640RF.
g.1 g.2
g.3
g.4
g.5
VS640 | Issue:1 06/01/20
Sealey Group, Kempson Way, Suffolk Business Park, Bury St Edmunds, Suffolk. IP32 7AR
01284 757500 01284 703534 sales@sealey.co.uk www.sealey.co.uk
ENVIRONMENT PROTECTION
Recycle unwanted materials instead of disposing of them as waste. All tools, accessories and packaging should be sorted, taken to
a recycling centre and disposed of in a manner which is compatible with the environment. When the product becomes completely
unserviceable and requires disposal, drain any fluids (if applicable) into approved containers and dispose of the product and fluids
according to local regulations.
Note: It is our policy to continually improve products and as such we reserve the right to alter data, specifications and component parts without prior
notice.
Important: No Liability is accepted for incorrect use of this product.
Warranty: Guarantee is 12 months from purchase date, proof of which is required for any claim.
