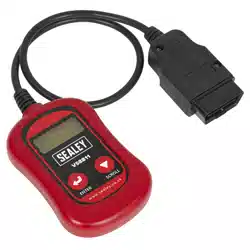
EOBD CODE READER
MODEL NO: VS8811
Thank you for purchasing a Sealey product. Manufactured to a high standard, this product will, if used according to these instructions,
and properly maintained, give you years of trouble free performance.
IMPORTANT: PLEASE READ THESE INSTRUCTIONS CAREFULLY. NOTE THE SAFE OPERATIONAL REQUIREMENTS, WARNINGS &
CAUTIONS. USE THE PRODUCT CORRECTLY AND WITH CARE FOR THE PURPOSE FOR WHICH IT IS INTENDED. FAILURE TO DO
SO MAY CAUSE DAMAGE AND/OR PERSONAL INJURY AND WILL INVALIDATE THE WARRANTY. KEEP THESE INSTRUCTIONS SAFE
1. SAFETY
WARNING! To prevent personal injury or damage to vehicles and/or the scan tool, read this instruction manual rst and observe the
following safety precautions.
9 Always perform automotive testing in a safe environment.
9 Wear safety eye protection.
9 Keep clothing, hair, hands, tools, test equipment, etc. away from all moving or hot engine parts.
9 Operate the vehicle in a well ventilated work area. Exhaust gases are poisonous.
9 Put blocks in front of the drive wheels and never leave the vehicle unattended while running tests.
9 Use extreme caution when working around the ignition coil, distributor cap, ignition wires and spark plugs. These components create
hazardous voltages when the engine is running.
9 Put the transmission in PARK (for automatic transmission) or NEUTRAL (for manual transmission).
9 Make sure the parking brake is engaged.
9 Keep a re extinguisher suitable for petrol/chemical/electrical res nearby.
8 DO NOT connect or disconnect any test equipment while the ignition is on or the engine is running.
2. INTRODUCTION
Competitively priced EOBD code reader. OBDII/EOBD compliant vehicles Petrol 2001 and Diesel 2004 onwards. CAN enabled
retrieves generic P0, P2, P3 and U10 codes and picks up manufacturer specic P1, P3 and U1 codes. This easy-to-use tool will then
turn o the MIL light, clear codes and reset monitors. Supplied with comprehensive instructions.
3. SPECIFICATION
Application(s): All Petrol 2001on and Diesel 2004on
OBDII / EOBD compliant vehicles
Works with all (Petrol 2001 onwards and Diesel 2004) OBDII / EOBD compliant vehicles: Yes
Scans for Diagnostic Trouble Codes (DTC) - The cause of the ‘Engine and Transmission’
Malfunction Indicator Light’ (MIL):
Yes
Scans for pending DTCs: Yes
Retrieves generic (P0, P2, P3 & U10) and manufacturer specic (P1, P3 & U1) DTCs: Yes
Turns o MIL light, clears DTCs and resets monitors: Yes
Displays DTC denitions on screen: N/A
View freeze-frame data: N/A
Displays monitor and I/M readiness status (emissions): Yes
Patented One-Click I/M readiness button (emissions): N/A
Retrieves vehicle information (VIN, CID & CVN): Yes
Supports CAN and other current EOBD Protocols: Yes
Supports the new extended sensor list (SAE J1979 - 2007): N/A
Reads live ECU/PCM data stream: N/A
Displays live O2 sensor data: N/A
Graphing function for live data: N/A
Read, store and playback live sensor data: N/A
Performs ‘modules present’ test: N/A
Print out data via PC - Compatibility; Vista, XP, Win7: N/A
Built-in EOBD library lookup: N/A
Troubleshooter code tips and repair information guide: N/A
Refer to
instruction
manual
Wear eye
protection
VS8811 Issue 1 09/11/23
Original Language Version
© Jack Sealey Limited
VS8811 Issue 1 09/11/23
Original Language Version
© Jack Sealey Limited
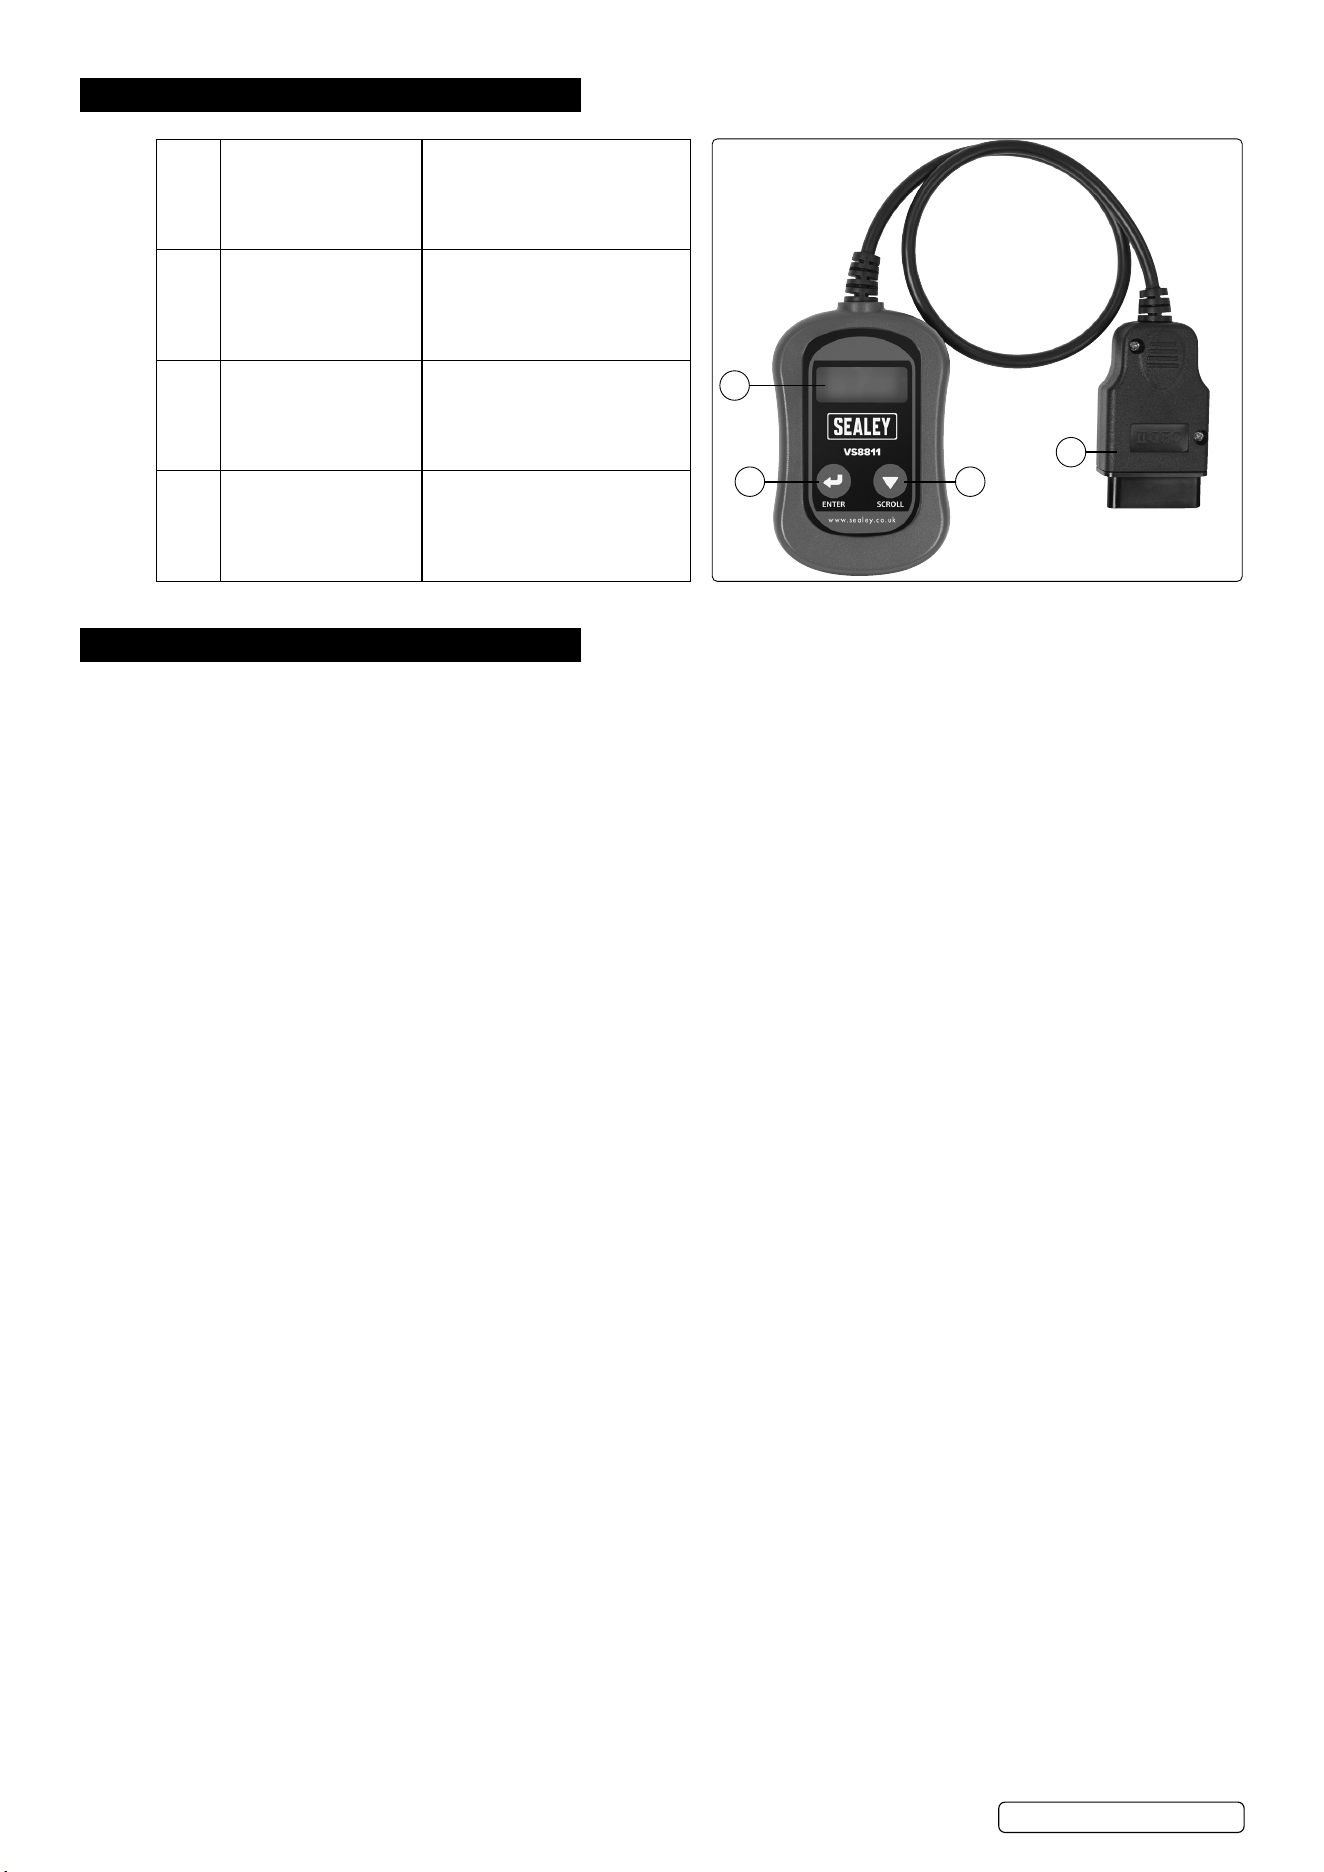
4. OVERVIEW
1 LCD DISPLAY Indicates test results. It is a
backlit 2-line display with 8
characters on each line.
2 ENTER BUTTON Conrms a selection (or
action) from a menu list, or
returns to the main menu.
3 SCROLL BUTTON Scrolls through menu items or
cancel an operation.
4 OBD II CONNECTOR Connects the Code Scanner
to the vehicle’s Data Link
Connector (DLC).
6. OPERATION
6.1. READ CODES
WARNING! DO NOT connect or disconnect any test equipment with the ignition on or engine running.
6.1.1. Turn the ignition o.
6.1.2. Locate the 16-pin Data Link Connector (DLC) and plug into the Scan Tool cable connector to the DLC.
6.1.3. Wait for the LCD display to read “C.A.N.OBD2”.
6.1.4. Turn the ignition on. But do not start the engine.
6.1.5. Press the ENTER button. A sequence of messages showing the OBD2 protocols will be observed on the display until the vehicle
protocol is detected - SCAN...VPW → SCAN...PWM → SCAN...CAN → SCAN...KPW2000 → ISO9141 PROTOCOL.
NOTE: If a “LINK ERROR!” message shows up, turn the ignition o for about 10 seconds, check if the Scan Tool’s OBDII connector is
securely connected to the vehicle’s DLC, and then turn the ignition back to on. Repeat the procedure from step 5. If the “LINK ERROR”
message does not go away, then there may be problems for the Scan Tool to communicate with the vehicle.
6.1.6. Wait for the main menu to come up after a brief overview displaying the scanning results with the total number of DTCs and the overall
I/M Monitor Status.
6.1.7. Select “DTC” from the main menu by pressing the ENTER button.
NOTE: If there are no Diagnostic Trouble Codes retrieved, the display will indicate “NO CODES”. If there are any Diagnostic Trouble
Codes, then the total number of the Fault Codes followed by that of the Pending Codes will be reported on the display.
6.1.8. Read the Diagnostic Trouble Codes by pressing the SCROLL button.
NOTE: The rst code number will appear on the rst line of the LCD display, the numerical sequence of the code and the total number
of the codes stored will appear on the second line. To view additional codes, press the SCROLL button to scroll, as necessary, until all
the codes have shown. If the code retrieved is a pending code, a “PD” will show on the LCD display in the end. To view previous codes,
press the SCROLL button to scroll through to the end, and then start from the rst of the list.
6.2. ERASE CODES
NOTE: Erasing the Diagnostic Trouble Codes allows the Scan Tool to delete not only the codes from the vehicle’s on-board computer, but
also “Freeze Frame” data and manufacturer-specic enhanced data. Further, the I/M Readiness Monitor Status for all vehicle Monitors is
reset to Not Ready or Not Complete status. Do not erase the codes before the system has been checked completely by a technician.
6.2.1. If you decide to erase the DTCs, Select “2. ERASE” from the main menu by pressing the ENTER button.
NOTE: If the Scan Tool is not connected or no communication is established with the vehicle yet, then refer to “Reading Codes” section.
6.2.2. A message of “ERASE? YES NO” comes up asking for your conrmation.
6.2.3. If you do not want to proceed with erasing the codes, press the SCROLL button to exit.
6.2.4. If you do wish to proceed to erase the codes, then press the ENTER button.
6.2.5. If the codes are cleared successfully, an “ERASE DONE!” message will show on the display. Press the ENTER button to Return to the
main menu list.
6.2.6. If the codes are not cleared, then an “ERASE FAIL!” message will appear. Press the ENTER button to Return to the main Menu list.
HOT KEY: Press and Hold the SCROLL button for about 3 seconds will allow you to erase the DTCs more quickly than through the
main menu.
6.3. RETRIEVE I/M READINESS STATUS
IMPORTANT: I/M Readiness function is used to check the operations of the Emission System on OBD2 compliant vehicles. It is an
excellent function to use prior to having a vehicle inspected for compliance to a state emissions program.
• YES - all monitors supported on the vehicle have completed their diagnostic testing and the MIL light is not on.
• NO - at least one monitor supported on the vehicle has not completed its diagnostic testing, and (or) the “Check Engine”(MIL) light is on.
• READY - indicates that a particular monitor being checked has completed its diagnostic testing.
• Not RDY (NOT READY) - indicates that a particular monitor being checked has not completed its diagnostic testing.
• N/A - the monitor is not supported on that vehicle.
• → - a ashing Right Arrow indicates additional information is available on the next screen.
• ← - a ashing Left Arrow indicates additional information is available on the previous screen.
1
4
2 3

Sealey Group, Kempson Way, Suffolk Business Park, Bury St Edmunds, Suffolk. IP32 7AR
01284 757500 sales@sealey.co.uk www.sealey.co.uk
Note: It is our policy to continually improve products and as such we reserve the right to alter data, specications and component parts without prior notice.
Important: No Liability is accepted for incorrect use of this product.
Warranty: Guarantee is 12 months from purchase date, proof of which is required for any claim.
ENVIRONMENT PROTECTION
Recycle unwanted materials instead of disposing of them as waste. All tools, accessories and packaging should be
sorted, taken to a recycling centre and disposed of in a manner which is compatible with the environment. When
the product becomes completely unserviceable and requires disposal, drain any uids (if applicable) into approved
containers and dispose of the product and uids according to local regulations.
REGISTER YOUR
PURCHASE HERE
6.3.1. Select “3. I/M” from the main menu by pressing the ENTER button.
NOTE: If the Scan Tool is not connected yet, then refer to “Read Codes”.
6.3.2. Use the SCROLL button to view the status of the MIL light (ON orOFF) and the following monitors.
• MISFIRE – Misre monitor
• FUEL – Fuel System Monitor
• CCM – Comprehensive Components Monitor
• CAT – Catalyst Monitor
• HCM – Heated Catalyst Monitor
• EVAP – Evaporative System Monitor
• 2AIR – Secondary Air Monitor
• A/C – A/C system Monitor
• O2S – O2 Sensors Monitor
• HO2S – O2 Sensor Heater Monitor
• EGR – EGR System Monitor
6.3.3. Press the ENTER button to return to the main Menu.
6.4. VIEW VIN NUMBER
The View VIN function allows you to retrieve the Vehicle Identication No. on 2002 and newer vehicles that support Mode 9.
6.4.1. Select “4. VIN” from the main menu by pressing the ENTER button.
NOTE: If the Scan Tool is not connected yet, then refer to “Read Codes”.
6.4.2. Use the SCROLL button to view additional digits of the 17-digit string.
→ A ashing Right Arrow indicates additional digits of VIN string are available on the next screen.
←A ashing Left Arrow indicates additional digits of VIN string are available on the previous screen.
6.4.3. Press the ENTER button to return to the main Menu.
6.5. RESCAN DATA
The RESCAN function allows you to retrieve the most current data stored in the ECM or to re-link to the vehicle if communication is
disconnected.
6.5.1. Select “5. RESCAN” from the main menu by pressing the ENTER button.
NOTE: If the Scan Tool is not connected yet, then refer to “Read Codes”.
6.5.2. Use either the SCROLL or ENTER button to return to the main menu.
7. MAINTENANCE
9 Keep the scan tool dry, clean, free from oil/water or grease.
9 Use a mild detergent on a clean cloth to clean the outside of the scan tool, when necessary.
VS8811 Issue 1 09/11/23
Original Language Version
© Jack Sealey Limited
WEEE REGULATIONS
Dispose of this product at the end of its working life in compliance with the EU Directive on Waste Electrical and Electronic
Equipment (WEEE). When the product is no longer required, it must be disposed of in an environmentally protective way. Contact
your local solid waste authority for recycling information.