Loading ...
Loading ...
Loading ...
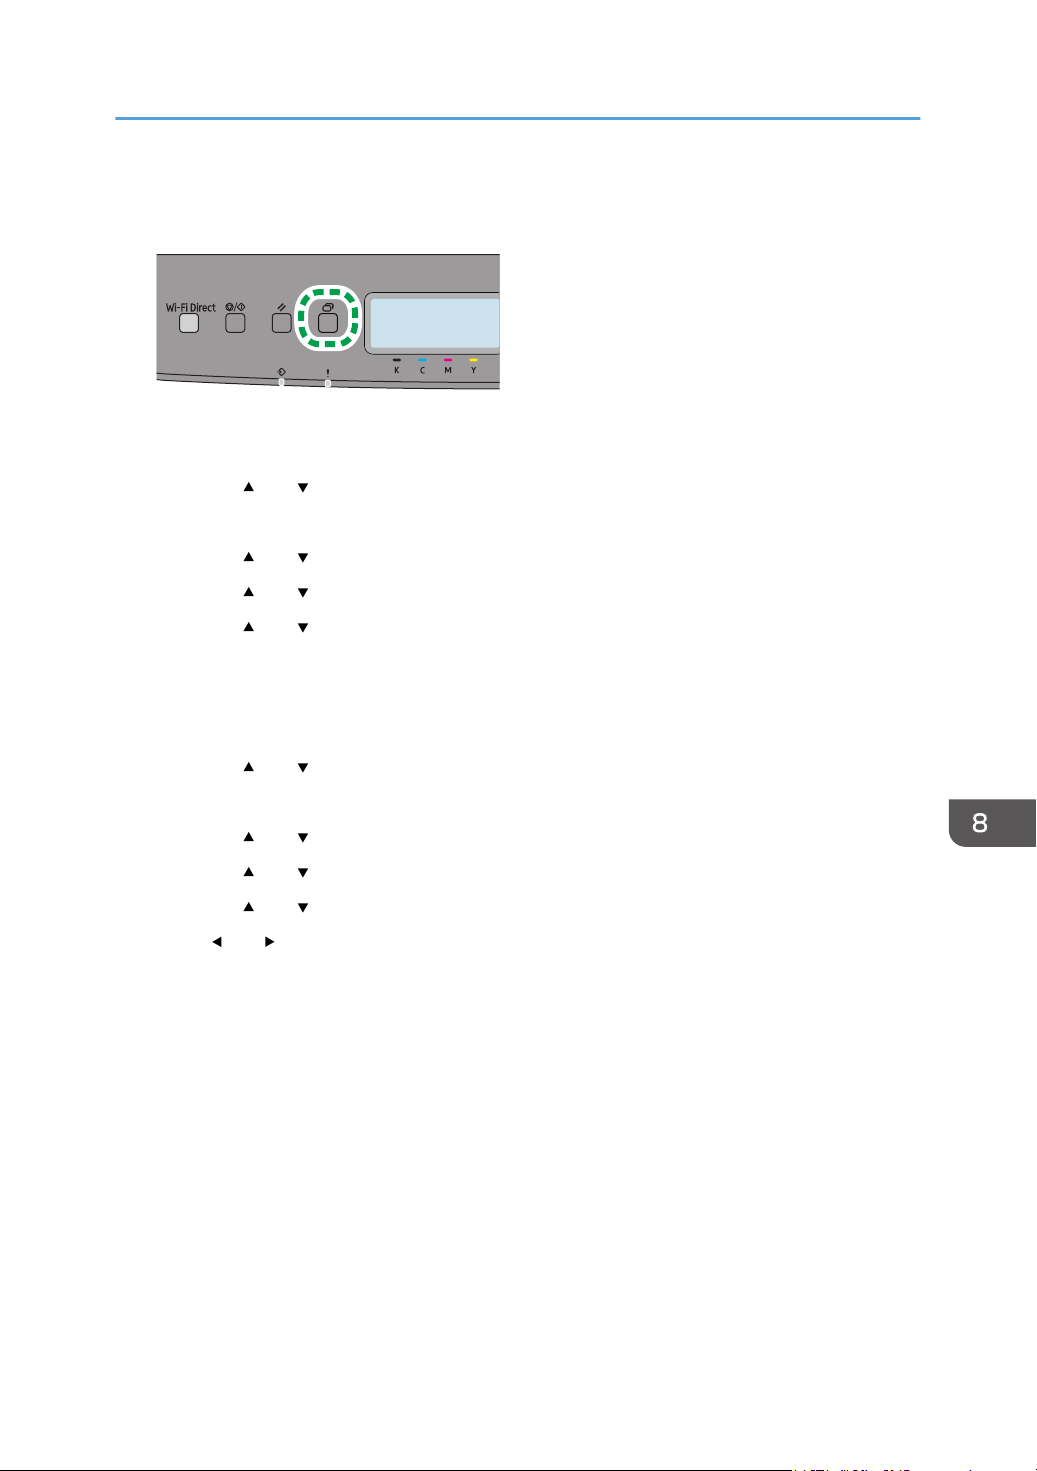
3. Press the [Menu] key.
4. Press the [ ] or [ ] key to select [Network Settings], and then press the [OK] key.
5. Enter the administrator password.
6. Press the [ ] or [ ] key to select [Wireless (Wi-Fi)], and then press the [OK] key.
7. Press the [ ] or [ ] key to select [Enable Wi-Fi], and then press the [OK] key.
8. Press the [ ] or [ ] key to select [Enable], and then press the [OK] key.
9. Press the [Menu] key to return to the Initial screen.
10. Turn off the machine, and then turn it back on.
11. Press the [Menu] key.
12. Press the [ ] or [ ] key to select [Network Settings], and then press the [OK] key.
13. Enter the administrator password.
14. Press the [ ] or [ ] key to select [Wireless (Wi-Fi)], and then press the [OK] key.
15. Press the [ ] or [ ] key to select [WPS], and then press the [OK] key.
16. Press the [ ] or [ ] key to select [PIN], and then press the [OK] key.
17. Press [ ] or [ ] key to select [Connect], and then press the [OK] key.
18. Check the PIN code.
19. Enter the machine's PIN code (8 digits) on the router (access point)'s web page (The web
page accessed in Step 2).
20. Execute WPS (PIN system) from the router (access point)'s web page.
21. Check the result.
• Connection has succeeded:
Press the [OK] key, and then press the [Menu] key to return to the initial screen.
Configuring the Wi-Fi settings is complete.
• Connection has failed:
Press the [OK] key to return to the screen displayed in Step 16. Check the configuration for
the router (access point), then try the connection again.
Connecting the Machine to a Wireless Network
189
Loading ...
Loading ...
Loading ...