Loading ...
Loading ...
Loading ...
8. Lock removal: Reverse step 5, 4 and 2. Refer step 3.6 to remove outside Lever.
Reverse step 1.4 and 1.3 to remove outside chassis and inside chassis from the door.
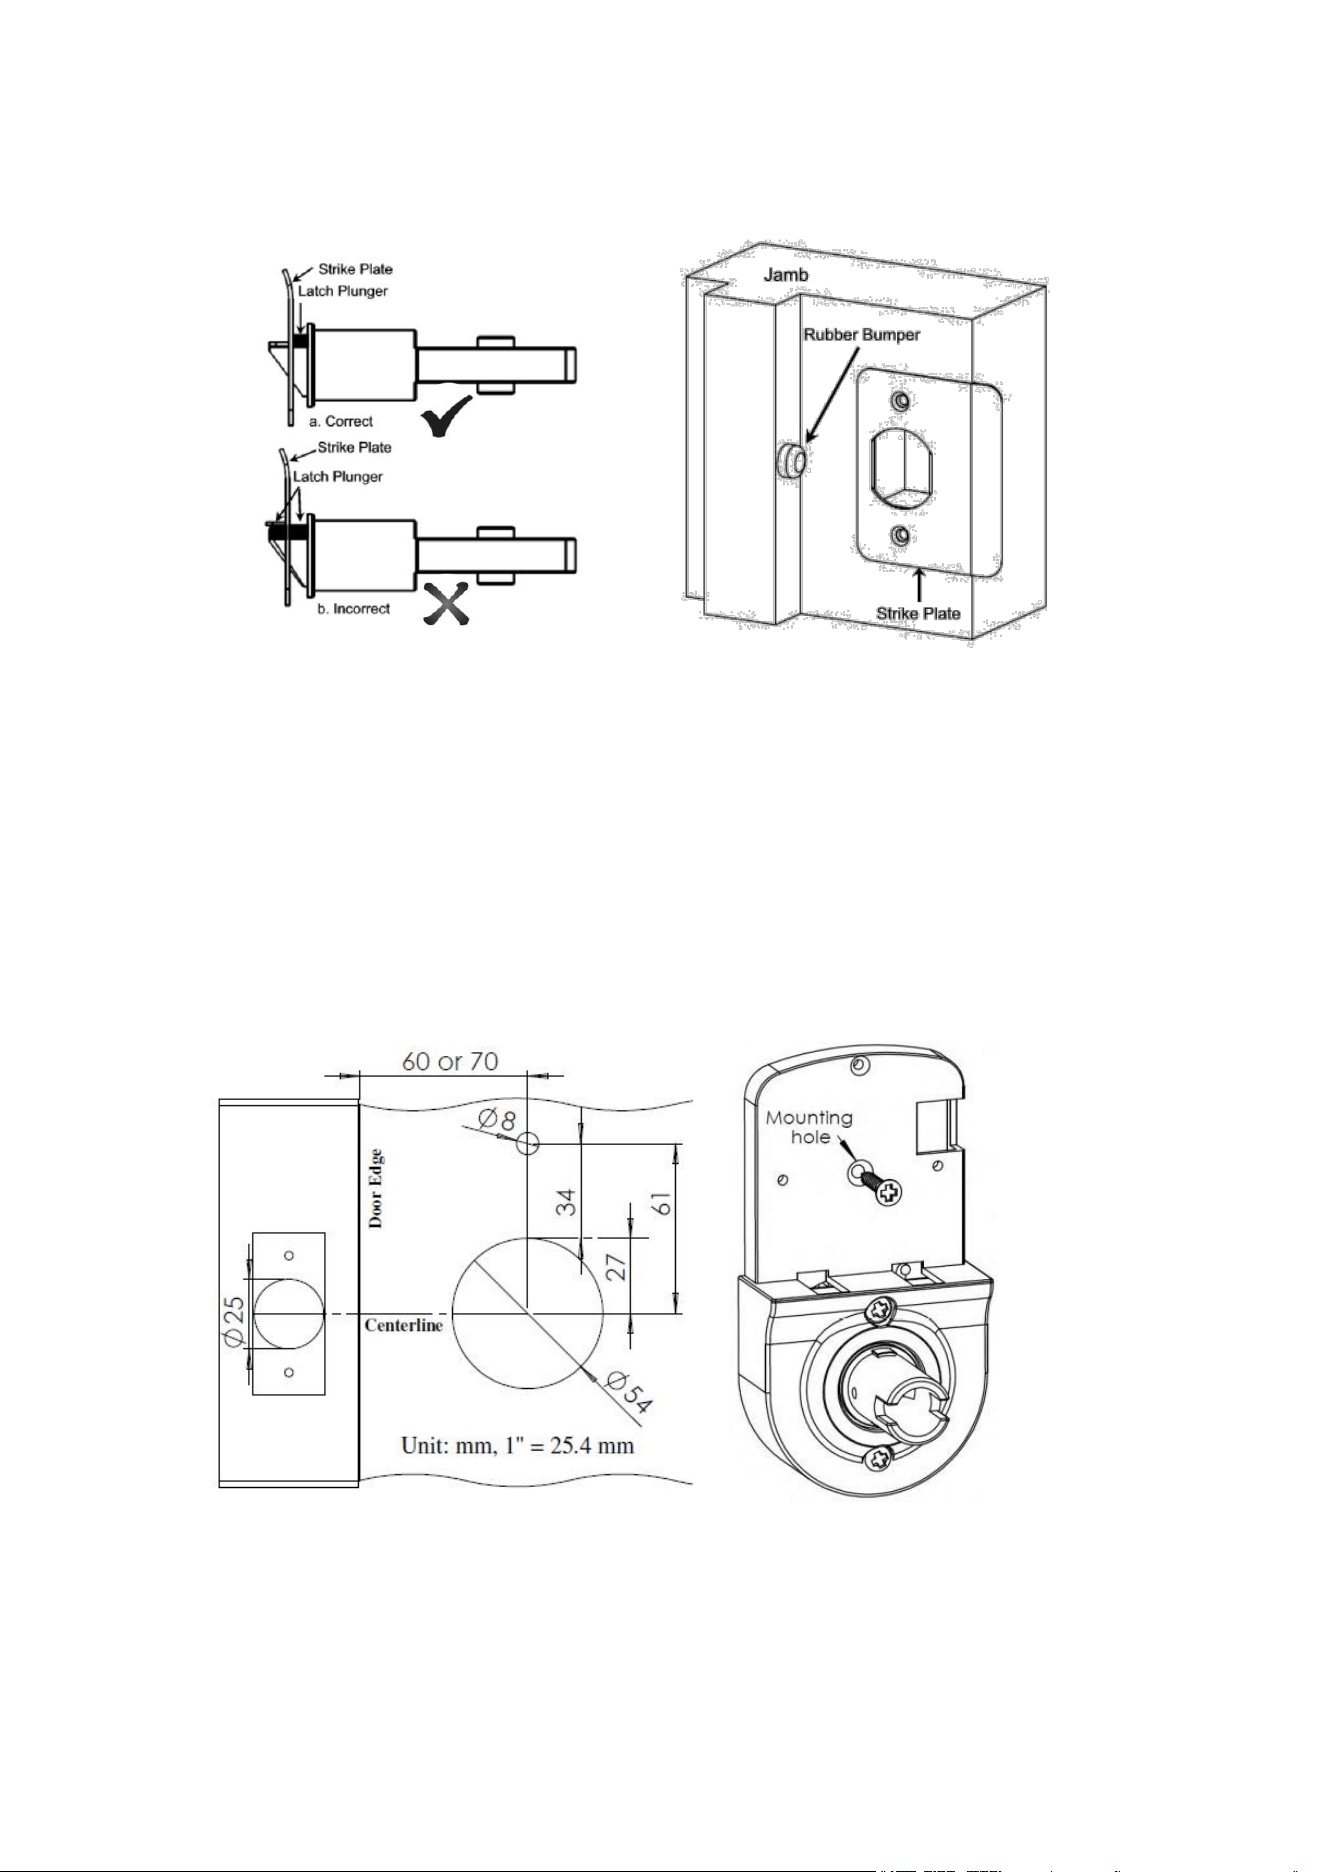
27. Installation Option
The lock will stay on vertical position on the door as long as the two mounting
screws were tightened in most case. You may put a screw and hex screw between
inside chassis and out chassis to increase lock stability.
27.1 Remove two screws in battery compartment. You will see mounting hole
under battery compartment.
27.2 Use ⅓" (8 mm) Drill Bits to drill a hole in the mounting hole position (fig. 14).
27.3 Tighten hex screw on back plate of outside chassis, tighten M4x40 (40mm
long) screw through mounting hole (fig. 15) with hex screw.
27.4 Put battery compartment back.
fig. 14
fig. 15
fig. 12
fig. 13
Loading ...