Loading ...
Loading ...
Loading ...
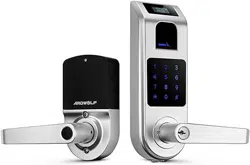
3.7 Switching Levers (if necessary): Levers can be reversed to extend toward
hinges.
Refer 3.6 to remove lever then following 3.1 to 3.5 to set up lever.
4. Install 4 brand new AA Alkaline batteries (NOT included, do not
use rechargeable batteries). Alkaline Batteries Warning: Do not
install backwards, charge, put in fire, or mix with other battery
types, may explode or leak causing injury. Replace all batteries at
the same time.
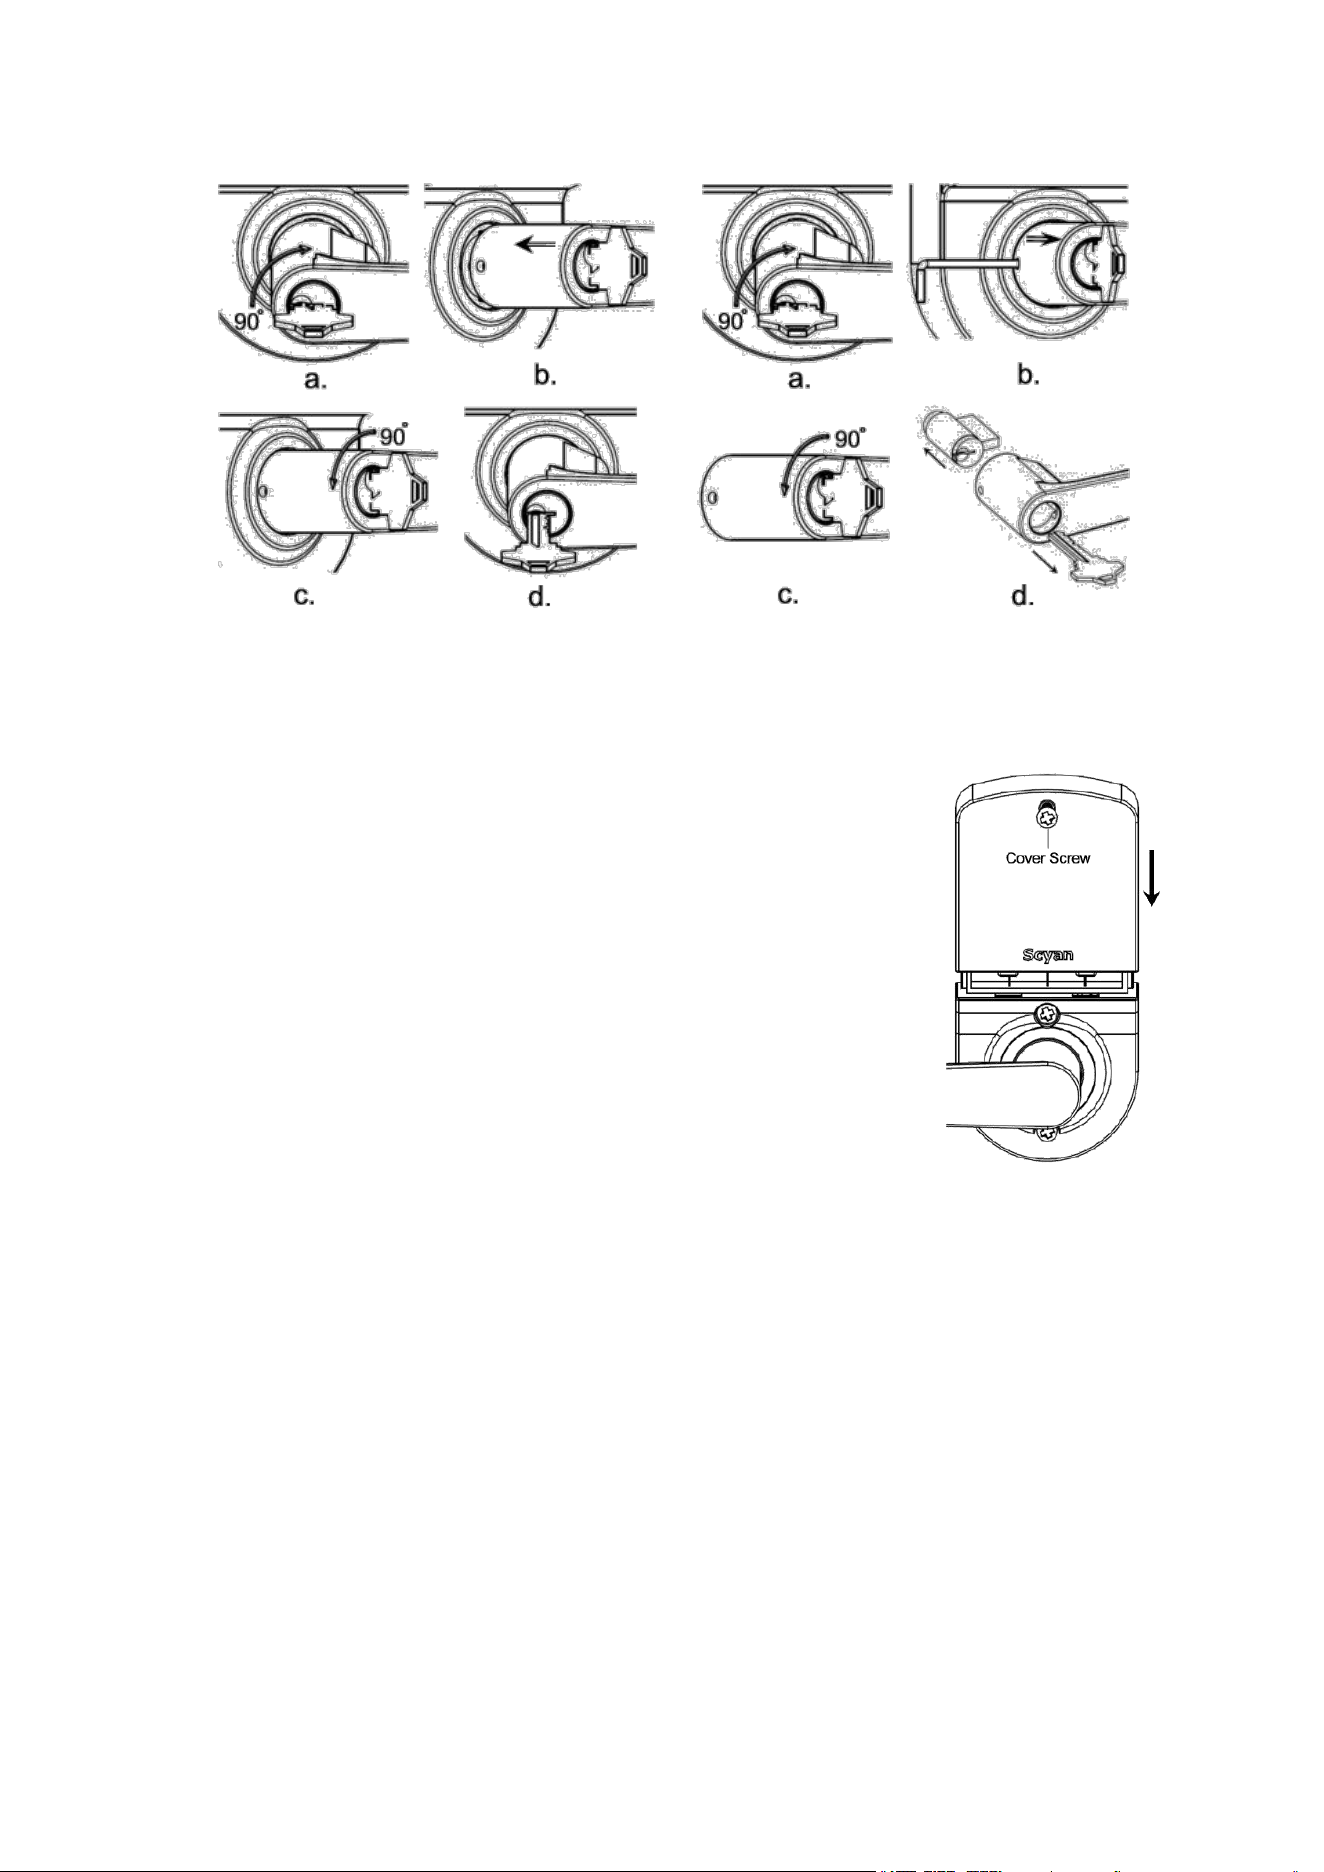
5. Slide cover down then tight cover screw (see figure 11).
6. Testing lock: Rear lever should be pushed down and lifted up;
otherwise take off lock to re-install it by referring fig.1 to rotate
Square Spindle to let the dent be on 12-clock position. The lock
may keep unlock after installation. Enter default code 1234 then
press #. The lock will lock by itself after 5 second. Installation
error occurs if the lock still unlock. Refer 3.6 to remove lever then
follow instruction step by step to setup front lever. Push down rear
fig. 11
lever the latch should retract completely; otherwise check latch if it is broken.
7. Caution: Please install strike plate included in package. The existing strike must
be removed if there is one on door jamb. Check the operation of the latch by ensuring
that the latch plunger stops against the strike plate and does not slide into the strike
opening when the door is closed (see fig. 12). If that situation occurs, then a total
lockout may occur. This situation will void our warranty of the complete lock
mechanism. If necessary, correct the door over-travel by using the rubber bumper (see
fig. 13). You may buy the rubber bumpers from your local hardware store.
fig. 9
fig. 10
Loading ...
Loading ...