
Loading ...
Loading ...
Loading ...
User Manual
21 / 68
oscilloscope to Average.
Using Cursors to measure FFT waveform
To make cursor measurements, press the Cursors button to turn the cursors, and then press the Mode softkey to select Manual
or Track, Use the AX and BX cursors to measure frequency values and the difference between two frequency values (BX-AX).
Use the AY and BY cursors to measure amplitude in dB and difference in amplitude (BY-AY).
2.7. Trigger System
The trigger determines when the oscilloscope begins to acquire data and display a waveform. Once a trigger is properly set up,
the oscilloscope can convert unstable displays or blank screens to meaningful waveform. Here introduce some basic concepts
about trigger.
Trigger Source: The trigger can be generated with multiple sources. The most common one is the input channel (CH1~CH2).
Whether the input signal is displayed or not, it can trigger normal operations. Also the trigger source can be any signal connected
to an external trigger channel (only for Edge trigger).
Trigger Mode: You can select the Auto or Normal mode to define how the oscilloscope acquires data when it does not detect
a trigger condition. Auto Mode performs the acquisition freely in absence of valid trigger. It allows the generation of
untriggered waveform with the time base set to 100ms/div or slower. Normal Mode updates the displayed waveform only
when the oscilloscope detects a valid trigger condition. Before this update, the oscilloscope still displays the old waveform.
This mode shall be used when you want to only view the effectively triggered waveform. In this mode, the oscilloscope displays
waveform only after the first trigger. To perform a single sequence acquisition, push the [Single] button.
Trigger Position: The horizontal position control establishes the time between the trigger position and the screen center.
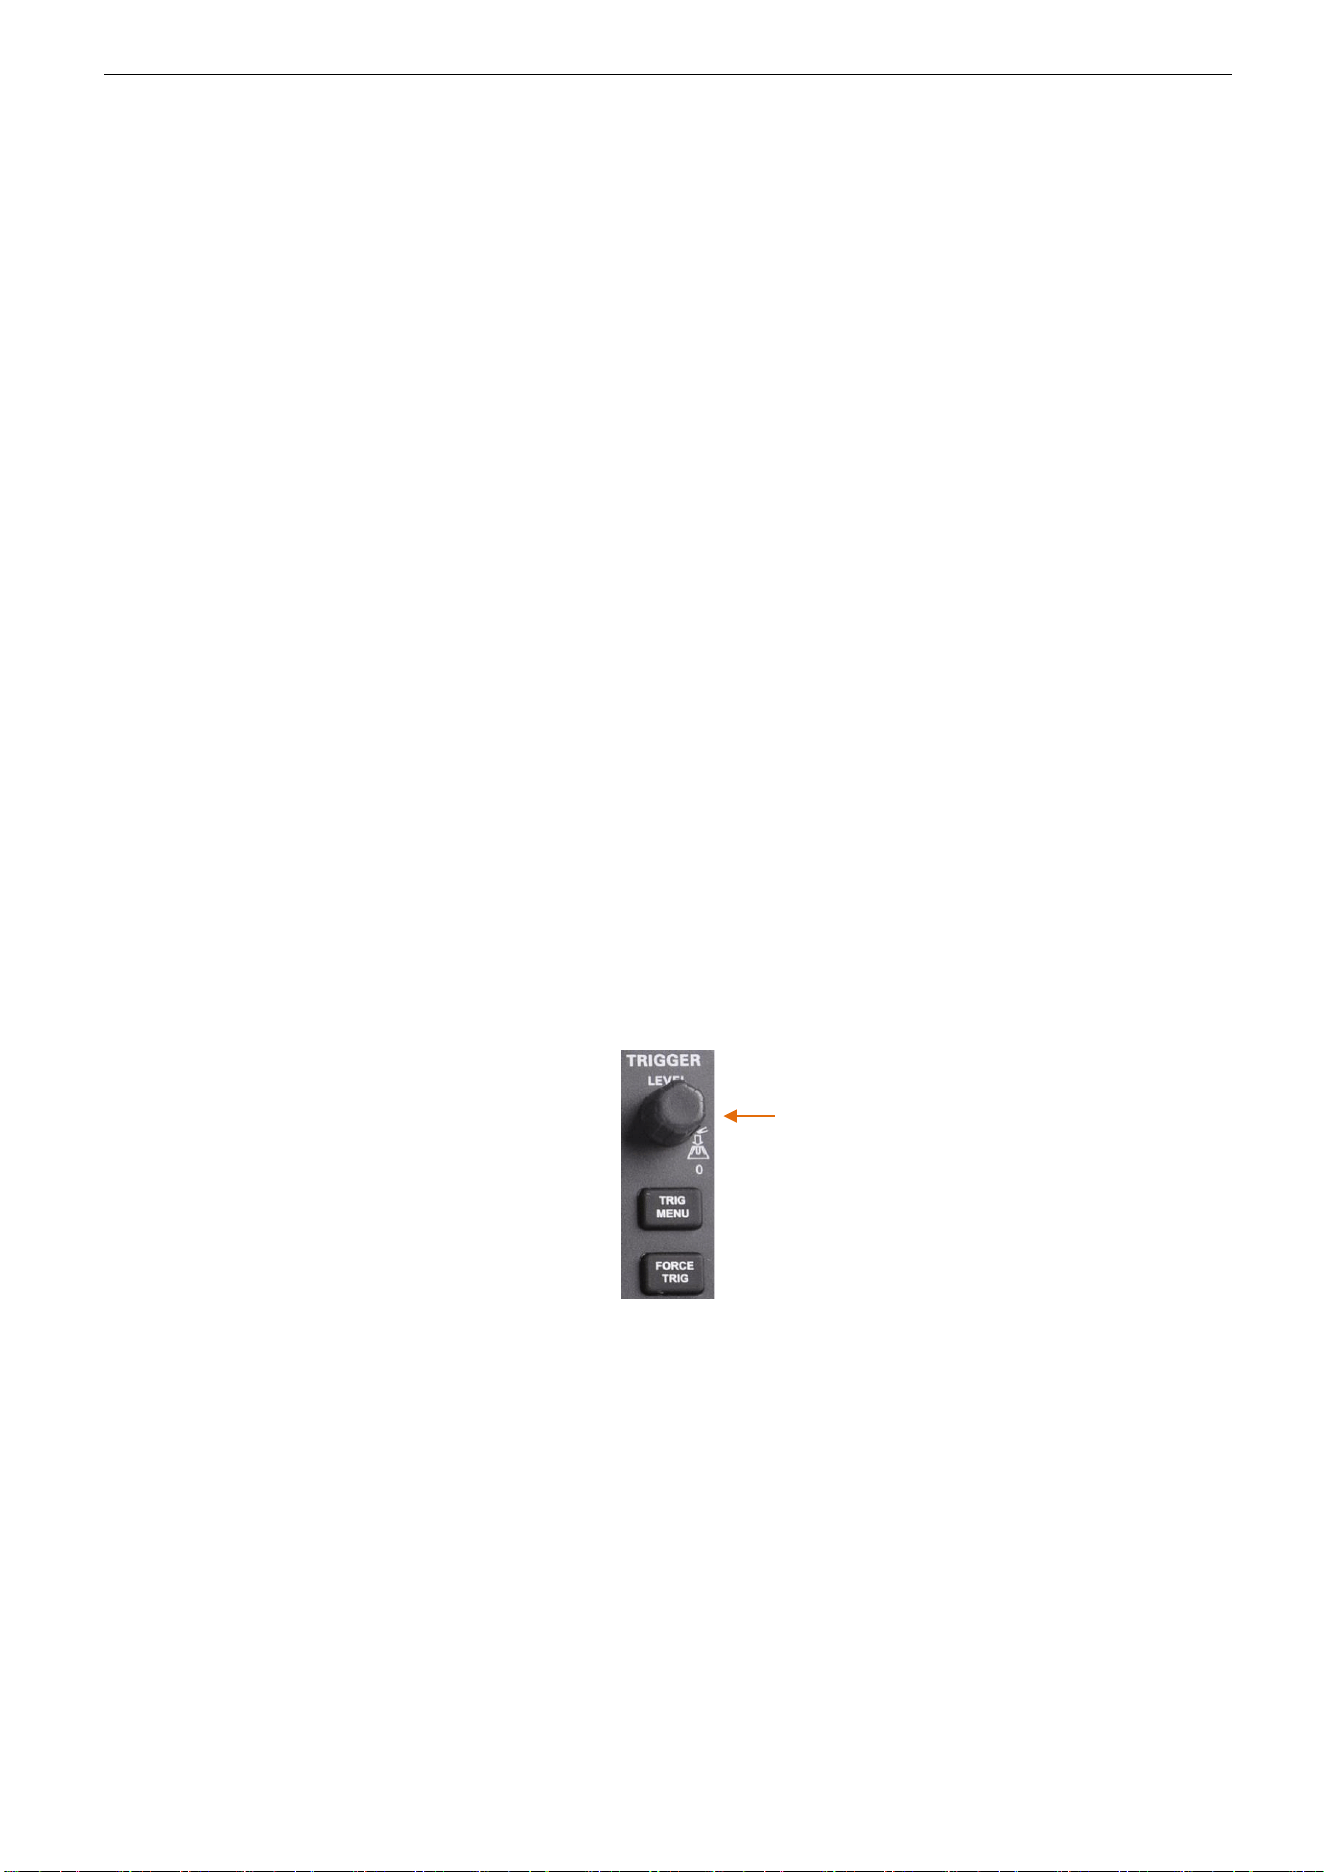
Trigger Level: It sets the amplitude level the signal must cross to cause an acquisition when using the Edge or Pulse Width
trigger.
Force Trigger: Used to complete an acquisition regardless of an adequate trigger signal. This button becomes useless if the
acquisition is already stopped.
Holdoff: To use Trigger Holdoff, push the Trig Menu button and press Holdoff softkey. The Trigger Holdoff function can be
used to generate a stable display of complex waveform (such as pulse trains). Holdoff is the time between when the oscilloscope
detects one trigger and when it is ready to detect another. During the holdoff time, the oscilloscope will not trigger. For a pulse
train, the holdoff time can be adjusted to let the oscilloscope trigger only on the first pulse in the train.
Trigger Level Knob
Loading ...
Loading ...
Loading ...