Loading ...
Loading ...
Loading ...
3.
Select a region. For the detecon region sengs, refer to Draw Area .
4.
Set the minimum size and the maximum size for the target to improve detecon accuracy. Only
targets whose size are between the maximum size and the minimum size trigger the detecon.
For the detail sengs, refer to Set Size Filter .
5.
Set the rule.
Sensivity
Sensivity stands for the percentage of the body part of an acceptable target that enters the
predened region. Sensivity = 100 - S1/ST × 100. S1 stands for the target body part that goes
across the predened region. ST stands for the complete target body. The higher the value of
sensivity is, the more easily the alarm can be triggered.
Threshold
The threshold for the me of the objects removed from the region. If you set the value as 10,
alarm is triggered aer the object disappears from the region for 10s.
6.
Oponal: Repeat the above steps to set more regions.
7.
For the arming schedule sengs, see Set Arming Schedule . For the linkage method sengs, see
Linkage Method Sengs .
8.
Click Save.
Note
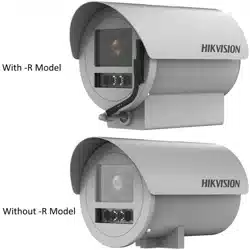
The funcon is only supported by certain models. The actual display varies with the models.
10.2.7 Draw Area
This secon introduces the conguraon of area.
Steps
1.
Click Detecon Area.
2.
Click on the live view to draw the boundaries of the detecon region, and right click to complete
drawing.
3.
Click Save.
Note
●
Click Clear to clear the selected area.
●
Click Clear All to clear all pre-dened areas.
10.2.8 Set Size Filter
This part introduces the seng of size lter. Only the target whose size is between the minimum
value and maximum value is detected and triggers alarm.
Steps
1.
Click Max. Size, and drag the mouse in the live view to draw the maximum target size.
Network Camera User Manual
84
Loading ...
Loading ...
Loading ...