Loading ...
Loading ...
Loading ...
CONFIRMING THE PATTERN POSITION
58
c
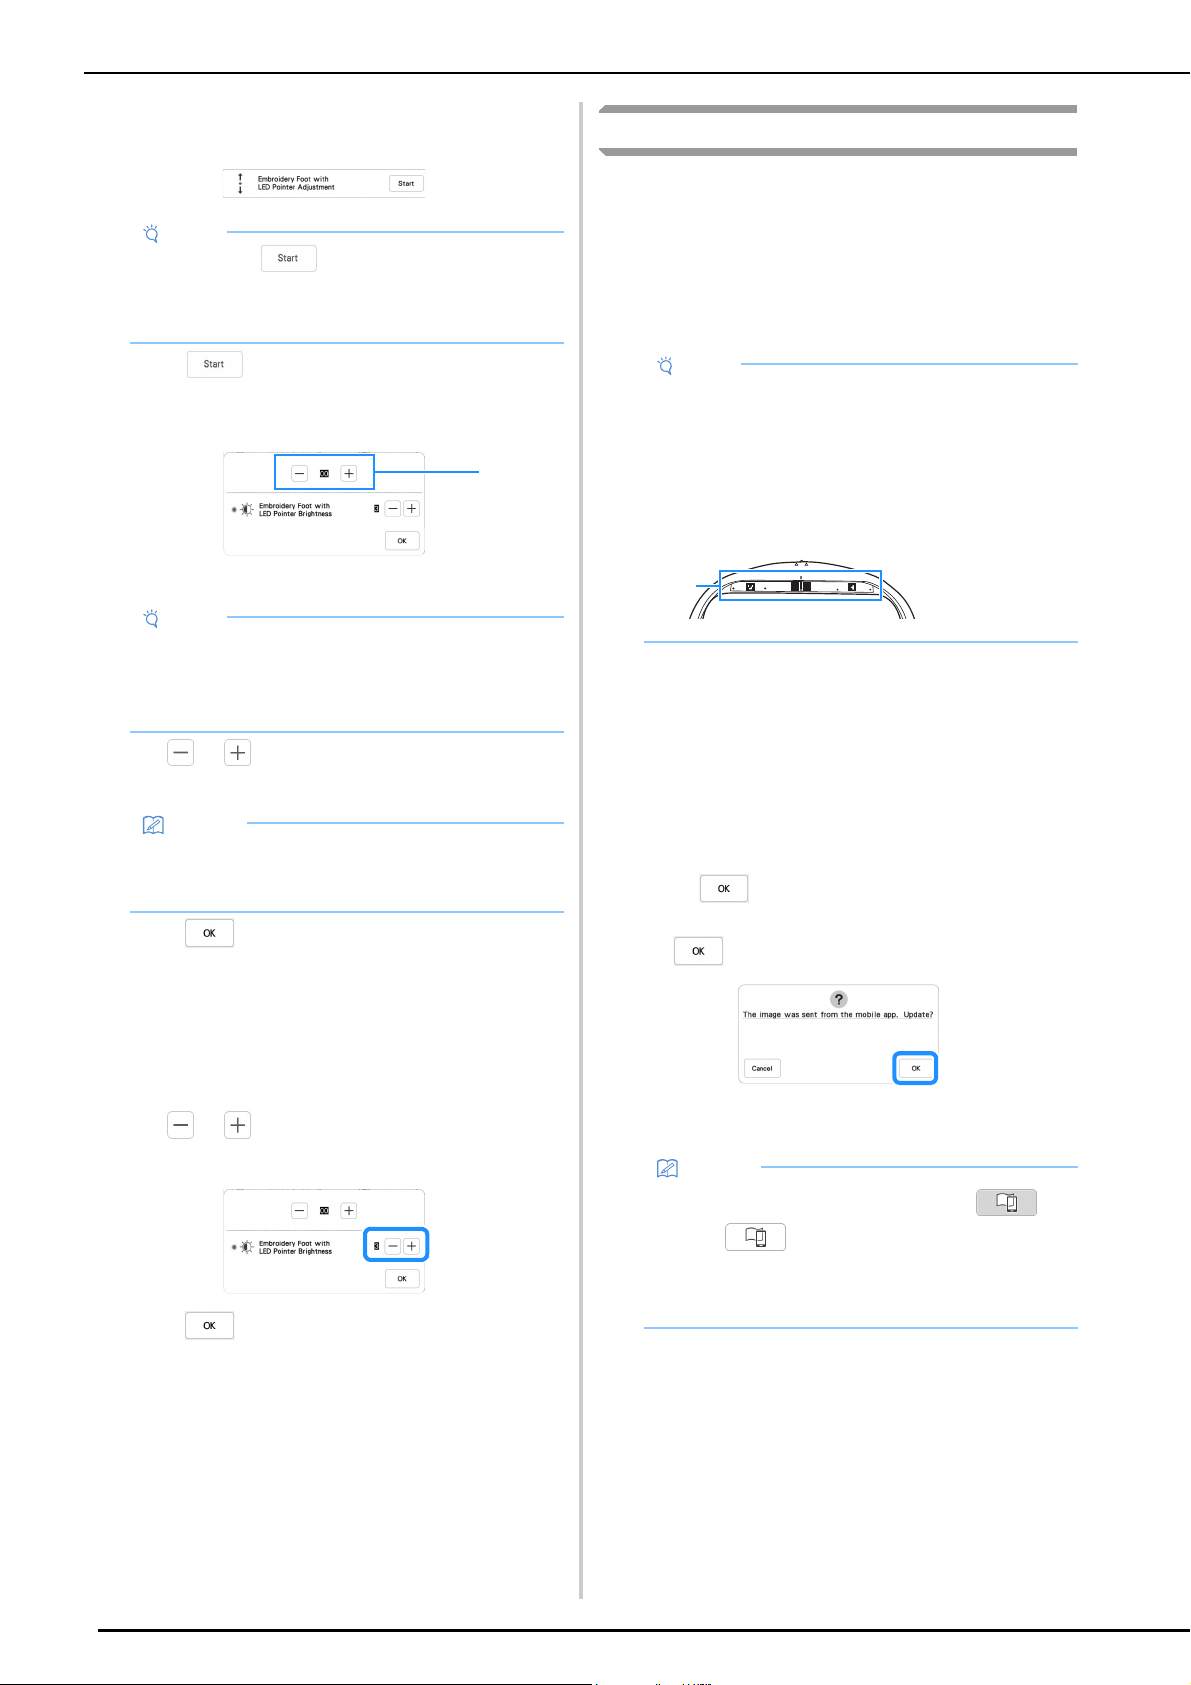
Display [Embroidery Foot with LED Pointer
Adjustment] in the embroidery setting screen.
d
Touch .
The Embroidery Foot “W+” with LED Pointer
Adjustment screen appears.
1 LED pointer adjustment
e
Use or to adjust the LED pointer so that it
indicates the actual needle drop point.
f
Touch to return to the original screen.
Adjusting the Brightness of the LED Pointer
a
Follow the steps from a to c of “Adjusting the LED
Pointer” on page 57 to display the embroidery foot
with LED pointer adjustment screen.
b
Use or to adjust the brightness of the LED
pointer.
c
Touch to return to the original screen.
Displaying a Background Image
Using a special application downloaded to a smartphone or
tablet, you can transfer a photo of the hooped fabric to be
embroidered to the machine to be used as a background
image.
The embroidery frame is displayed in the application. You can
see how the pattern will be arranged on the actual fabric.
For details, refer to “MY DESIGN SNAP APP” on page 107.
Displaying the Background Image on the
Screen of the Machine
a
Select the pattern. (page 33)
b
Photograph the fabric in the frame with the easy mode
of the application, and then transfer it to the machine.
For a detailed procedure, refer to the application.
c
Touch .
* Attach the frame used in the image before touching
.
The transferred background image appears on the
screen of the machine.
Note
• As a default, appears gray. After the
embroidery foot “W+” with LED pointer is attached
to the machine, the key becomes available and
settings can be specified.
Note
• The specified setting is saved in the machine’s
memory. This is useful for positioning during
continuous embroidering.
• For normal use, return the setting to [00].
Memo
• In order to more accurately check the needle drop
point, turn the handwheel toward you
(counterclockwise) to lower the needle.
1
Note
• The wireless network settings must first be
specified on the machine. Refer to “WIRELESS
NETWORK CONNECTION FUNCTIONS” on
page 18.
• Embroidery frames with factory-coded stickers can
be used with the application (My Design Snap).
Memo
• To hide the background image, touch .
Touch to display the background image
again.
• The transferred background image includes the
embroidery frame display.
1 Factory-
coded
stickers
1
Loading ...
Loading ...
Loading ...