
Loading ...
Loading ...
Loading ...
EN
2-Installtion
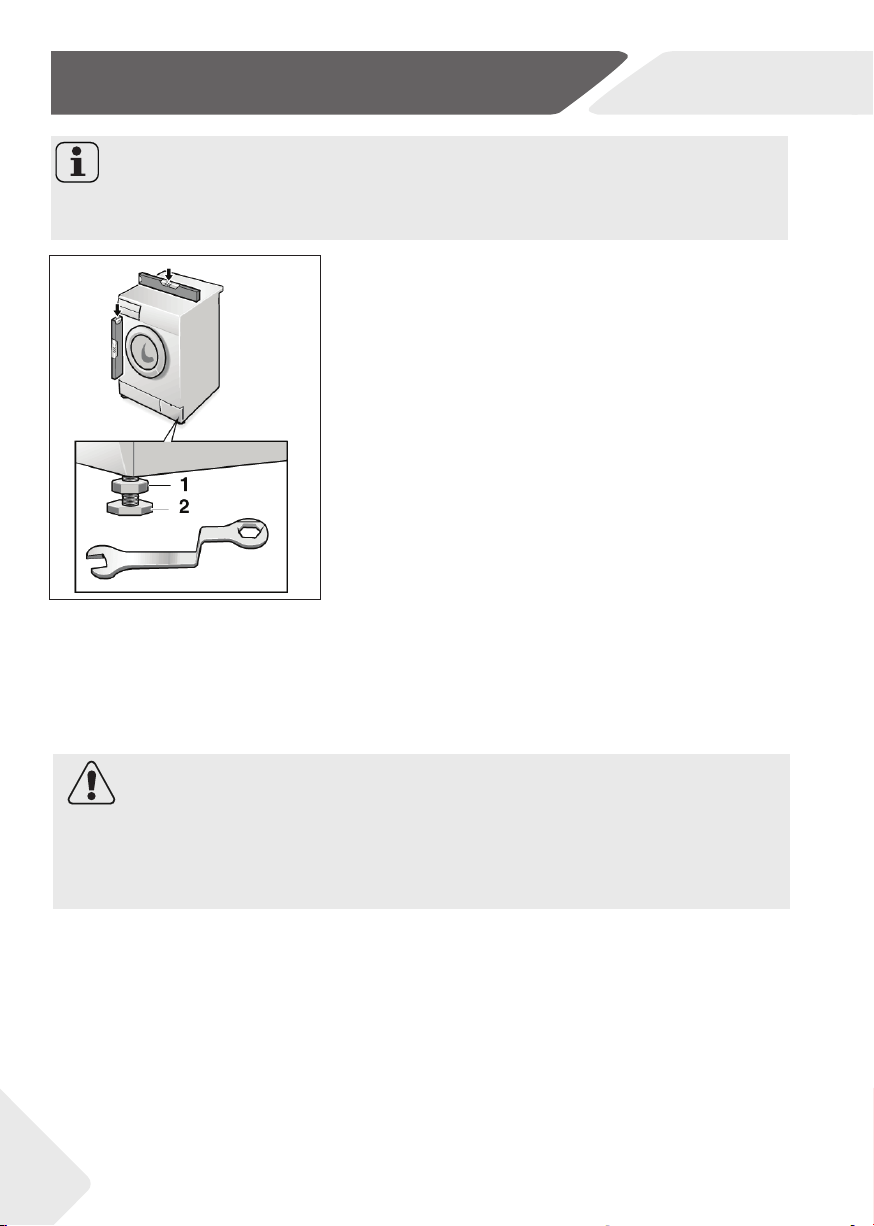
2.5 Aligning the appliance
Adjust all feet (Fig. 2-4) to achieve a complete level
position. This will minimize vibrations and thus noise
during use. It will also reduce wear and tear. We recom-
mend to use a spirit level for adjustment. Floor should
be as stable and fl at as possible.
1. Loose the locknut (1) by using a wrench.
2. Adjust the high by turning the foot (2).
3. Tighten lock ut (1) against the housing.
2.4 Moving the appliance
If the machine is to be moved to a distant location, re-
place the transportation bolts removed before instal-
lation to prevent damage. The assembly takes place in
reverse order.
Note: Keep in safe place
Keep the transportation bolts in a safe place for later use. Whenever the appliance is to
be moved at fi rst reinstall the bolts.
2-4
2.6 Drain Water Connection
Fix the water drain hose properly to the piping. The hose has to reach at one point a height
between 80 and 100 cm above the appliance bottom line! If possible keep always drain
hose fi xed to the clip at the appliance back.
WARNING!
▶ Use only the supplied hose set for the connection.
▶ Never reuse old hose sets!
▶ Only connect to cold water supply.
▶ Before connection, check whether the water is clean and clear.
8
Loading ...
Loading ...
Loading ...