Loading ...
Loading ...
Loading ...
Using the MIDI Recorder to Record
EN-110
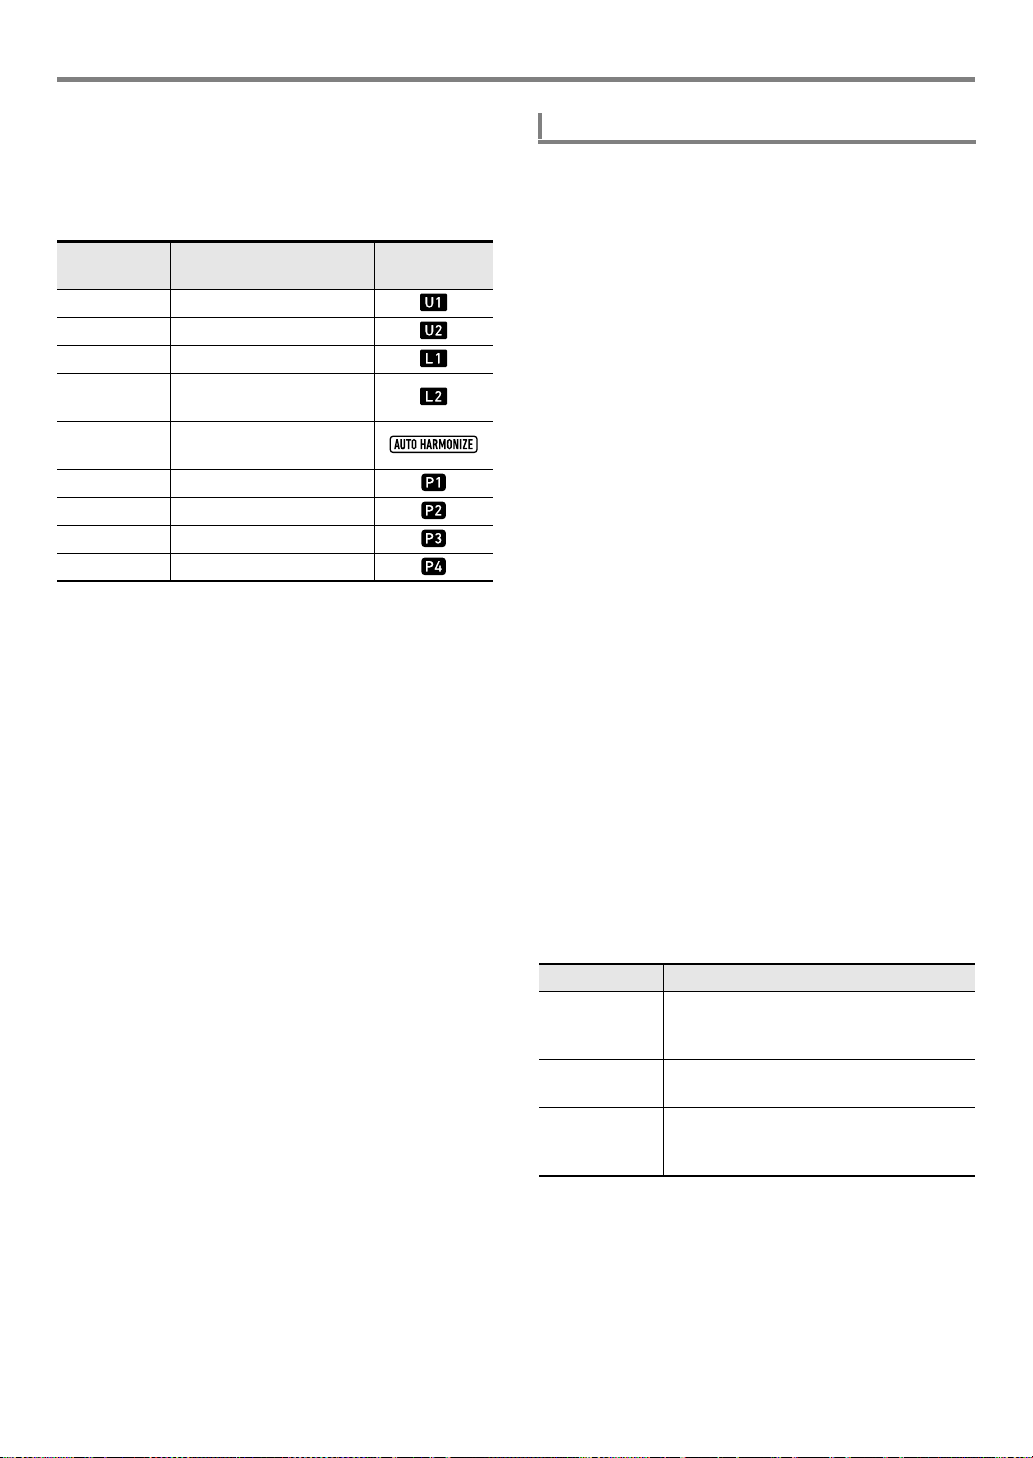
■ Selecting a System Track Part
When the system track is specified as the event edit target
track, you can use the buttons below to select the part to be
edited. You can find out the selection status of each part by
checking for the indicators shown in the “Display” column of
the table.
• The UPPER 1 and UPPER 2 parts can be selected at the
same time. The LOWER 1 and LOWER 2 parts can be
selected at the same time. Step inputting an event while
two parts are selected will simultaneously input the same
event into both parts.
• Auto harmonize part and the parts of phrase pads 1
through 4 can only be selected individually. Selecting these
parts will cause the indicators of the other parts to
disappear.
1.
Perform the procedure under “To enter the
Song Editing Mode” (page EN-99).
2.
Use the [1] (V) and [3] (W) bm number keys
to display “TrkEvent”, and then press [6]
(ENTER).
This displays “Trk Sy”
3.
Use bn [–] and [+] or the bl dial to specify the
system track, and then press [6] (ENTER).
This displays the [EVENT] indicator.
4.
If there is no [ACCOMP] indicator displayed,
press cm ACCOMP to display it.
5.
Use the [2] (w) and [5] (q) bm number keys to
display the event within the measure from
which you want to start step input.
• The step input start point is the beginning of the
measure.
6.
Press cs REGISTRATION [1].
This displays the [STEP] indicator and enters the Step
Input Mode.
7.
If necessary, specify the chord event velocity
(keyboard touch).
• For information about how to specify the setting, see
step 6 under “To input note events using step input”
(page EN-108).
8.
Specify the event length of the event you will
input in step 9.
• For information about how to specify the setting, see
step 7 under “To input note events using step input”
(page EN-108).
9.
Specify the event to be input.
*1 For details about chord fingering modes, see “Changing
Accompaniment Keyboard Settings” (page EN-48).
*2 For information about how to specify this setting, see step
8 under “To input note events using step input” (page
EN-108).
10.
Repeat steps 7 through 9 as required.
To select this
part:
Press this button: Display
UPPER 1 cs REGISTRATION [7]
UPPER 2 dq UPPER LAYER
LOWER 1 dp SPLIT
LOWER 2
dq UPPER LAYER
(Long-press)
Auto
Harmonize
do AUTO HARMONIZE
Phrase Pad 1 cq PHRASE PAD [P1]
Phrase Pad 2 cq PHRASE PAD [P2]
Phrase Pad 3 cq PHRASE PAD [P3]
Phrase Pad 4 cq PHRASE PAD [P4]
To input chord events using step input
To input this: Perform this operation:
Chord Event After specifying an event length in step 8,
use the accompaniment keyboard to
specify a chord.*
1
Rest
(NonChord)
After specifying an event length in step 8,
press cs REGISTRATION [2].
Tie*
2
After specifying the event length of a
chord to tie with the previous chord event
in step 8, press cs REGISTRATION [3].
CTX5000_3000_EN.book 110 ページ 2018年2月26日 月曜日 午後3時56分
Loading ...
Loading ...
Loading ...