Loading ...
Loading ...
Loading ...
Initial setup 7
g
Access or exit system settings.
h
Return to a previous menu screen.
i
• Press to access the Android TV home
screen.
• Press and hold for 2 seconds to activate
auto-focus.
j
Navigation buttons
Navigate menu options.
k
LED indicator
• Each time you press a button on the
remote control, the LED lights up briefly
and then off.
• The LED glows blue when the voice
search function is activated.
l
Press once to switch the projector on; press
twice to switch the projector off.
3 Initial setup
Notice
Make sure all devices are disconnected
from the power outlet before establishing
or changing any connections.
Place the projector
You can install the projector in four different
configurations. Follow the guidelines below for
different projector placement.
Notice
For overhead mounting on ceiling,
purchase a projector mount
recommended by an installation
professional and follow the instructions
that come with the mount.
Before mounting on the ceiling, make
sure the ceiling can support the weight
of the projector and mounting kit.
For ceiling installation, this product
must be securely attached to the ceiling
in accordance with the installation
instructions. An improper ceiling
installation may result in accident, injury
or damage.
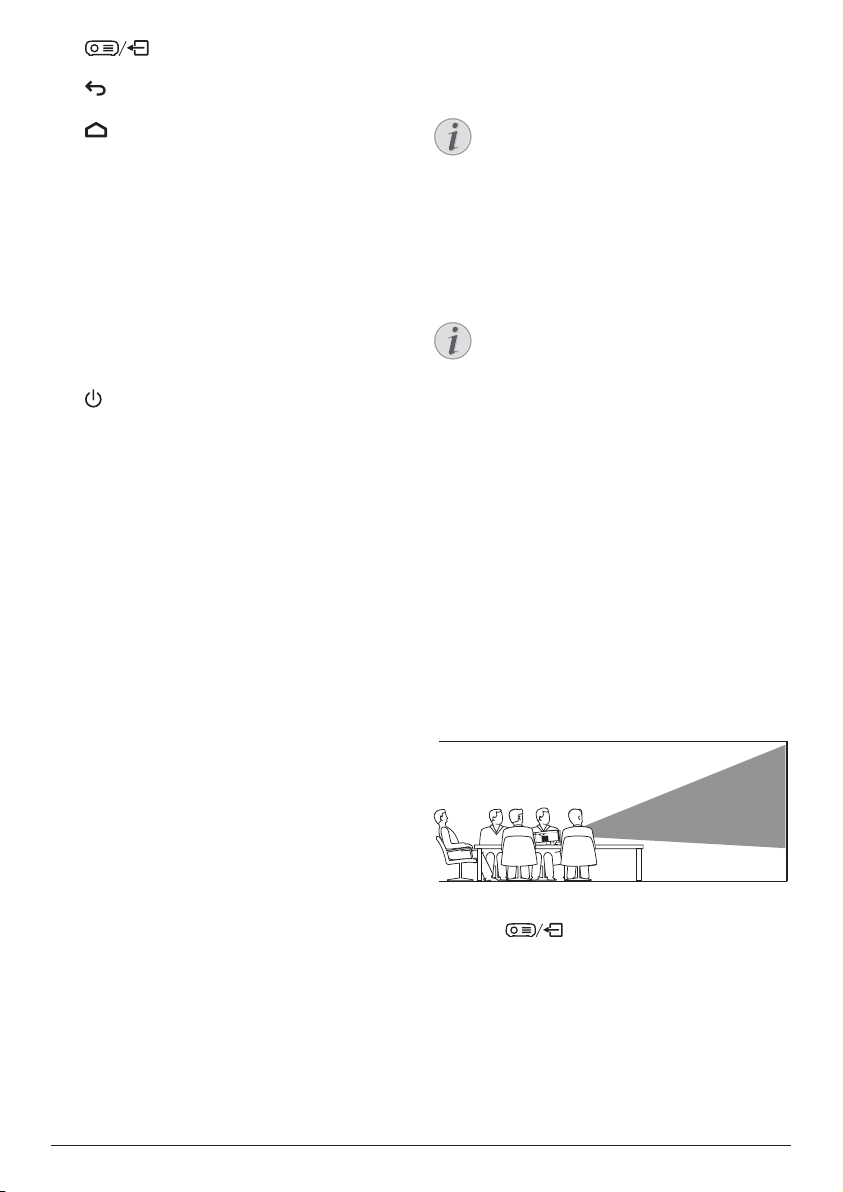
Front table
1 Place the projector on a table in front of the
projection screen. This is the most common
way to position the projector for quick
setup and portability.
2 To adjust projection to the correct position,
press
on the remote control to
access the settings menu and navigate to
Projection Direction - Front.
Loading ...
Loading ...
Loading ...