Loading ...
Loading ...
Loading ...
en Microwave
16
8.4 Intervals for the time settings
The interval for setting a cooking time in microwave op-
eration changes with the length of the cooking time.
Cooking time Interval
0–1minutes 5seconds
1-3minutes 10seconds
3–15minutes 30seconds
15minutes – 1hour 1minute
1hour–
1hour30minutes
5minutes
8.5 Configuring the microwave settings
ATTENTION!
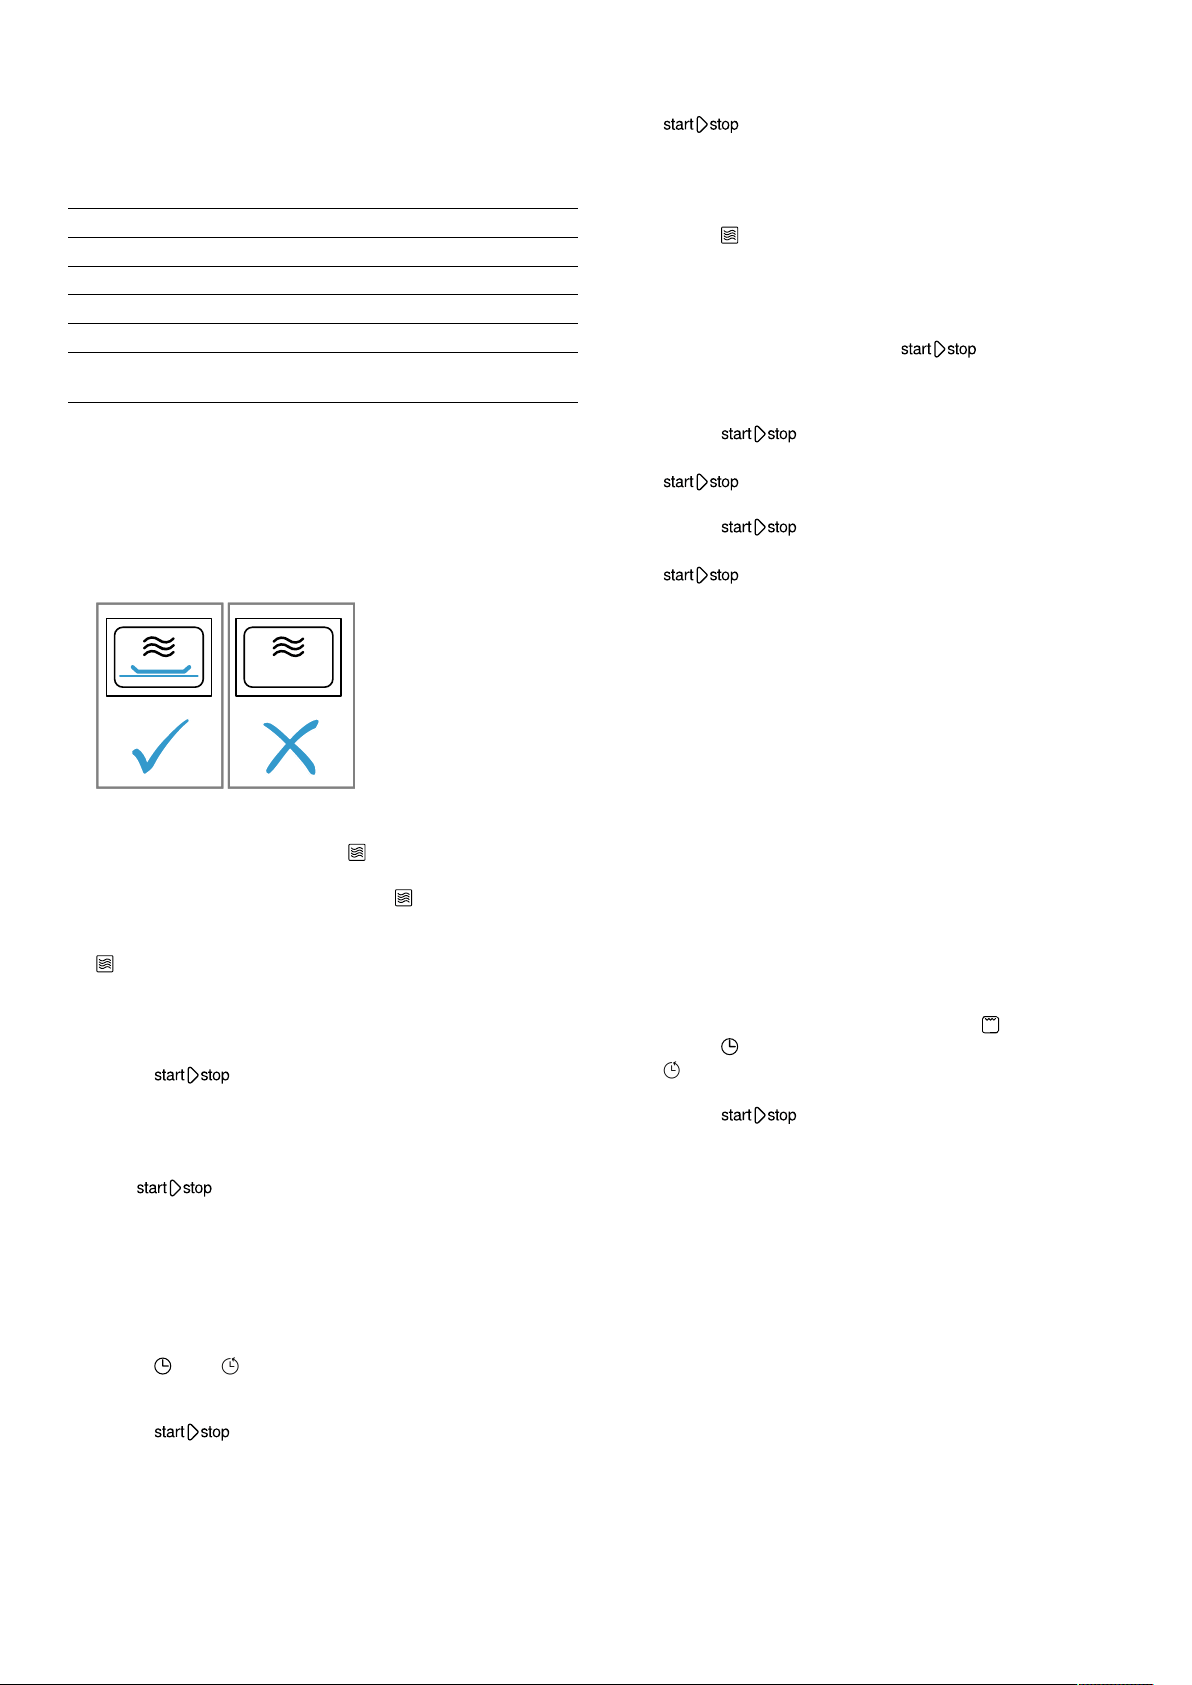
Operating the appliance without food in the cooking
compartment may lead to overloading.
▶ Do not switch on the microwave unless there is food
inside. The only exception to this rule is when per-
forming a short cookware test.
1.
Read the safety instructions →Page4 and the sec-
tion on how to prevent material damage →Page6.
2.
Set the function selector to .
a The appliance is ready to use. The display shows
the maximum microwave output as a default
value.
3.
To set the required microwave output setting, press
.
a The microwave output setting is highlighted and a
default cooking time is shown on the display.
4.
Use the rotary selector to set the required cooking
time.
5.
Press to start.
You can change the cooking time at any time during
operation using the rotary selector.
a The cooking time starts to count down and the mi-
crowave starts.
a The LED lights up.
Note:Once the cooking time has elapsed, the appli-
ance stops the microwave operation and a signal
sounds.
8.6 Setting the cooking time
1.
Set an operating mode.
2.
Press until is highlighted.
3.
Use the rotary selector to set the required cooking
time.
4.
Press .
a The appliance starts heating.
a lights up.
a You can see the cooking time counting down.
8.7 Changing the microwave output setting
▶
Press until the required setting is selected on the
display.
Note:Touching it several times switches the output set-
tings from the highest to the lowest level.
If the microwave function is only added after starting,
the appliance pauses. Press to start.
8.8 Pausing the operation
1.
Press or open the appliance door.
a The appliance stops the operation.
a flashes.
2.
Close the appliance door.
3.
Press .
a The appliance continues the operation.
a lights up.
8.9 Stopping operation
You can stop operation at any time.
▶
Turn the function selector to the off position.
The fan may continue to run after operation has
been paused or stopped.
a The appliance stops any ongoing functions.
8.10 Heating and drying the cooking
compartment
Always dry the cooking compartment after operation to
ensure that no moisture remains.
1.
Allow the appliance to cool down.
2.
Remove the worst of the food residues from the
cooking compartment immediately.
3.
Wipe away any moisture from the cooking compart-
ment floor.
4.
Use the function selector to select .
5.
Press twice.
a is highlighted on the display.
6.
Use the rotary selector to set a time of 15minutes.
7.
Press to start.
a The drying process starts and ends after
15minutes.
8.
Open the appliance door for 1 to 2 minutes to allow
the steam to escape.
8.11 Drying the cooking compartment by
hand
Always dry the cooking compartment after operation to
ensure that no moisture remains.
1.
Allow the appliance to cool down.
2.
Remove the worst of the food residues from the
cooking compartment.
3.
Dry the cooking compartment with a sponge.
4.
Leave the appliance door open for 1 hour so that
the cooking compartment dries completely.
Loading ...
Loading ...
Loading ...