Loading ...
Loading ...
Loading ...
7
Parameter adjustment
Use the adjusting keys to set the parameters.
Parameter Function
Auto menu
Select 13 automatic programmes.
From P 01 to P 13.
Temperature
Select the temperature of cooking
(°C ).
: 50, 100, 105, 110 ... 230
: 100, 105, 110 ... 230
: 100, 105, 110 ... 230
: 50, 100, 105, 110 ... 230
: 100, 105, 110 ... 230
: 100, 105, 110 ... 230
Weight Set the weight of cooking.
Time Set the time of cooking.
Microwave
Select microwave power.
100W, 300W, 450W, 700W
and 900W
Cooling fan
The appliance has a cooling fan that helps to vent the hot
air and steam from inside the cavity. The cooling fan will
continue to run for some time after the end of the cooking
cycle has finished, this is part of the normal cooling cycle
operation.
CAUTION
Do not cover the ventilation slots. Otherwise, the
appliance will overheat.
NOTE:
• Condensation may appear on the door window,
interior walls and floor. This is normal and does not
adversely affect microwave operation. Wipe away the
condensation after cooking.
ACCESSORIES
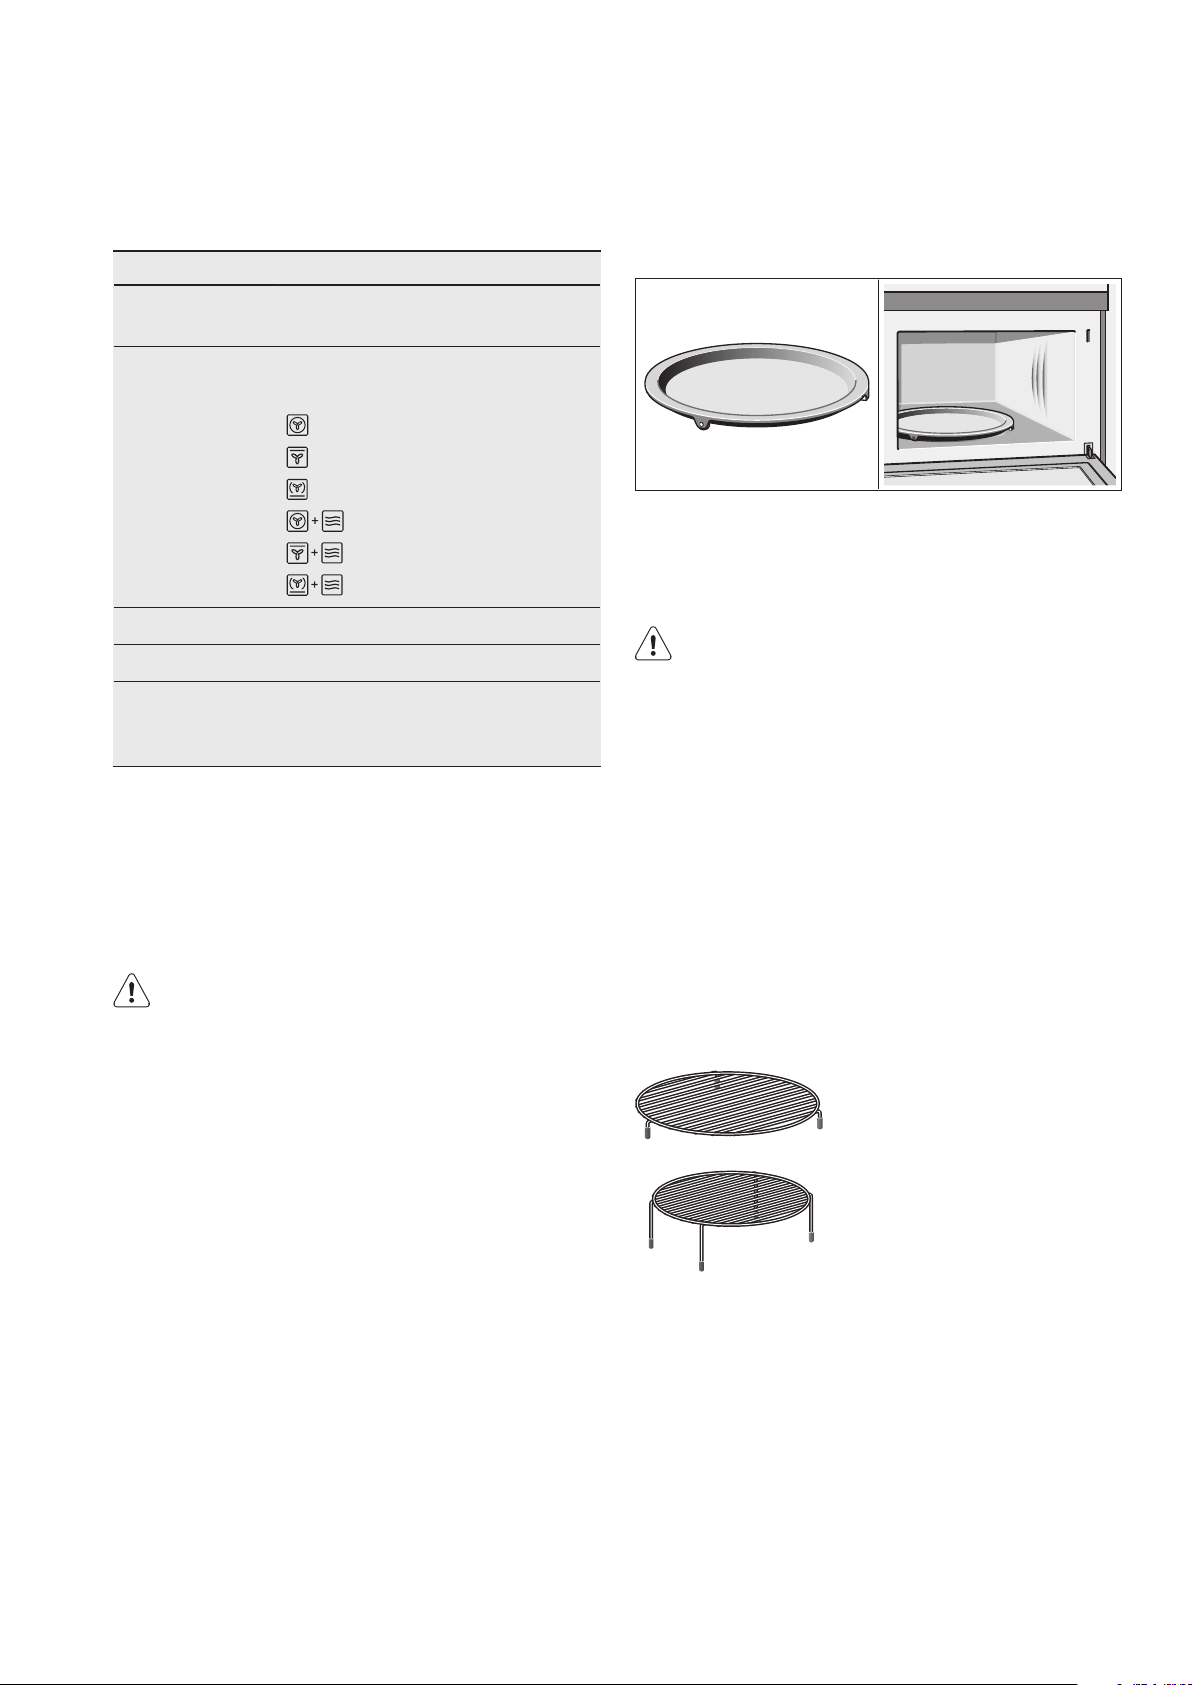
Turntable
The supplied high and low wire racks are suitable for
use with this product on all modes, including microwave
mode. Please ensure that the wire grill rack is placed
centrally on top of the turntable during use.
WARNING
Do not use other wire racks or metal cookware as
they may not be compatible for use on microwave
mode and could damage the appliance.
Food which particularly requires a lot of heat from
underneath can be prepared directly on the turntable.
The turntable can turn clockwise or anti-clockwise.
Place the turntable on the drive in the centre of the cooking
compartment. Ensure that it is properly fitted.
• Never use the microwave without the turntable.
• The turntable can withstand max. 5 kg.
• The turntable must turn when using all types
of heating.
Lower wire rack
For the microwave and for baking and roasting in the oven.
Higher wire rack
For grilling, e.g. steaks, sausages and for toasting bread.
As a support for shallow dishes.
Cleaning the accessories
Before you use the accessories for the first time,
clean them thoroughly with hot soapy water and a
soft dish cloth.
Loading ...
Loading ...
Loading ...