Loading ...
Loading ...
Loading ...
Oven Controls
Setting Delay Start
Bake, Cook Time, and Delay Start control the Delay Start
feature, which sets a delayed starting and stopping time to the
oven cooking or cleaning functions. Prior to setting a delay start,
be sure the time of day is set correctly.
Delay Start may be used with Convection Bake, Convection
Roast, Convection Convert, Bake, Slow Cook, and Self Clean.
Delay Start or Cook Time will not operate with the Broil function.
Important note:
• Delay Start may be set using a 24 hr clock. To set clock for
24 Hr operation, see "Setting 12 hour or 24 hour display
mode" on page 15 for more information.
• If your clock is set for normal 12 hour display mode, the
Delayed Time Bake or Delayed Timed Convection Bake
cycle can never be set to start more than 12 hours in
advance.
To program oven for a Delay Start beginning at 5:30, to shut-off
automatically after 30 minutes, and for baking at 350°F
(177°C):
Food Poisoning Hazard. Do not let food sit for
more than one hour before or after cooking. Doing so can result
in food poisoning or sickness. Foods that can easily spoil such as
milk, eggs, fish, meat, or poultry should be chilled in the refriger-
ator first. Even when chilled, they should not stand in the oven
for more than 1 hour before cooking begins and should be
removed promptly when finished cooking
1. Be sure the clock is set for the correct time of day.
2. Arrange interior oven rack(s) and place the food in the
oven.
3. Press Upper Oven or Lower Oven.
4. Press Bake (Figure 41).
Figure 41: Setting bake for Delay Start
5. Press START. The actual oven temperature will be displayed
(Figure 42).
Figure 42: Actual oven temperature appearing in display
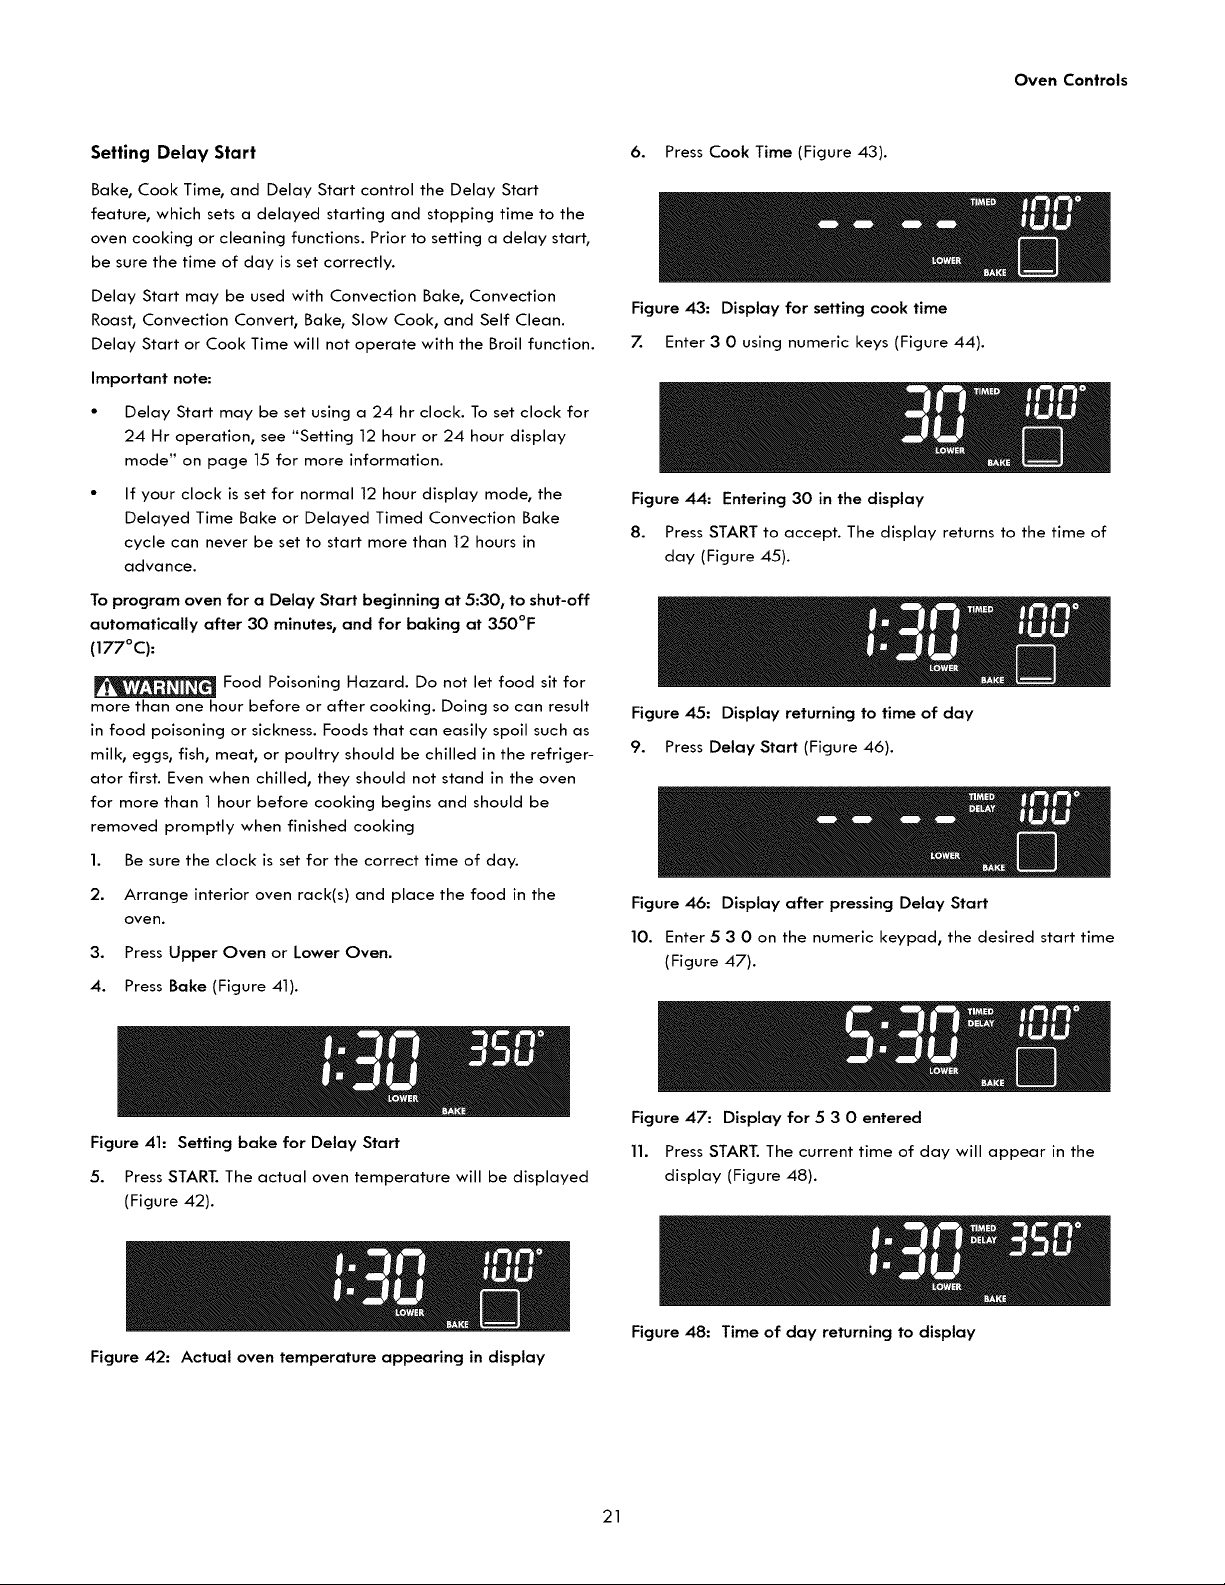
6. Press Cook Time (Figure 43).
Figure 43: Display for setting cook time
Z Enter 3 0 using numeric keys (Figure 44).
Figure 44: Entering 30 in the display
8. Press START to accept. The display returns to the time of
day (Figure 45).
Figure 45: Display returning to time of day
9. Press Delay Start (Figure 46).
Figure 46: Display after pressing Delay Start
10. Enter 5 3 0 on the numeric keypad, the desired start time
(Figure 47).
Figure 47: Display for 5 3 0 entered
11. Press START. The current time of day will appear in the
display (Figure 48).
Figure 48: Time of day returning to display
21
Loading ...
Loading ...
Loading ...