Loading ...
Loading ...
Loading ...
Oven Controls
Minimum and Maximum Control Settings
All of the features listed have minimum and maximum time and
temperature settings that may be entered into the control. An
entry acceptance beep will sound each time a key is touched.
An entry error tone (three short beeps) will sound if the entry of
the temperature or time is below the minimum allowable setting
or above the maximum setting for the cooking feature. The error
tone will also sound any time a key is pressed if the entry is
determined to be an invalid selection.
Table 2:
Feature
Bake
Broil
Timer
Self Clean
Conv Bake
Conv Roast
Slow Cook
Cook Time
Delay time 12hr
Delay time 24hr
Clock 12hr
Clock 24hr
Minimum and maximum control settings
Min. Temp. or Time
170°F (77°C)
400°F (205°C)
0:01 Min
2 Hours
300°F (148°C)
300°F (148°C)
LO 225°F (107°C)
0:01 Min.
1:00 Hr./Min.
0:00 Hr./Min.
1:00
0:00
Max. Temp. or Time
550°F (288°C)
550°F (288°C)
11 Hrs. 59 Mins.
4 Hours
550°F (288°C)
550°F (288°C)
HI 275°F (135°C)
11 Hrs. 59 Mins.
12 Hrs. 59 Mins.
23 Hrs. 59 Mins.
12:59
23:59
Choosing and Setting an Oven
Both the upper and lower ovens may be set to cook at the same
time using different functions. For example, you may want to use
the convection bake function in the lower oven while broiling in
the upper oven at the same time. First, select which oven you
want to set or modify by pressing either Upper Oven or Lower
Oven. Then, follow the instructions in this guide to set the
desired cooking functions.
The display will indicate which oven is currently available to be
set by displaying UPPER or LOWER on the control.
If UPPER is displayed but you wish to set or change the settings
for the lower oven, press Lower Oven once to change the oven
selection. Then make the setting/changes. You may toggle
between either oven and make setting changes at any time.
Important: Convection features are available only in the lower
oven, and the broil feature is available only in the upper oven.
Setting The Clock
When the appliance is powered up for the first time or when the
electric supply to the appliance has been interrupted, the
display will flash 12:00 (Figure 15). Before any function of the
oven can be set, STOP must be pressed. This will set the clock at
12:00. The time of day must first be set before operating the
oven.
To set clock to 1:30:
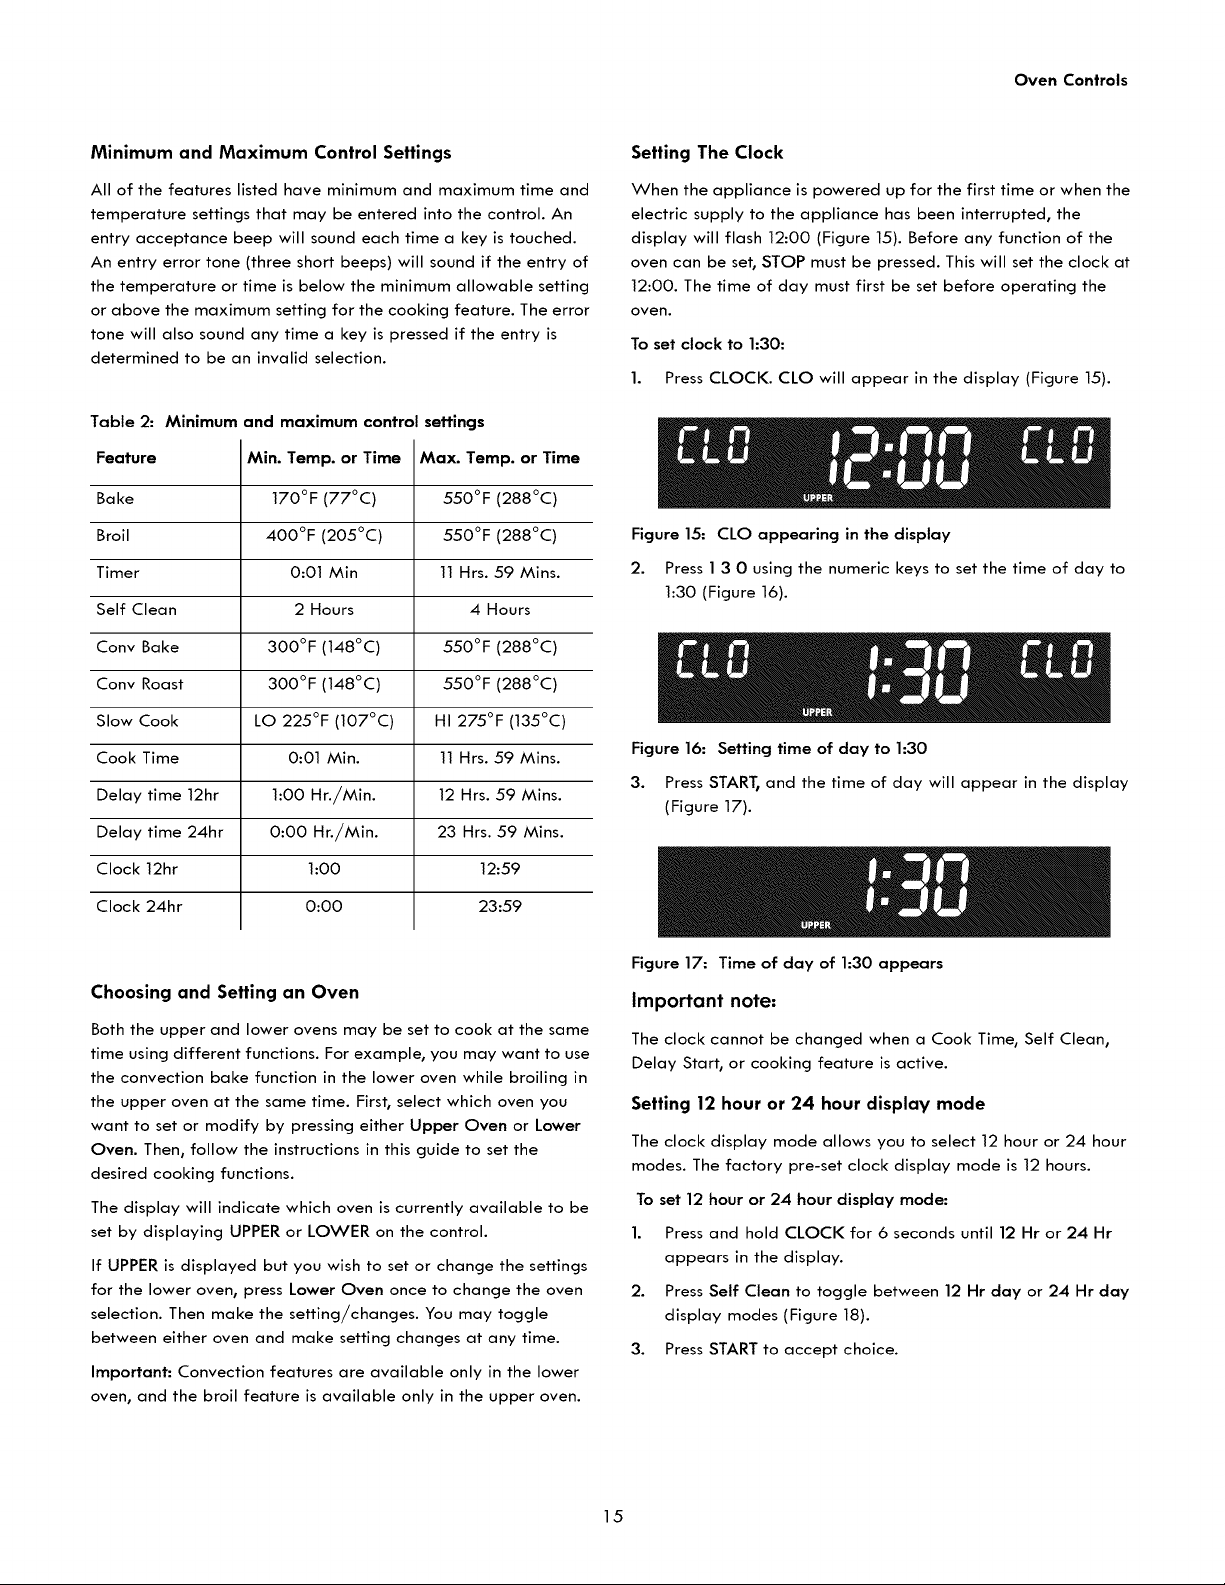
1. Press CLOCK. CLO will appear in the display (Figure 15).
Figure 15: CLO appearing in the display
2. Press 1 3 0 using the numeric keys to set the time of day to
1:30 (Figure 16).
Figure 16: Setting time of day to 1:30
3. Press START, and the time of day will appear in the display
(Figure 17).
Figure 17: Time of day of 1:30 appears
Important note=
The clock cannot be changed when a Cook Time, Self Clean,
Delay Start, or cooking feature is active.
Setting 12 hour or 24 hour display mode
The clock display mode allows you to select 12 hour or 24 hour
modes. The factory pre-set clock display mode is 12 hours.
To set 12 hour or 24 hour display mode:
1. Press and hold CLOCK for 6 seconds until 12 Hr or 24 Hr
appears in the display.
2. Press Self Clean to toggle between 12 Hr day or 24 Hr day
display modes (Figure 18).
3. Press START to accept choice.
15
Loading ...
Loading ...
Loading ...