Loading ...
Loading ...
Loading ...
Before Setting Surface Controls
Setting Proper Burner Flame Size
Never extend the flame beyond the outer edge
of the cooking utensil. A higher flame wastes energy, and
increases your risk of being burned by the flame.
The color of the flame is the key to proper burner adjustment. A
good flame is clear, blue and hardly visible in a well-lighted
room. Each cone of flame should be steady and sharp. Adjust or
clean burner if flame is yellow-orange.
For most cooking: start on the highest setting and then turn to a
lower setting to complete the process. Use the recommendations
in Table 1 as a guide for determining proper flame size for
various types of cooking.)
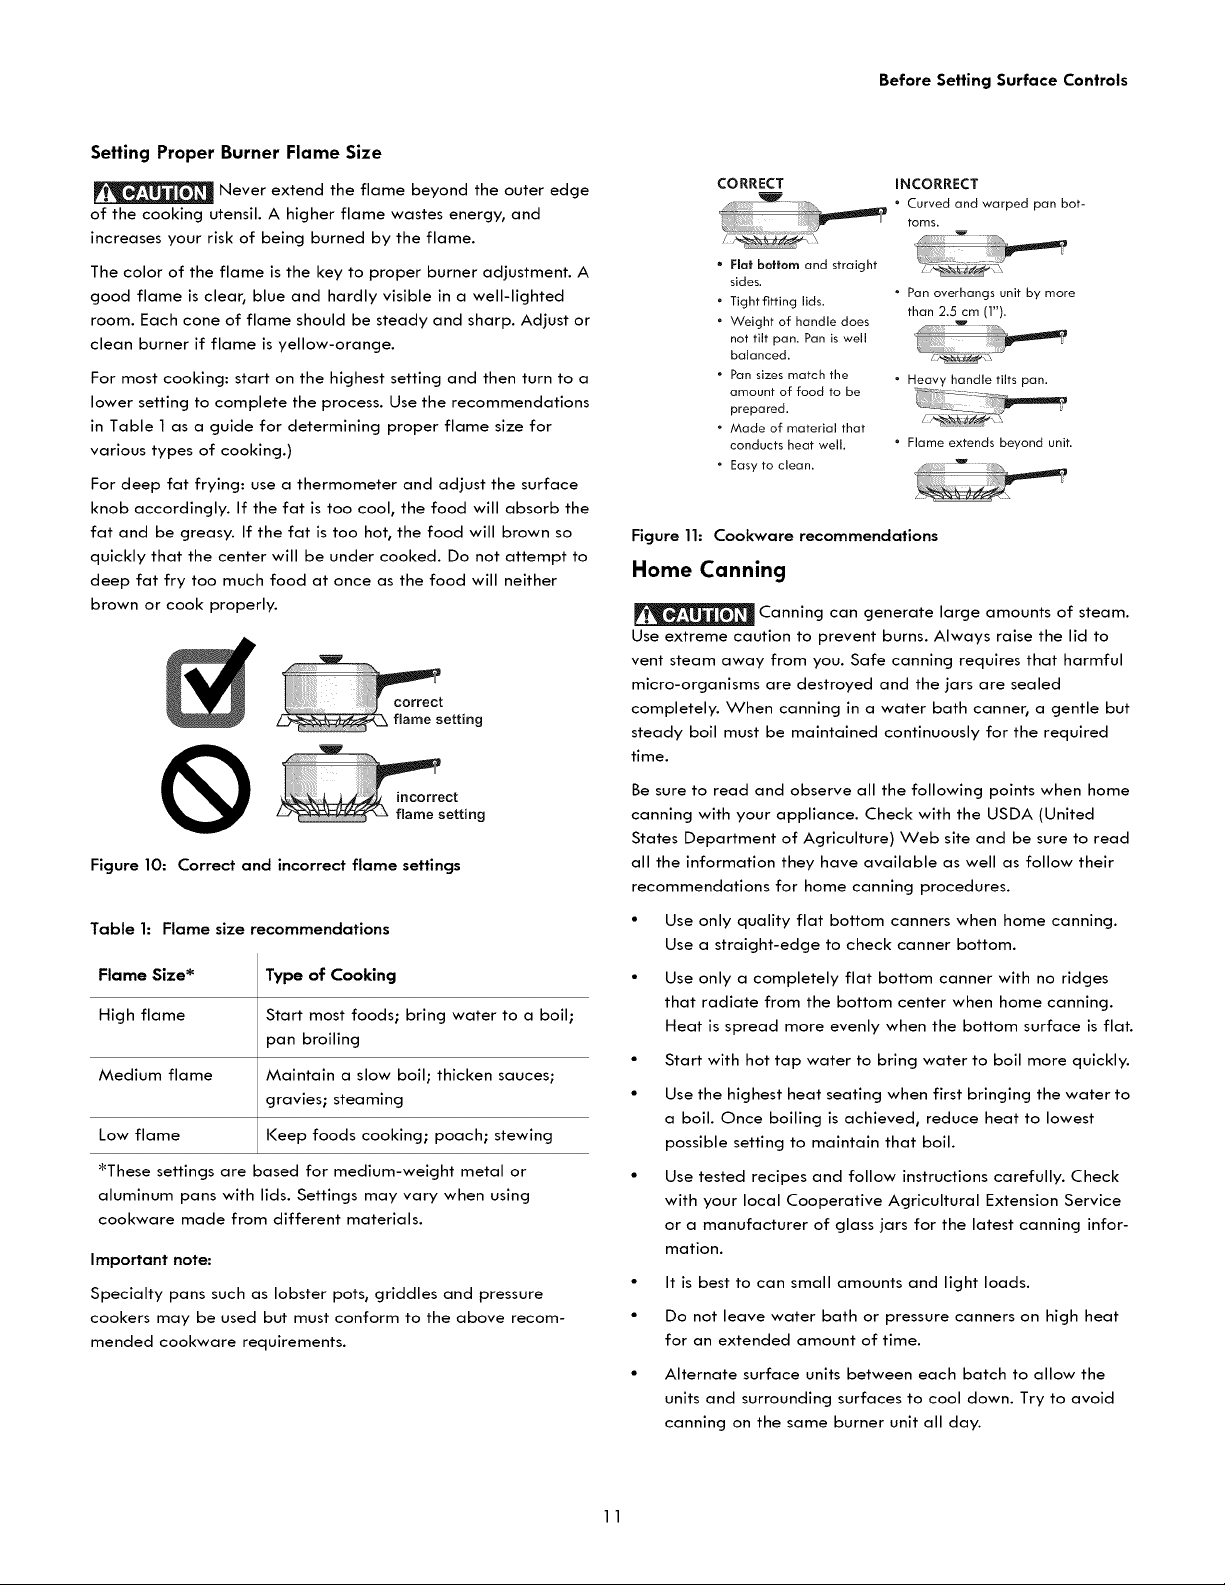
For deep fat frying: use a thermometer and adjust the surface
knob accordingly. If the fat is too cool, the food will absorb the
fat and be greasy. If the fat is too hot, the food will brown so
quickly that the center will be under cooked. Do not attempt to
deep fat fry too much food at once as the food will neither
brown or cook properly.
Figure 10: Correct and incorrect flame settings
Table 1: Flame size recommendations
Flame Size* Type of Cooking
High flame Start most foods; bring water to a boil;
pan broiling
Medium flame Maintain a slow boil; thicken sauces;
gravies; steaming
Low flame Keep foods cooking; poach; stewing
_These settings are based for medium-weight metal or
aluminum pans with lids. Settings may vary when using
cookware made from different materials.
Important note:
Specialty pans such as lobster pots, griddles and pressure
cookers may be used but must conform to the above recom-
mended cookware requirements.
CORRECT
• Flat bottom and straight
sides.
• Tightfltting lids.
• Weight of handle does
not tilt pan. Pan is weJJ
balanced.
Pan sizes match the
amount of food to be
prepared.
• Made of material that
conducts heat well.
Easy to clean.
INCORRECT
• Curved and warped pan bot_
toms.
Pan overhangs unit by more
than 2.5 cm (1").
• Heavy handle tilts pan.
• Flame extends beyond unit.
Figure 11: Cookware recommendations
Home Canning
Canning can generate large amounts of steam.
Use extreme caution to prevent burns. Always raise the lid to
vent steam away from you. Safe canning requires that harmful
micro-organisms are destroyed and the jars are sealed
completely. When canning in a water bath canner, a gentle but
steady boil must be maintained continuously for the required
time.
Be sure to read and observe all the following points when home
canning with your appliance. Check with the USDA (United
States Department of Agriculture) Web site and be sure to read
all the information they have available as well as follow their
recommendations for home canning procedures.
• Use only quality flat bottom canners when home canning.
Use a straight-edge to check canner bottom.
• Use only a completely flat bottom canner with no ridges
that radiate from the bottom center when home canning.
Heat is spread more evenly when the bottom surface is flat.
• Start with hot tap water to bring water to boil more quickly.
• Use the highest heat seating when first bringing the water to
a boil. Once boiling is achieved, reduce heat to lowest
possible setting to maintain that boil.
Use tested recipes and follow instructions carefully. Check
with your local Cooperative Agricultural Extension Service
or a manufacturer of glass jars for the latest canning infor-
mation.
• It is best to can small amounts and light loads.
• Do not leave water bath or pressure canners on high heat
for an extended amount of time.
• Alternate surface units between each batch to allow the
units and surrounding surfaces to cool down. Try to avoid
canning on the same burner unit all day.
11
Loading ...
Loading ...
Loading ...