Loading ...
Loading ...
Loading ...
Periodic maintenance allows for long life and trouble-free operation. A cleaning
and maintenance schedule should be maintained. As a common preventive
maintenance practice, follow these recommended steps:
Always unplug tool before performing any maintenance operation.
When work has been completed, clean the tool to allow smooth functioning
of the tool over time.
1.
2.
3.
4.
5.
6.
Use clean, damp cloths to wipe the tool.
Check the state of all electrical cables and have repairs made
when appropriate.
Keep the motor air openings free from oil, grease, and sawdust or
woodchips and store the tool in a dry place.
Be certain that all moving parts are well lubricated, particularly after lengthy
exposure to damp and/or dirty conditions.
,_ CAUTION: When cleaning the lower blade guard, unplug the saw from the
power source to avoid unexpected startup.
NOTE: Do not use solvents on the guard, as they may cause any plastic parts to
become "cloudy" or brittle.
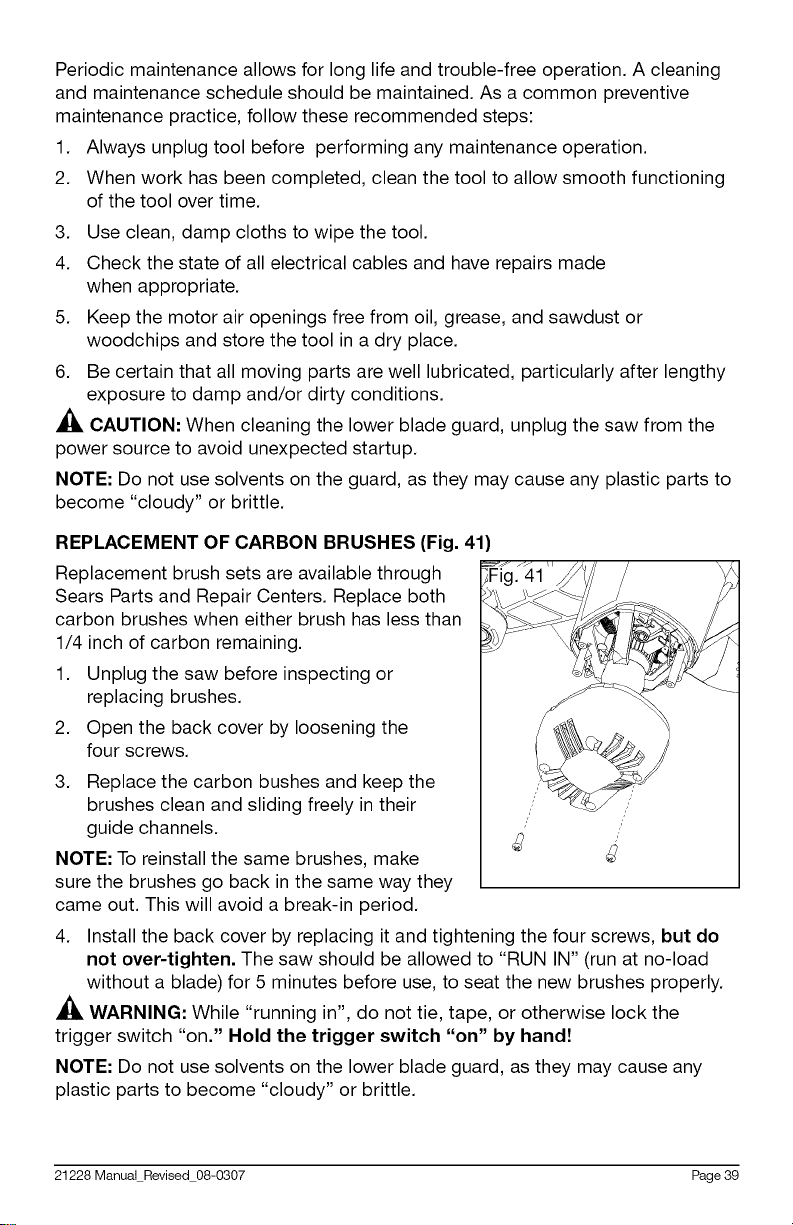
REPLACEMENT OF CARBON BRUSHES (Fig. 41)
Replacement brush sets are available through
Sears Parts and Repair Centers. Replace both
carbon brushes when either brush has less than
1/4 inch of carbon remaining.
1. Unplug the saw before inspecting or
replacing brushes.
2. Open the back cover by loosening the
four screws.
3. Replace the carbon bushes and keep the
brushes clean and sliding freely in their
guide channels.
.
NOTE: To reinstall the same brushes, make
sure the brushes go back in the same way they
came out. This will avoid a break-in period.
4. Install the back cover by replacing it and tightening the four screws, but do
not over-tighten. The saw should be allowed to "RUN IN" (run at no-load
without a blade) for 5 minutes before use, to seat the new brushes properly.
,_ WARNING: While "running in", do not tie, tape, or otherwise lock the
trigger switch "on." Hold the trigger switch "on" by handZ
NOTE: Do not use solvents on the lower blade guard, as they may cause any
plastic parts to become "cloudy" or brittle.
21228 Manual Revised 08-0307 Page 39
Loading ...
Loading ...
Loading ...