Loading ...
Loading ...
Loading ...
Installing the blade
1. Unplug the saw.
2. Ensure that the inner flange is properly installed.
3. Match the arrow on the blade with the arrow on the upper blade guard. Make
sure that the blade teeth are pointing downward. Install the selected blade by
sliding the blade into the upper blade guard and then placing the blade into
position on the arbor.
4. Install the outer flange.
_, WARNING: Make sure the flat side of the flange is placed against the blade.
5. Press and hold the arbor-lock button and use the wrench supplied to turn
the arbor bolt counter-clockwise until the lock engages. Securely tighten the
arbor bolt.
6. Rotate the arbor-bolt guard into position, and use the wrench to securely tighten
the bolt by turning it clockwise. Remove and store the wrench in a safe place.
7. Make sure that the arbor-lock button is released, so that the blade will
rotate freely.
8. Lower the saw head, and check the clearance between the blade and the
miter table. The blade should rotate freely.
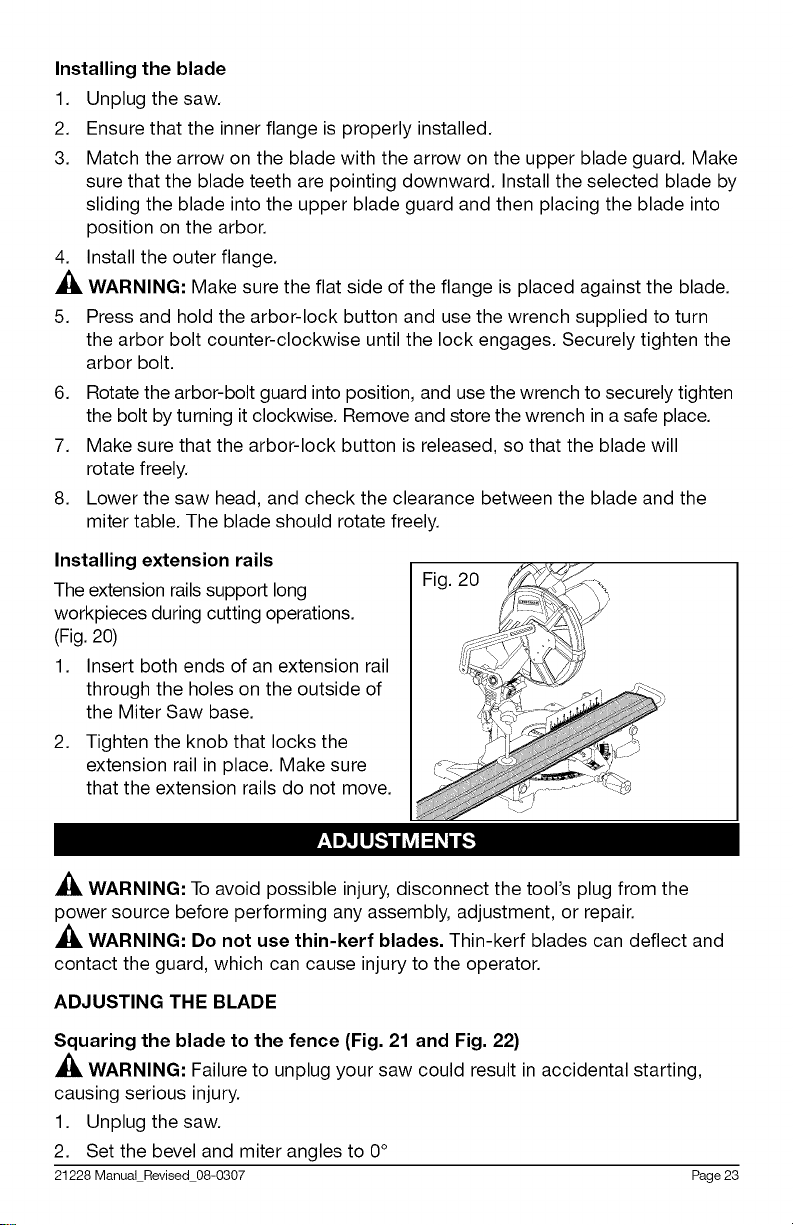
Installing extension rails
The extension rails support long
workpieces during cutting operations.
(Fig. 20)
1. Insert both ends of an extension rail
through the holes on the outside of
the Miter Saw base.
2. Tighten the knob that locks the
extension rail in place. Make sure
that the extension rails do not move.
Fig. 20
_, WARNING: To avoid possible injury, disconnect the tool's plug from the
power source before performing any assembly, adjustment, or repair.
_, WARNING: Do not use thin-kerr blades. Thin-kerf blades can deflect and
contact the guard, which can cause injury to the operator.
ADJUSTING THE BLADE
Squaring the blade to the fence (Fig. 21 and Fig. 22)
WARNING: Failure to unplug your saw could result in accidental starting,
causing serious injury.
1. Unplug the saw.
2. Set the bevel and miter angles to 0°
21228 Manual Revised 08-0307 Page 23
Loading ...
Loading ...
Loading ...