Loading ...
Loading ...
Loading ...
in place, and that there is no excessive movement of Miter Saw parts.
Selection of workpiece
1. Be cautious with pitchy, knotty, wet, or warped workpieces. These materials
are likely to create pinching conditions.
2. Workpieces that bow and pinch may result in the saw blade kicking back.
3. Before cutting, inspect for and remove any nails from the workpiece.
4. This tool is recommended only for cutting wood and wood-like materials.
Support the workpiece
_, WARNING: Never use the help of another person as a substitute for a
table extension or as support for a workpiece that is longer or wider than the
basic miter table. Never have another person help to feed, support, or pull the
workpiece instead of using table extensions.
• Use the fence.
Align the workpiece flush against the fence. This will help to eliminate the
tendency of the blade teeth to bind. The fence can be used to support miter,
bevel, and compound cuts.
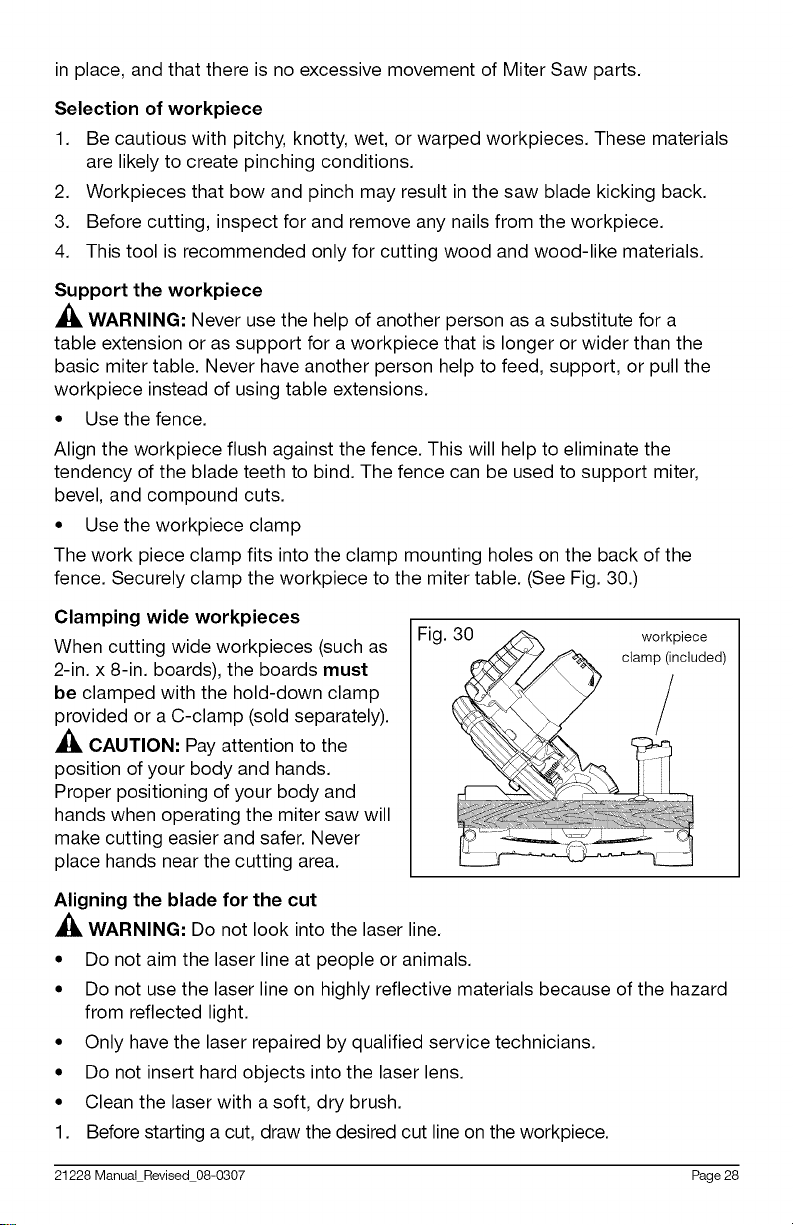
• Use the workpiece clamp
The work piece clamp fits into the clamp mounting holes on the back of the
fence. Securely clamp the workpiece to the miter table. (See Fig. 30.)
Clamping wide workpieces
When cutting wide workpieces (such as
2-in. x 8-in. boards), the boards must
be clamped with the hold-down clamp
provided or a C-clamp (sold separately).
A_, CAUTION: Pay attention to the
position of your body and hands.
Proper positioning of your body and
hands when operating the miter saw will
make cutting easier and safer. Never
place hands near the cutting area.
Fig. 30 z<_x workpiece
' ded)
Aligning the blade for the cut
_, WARNING: Do not look into the laser line.
• Do not aim the laser line at people or animals.
• Do not use the laser line on highly reflective materials because of the hazard
from reflected light.
• Only have the laser repaired by qualified service technicians.
• Do not insert hard objects into the laser lens.
• Clean the laser with a soft, dry brush.
1. Before starting a cut, draw the desired cut line on the workpiece.
21228 Manual Revised 08-0307 Page 28
Loading ...
Loading ...
Loading ...