Loading ...
Loading ...
Loading ...
MOUNTING THE MITER SAW TO THE STAND (Fig. 16)
1. Check the Miter Saw for the number of
mounting holes and their locations.
2. Choose the corresponding hole locations
on the Tabletop Assembly of the Miter
Saw Stand.
3.
4.
5.
Change the width of the Tabletop Assembly,
if necessary, to accommodate the Miter Saw.
To change the width of the Tabletop Assembly,
see Figs. 10 through 15 in Unfolding and
Setting up the Miter Saw Stand.
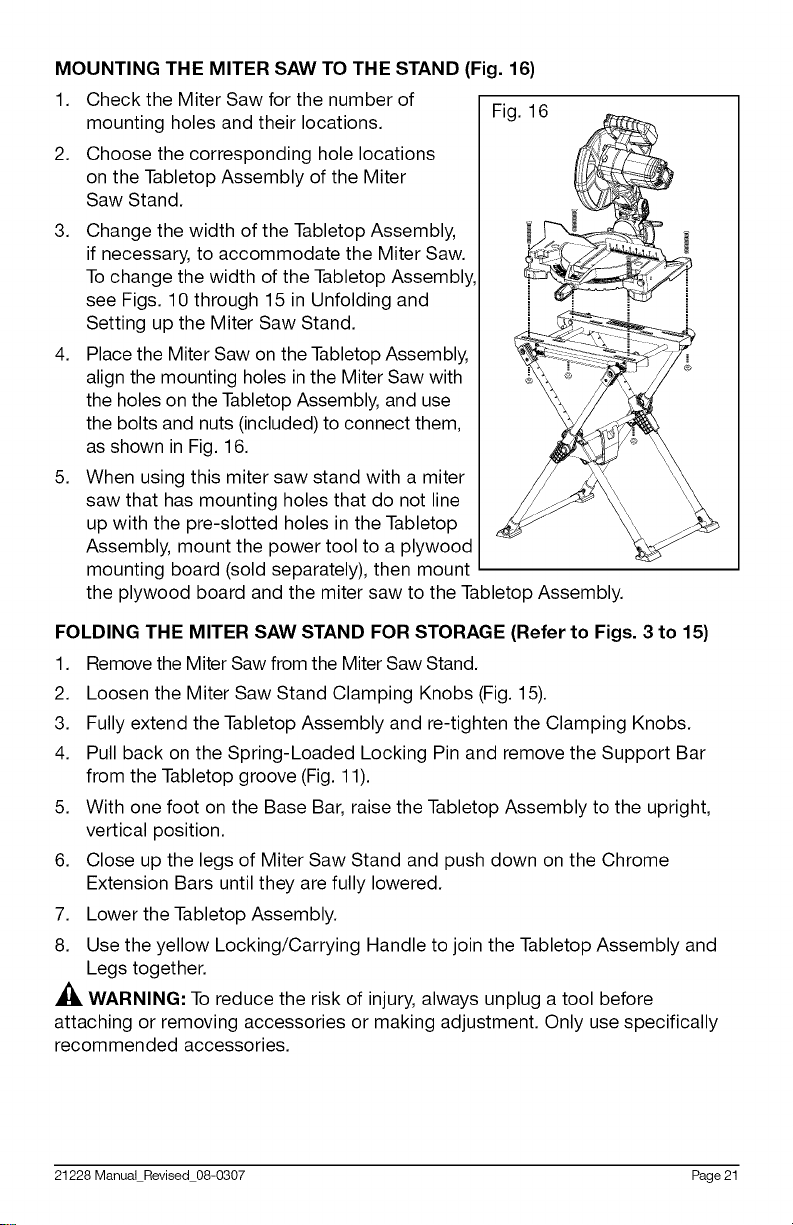
Place the Miter Saw on the Tabletop Assembly,
align the mounting holes in the Miter Saw with
the holes on the Tabletop Assembly, and use
the bolts and nuts (included) to connect them,
as shown in Fig. 16.
When using this miter saw stand with a miter
saw that has mounting holes that do not line
up with the pre-slotted holes in the Tabletop
Assembly, mount the power tool to a plywood
mounting board (sold separately), then mount
the plywood board and the miter saw to the Tabletop Assembly.
Fig. 16
FOLDING THE MITER SAW STAND FOR STORAGE (Refer to Figs. 3 to 15)
1. Remove the Miter Saw from the Miter Saw Stand.
2. Loosen the Miter Saw Stand Clamping Knobs (Fig. 15).
3. Fully extend the Tabletop Assembly and re-tighten the Clamping Knobs.
4. Pull back on the Spring-Loaded Locking Pin and remove the Support Bar
from the Tabletop groove (Fig. 11).
5. With one foot on the Base Bar, raise the Tabletop Assembly to the upright,
vertical position.
6. Close up the legs of Miter Saw Stand and push down on the Chrome
Extension Bars until they are fully lowered.
7. Lower the Tabletop Assembly.
8. Use the yellow Locking/Carrying Handle to join the Tabletop Assembly and
Legs together.
_, WARNING: To reduce the risk of injury, always unplug a tool before
attaching or removing accessories or making adjustment. Only use specifically
recommended accessories.
21228 Manual Revised 08-0307 Page 21
Loading ...
Loading ...
Loading ...