Loading ...
Loading ...
Loading ...
42
W415-1361 / 11.28.14
EN
8.2 GLOWING EMBERS
8.3 CHARCOAL EMBERS
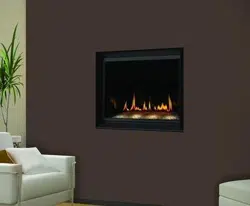
8.4 LOGO PLACEMENT
Tear the embers into pieces and place along the front row of ports covering all of the burner area in front of
the small logs. Care should be taken to shred the embers into thin, small irregular pieces as only the exposed
edges of the fi bre hairs will glow. The ember material will only glow when exposed to direct fl ame; how-
ever, care should be taken to not block the burner ports.
Blocked burner ports can cause an incorrect fl ame pattern, carbon deposits and delayed ignition. PHAZER
TM
logs glow when exposed to direct fl ame. Use only certifi ed "glowing embers" and PHAZER
TM
logs available
from your Napoleon® dealer.
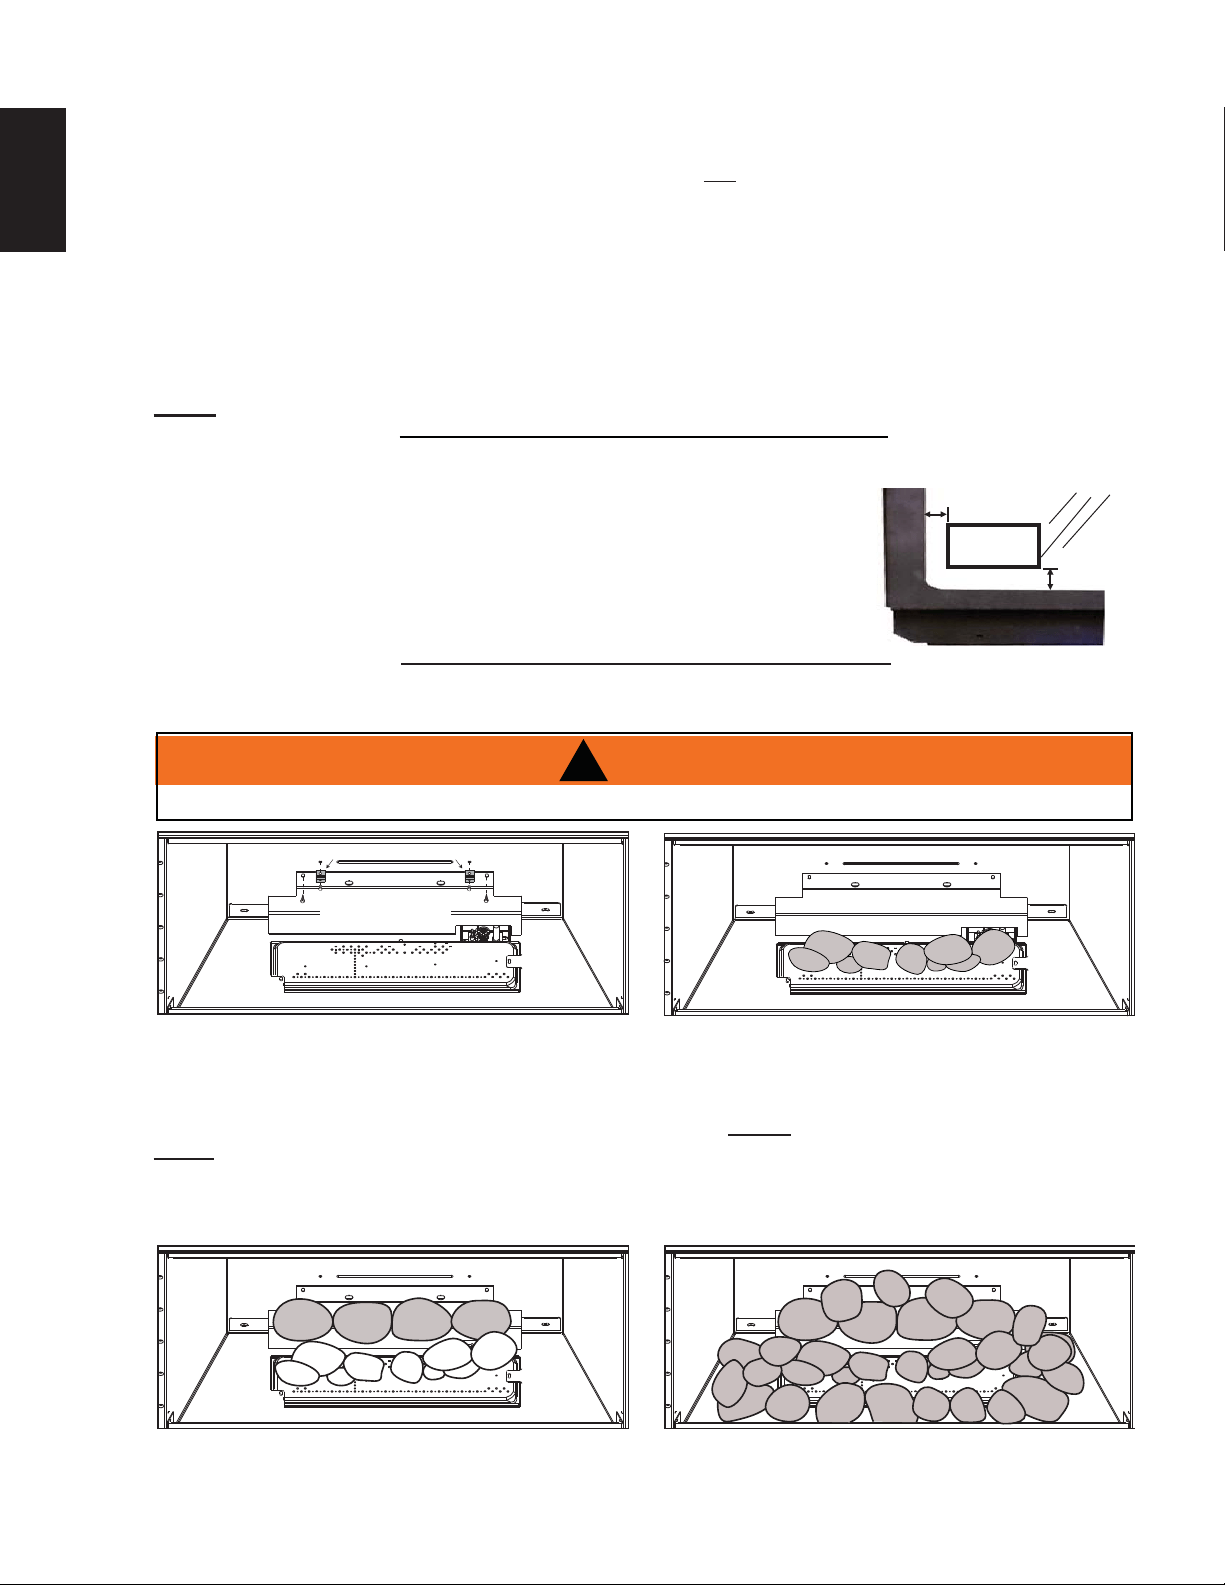
8.5 OPTIONAL ROCK KIT
32.1
Randomly place the charcoal embers along the
f
ront and sides o
f
the log support tray in a realistic manner.
Fine dust found in the bottom of the bag should not be used.
NOTE: Charcoal embers are not to be placed on the burner.
ROCK SUPPORT
BRACKET
LOG SUPPORT BRACKET
!
WARNING
(RAK-ROCK ADAPTOR KIT IS NECESSARY WITH THIS KIT).
REAL ROCKS MUST NOT BE USED IN THIS APPLIANCE. HEAT WILL CAUSE THEM TO EXPLODE.
A. Remove all logs and media.
B. Remove the 2 screws and log support brack-
ets already installed in the fi rebox and secure
the rock support bracket along the back of the
fi rebox.
NOTE: When the porcelain panels are installed, the
rock support bracket is secured over the rear por-
celain panel. Tabs on rear porcelain panel must be
bent up to sit fl ush on the rock support bracket.
C. Move the two rock clusters into position, lin-
ing up the studs located on the burner with
the holes in the bottom of the rocks. Ensure
the clusters are sitting fl at on the burner.
NOTE: For best results it's recommended
you remove the grate and using Wolf Steel
approved paint, paint the surfaces under-
neath where the grate was removed.
D. Place the large cut out rocks along the edge of
the rock support bracket as shown.
E. Place the remaining refractory rocks around the
burner as desired, making sure not to cover
any burner ports. (There are no set locations).
97.1A
Remove the backing o
f
the logo supplied and place on the glass viewing door,
as indicated.
½"(12.7mm)
LOGO
½"(12.7mm)
Loading ...
Loading ...
Loading ...