Loading ...
Loading ...
Loading ...
EN
©2021 Hestan Commercial Corporation
10
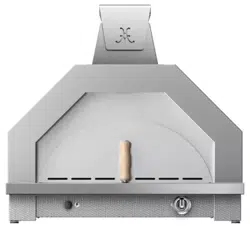
FREE-STANDING INSTALLATION
(cont.)
BUILT-IN INSTALLATION
CONSIDERATIONS FOR INSTALLATION
A non-combustible structure is required for a built-in installation. Ideal materials are masonry, or steel-
frame construction with cement-board panels. Tile or stucco finishes over these materials are also
acceptable. Wood-frame construction is not allowed. All construction methods must conform to local
building codes. Keep in mind that some of these materials, especially above the oven door, can become
hot and may be discolored by heat and smoke. Choose appropriate finish materials with this in mind.
The Pizza Oven must rest on two 3 - 4” [7.6 - 10.2 cm] wide ledges inside the structure left and right
walls, made of non-combustible materials like the rest of the structure. Be sure these ledges are level
and parallel to each other so the unit rests flat, and the back of the oven door surround rests flush
against the structure face. It is acceptable to build out the front face of the structure with decorative
tile / stone veneer around the door surround after the unit is in place. However, leave a small gap
around the perimeter of the surround so the oven can be pulled out for service if needed. It is not
recommended to fully ‘brick-in’ the oven door surround.
It is important to have access to the bottom rear of the unit to make the gas connection. An access
door / cabinet beneath the oven is highly recommended for access to the gas supply, storage, and for
service if needed. Ventilation openings on both sides and rear are also required to safely dissipate gas
vapors if there is a leak in the structure. See page 8 for details.
The lintel above the pizza oven door surround must be less than 0.75” [1.9 cm] thick. This is necessary
to have enough space between the inside face of the structure, and the required double-wall Factory
Built** chimney tube. Local codes will dictate how high the flue cap must be above the entire
structure.
BACK OF COUNTERTOP
RAISED BUSHING
GAS FLEX HOSE
MOUNTING
BRACKET
SCREW
LEVELING
FOOT
place items inside the oven. In general, the distance from the floor to the oven deck should be roughly
the distance from the floor to your elbow.
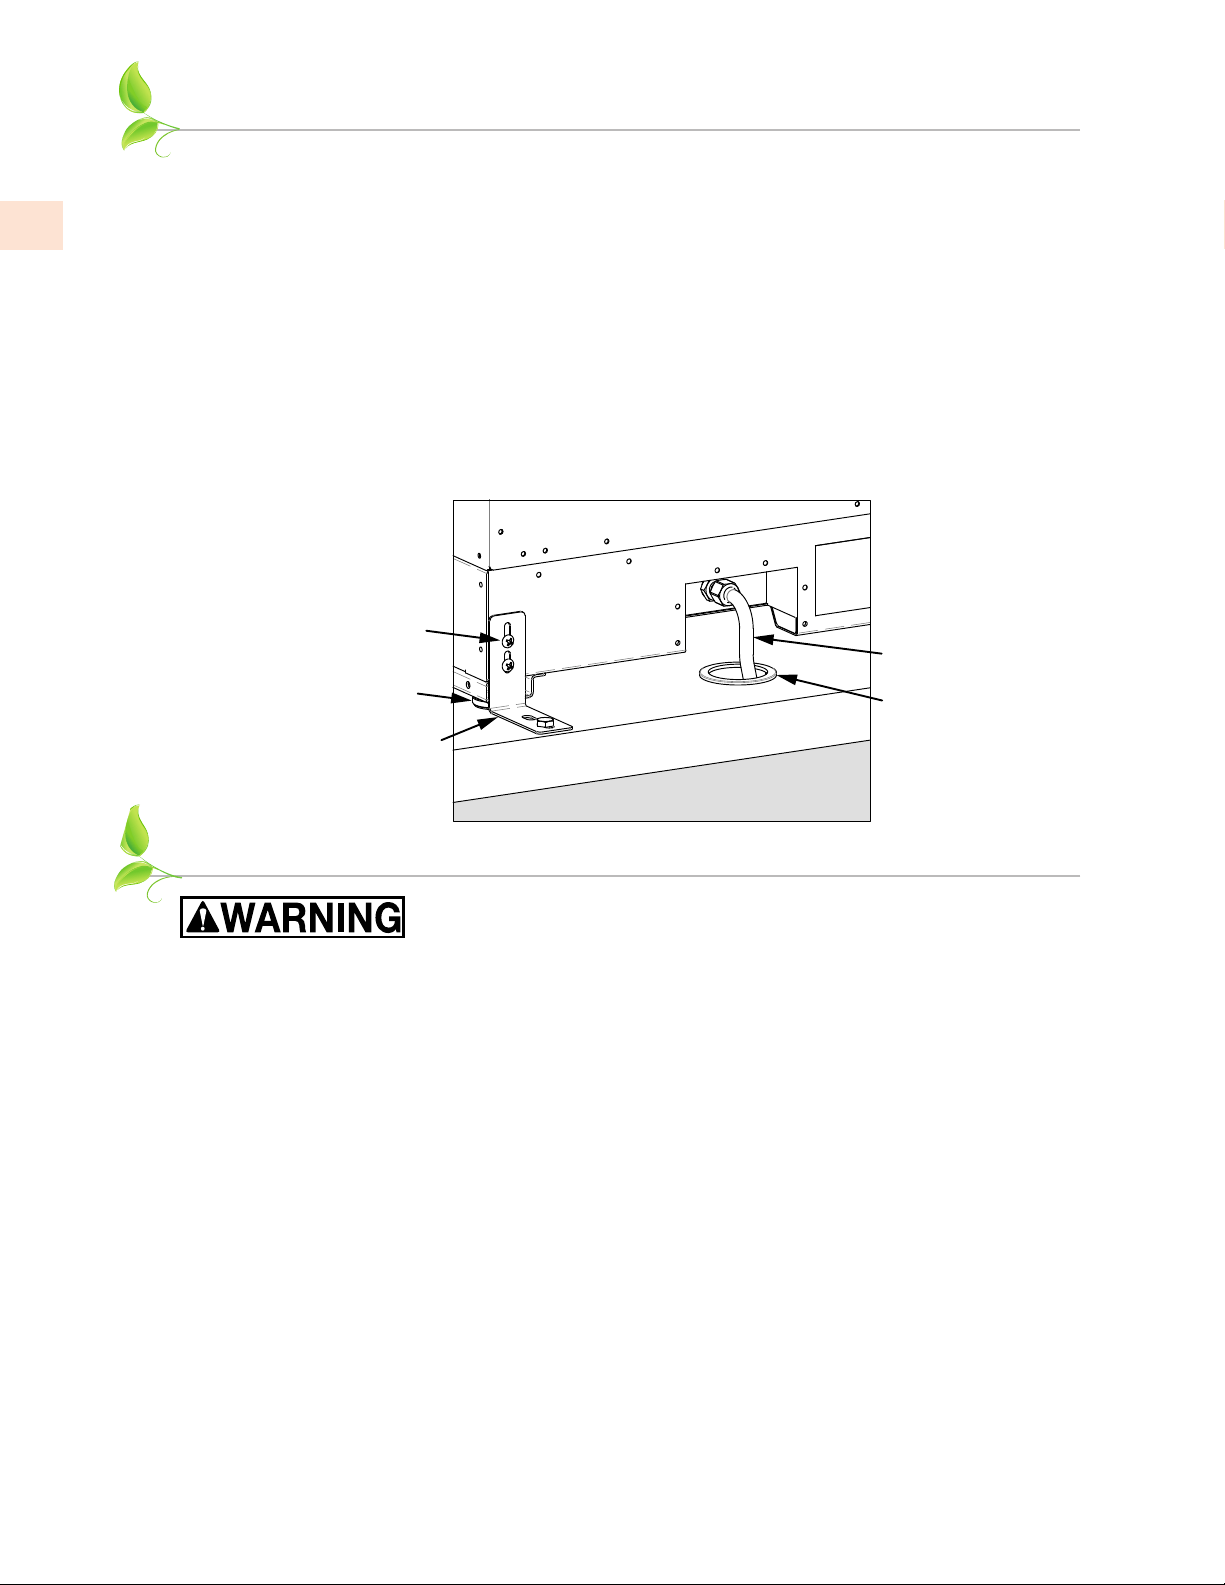
MOUNTING BRACKETS AND GAS LINE OPENING
In order to properly place the Pizza Oven on your countertop, and to prevent unintentional movement,
mounting brackets have been provided with the unit. Attach the brackets at the rear face of the unit
as shown below, and secure with the provided screws. Repeat for the other side. The brackets also
provide the necessary 3” [7.6 cm] min. clearance behind the unit.
After you have placed the oven on the countertop and adjusted the unit with the leveling feet, drill and
secure the bracket to your countertop with masonry or other appropriate fasteners (not included).
Your countertop will also need a 2” [5.1 cm] hole at the rear of the unit to connect the gas line beneath.
See location dimensions on the previous page. It is recommended to use a raised bushing or similar
item (not included) to protect the gas line from sharp edges, and to lessen water intrusion into your
enclosure.
Loading ...
Loading ...
Loading ...