Loading ...
Loading ...
Loading ...
12
Trial Record and Play Back
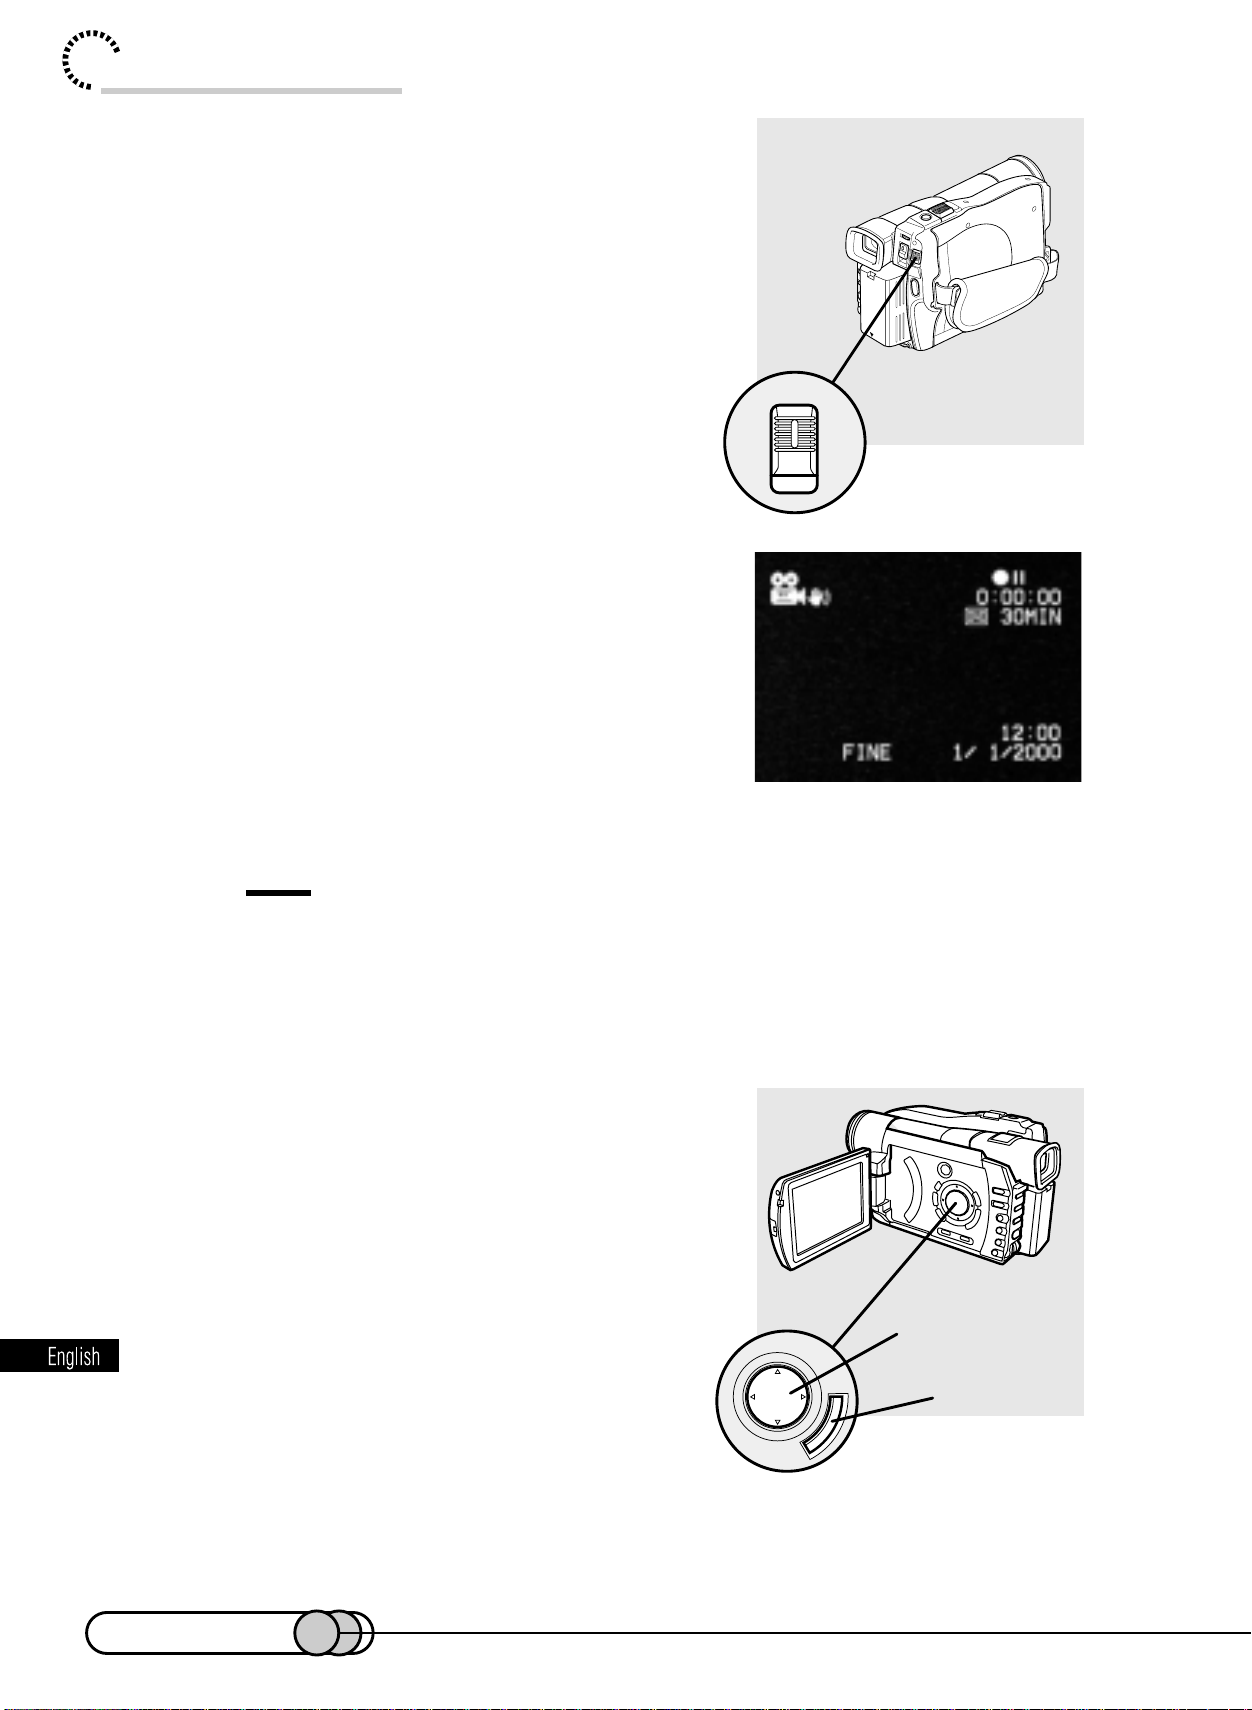
POWER
Cursor buttons
ENTER button
4. Turn the DVD camera/recorder on.
While holding the button at the center of POWER
switch, press the switch down: The red indicator
of the button will light.
When power is turned on, an image will appear in
the viewfinder, and the DVD camera/recorder will
start to recognize the disc: After approximately
25 seconds, the DVD camera/recorder will en-
ter the recording pause mode.
Tip:
•
To view subject image through the viewfinder, pull the viewfinder all the way
out, and adjust its angle as you desire: Fit your eye into the Eye cup, and then
use the diopter control to adjust focus (see p.57). Open the LCD monitor if you
want to check the image on the LCD screen.
5. Set the current date and time (see p. 50).
When the DVD camera/recorder is first turned
on, the date will be "January 1, 2000".
It is important to correctly set the date and time: If
recording is made with incorrect date and time,
the date and time of programs and scenes that
are described in "Using Disc Navigation" will not
be correctly recorded. For details on setting,
refer to "Setting date and time" on page 50.
(The date is set to 1/1/2000 at the factory.)
E-P10-13 01.1.29, 1:42 PMPage 12 AdobePageMaker6.5J/PPC
Downloaded from www.ManualsFile.com manuals search engine
Loading ...
Loading ...
Loading ...