Loading ...
Loading ...
Loading ...
14
EN
Installing Moisture Barrier
Tape (On Some Models)
When the appliance is installed without the top
cover, the counter top underside may be
damaged by steam or condensation when the
door is opened.
Install the moisture barrier tape to the underside
of counter top to protect the counter top from
condensation when the appliance opened.
1
Clean and dry the underside of the counter
top on which the tape will be attached.
2
Remove the protective film from the tape.
3
Install the tape to the underside of the
counter top.
NOTE
• Moisture barrier tape is included in the manual
assembly bag.
• If the counter top is made of grinite or
waterproof materials, the moisture barrier tape
is not required.
• Condensation may occur on the underside or
along the front edge of the counter top when
the room temperature is low.
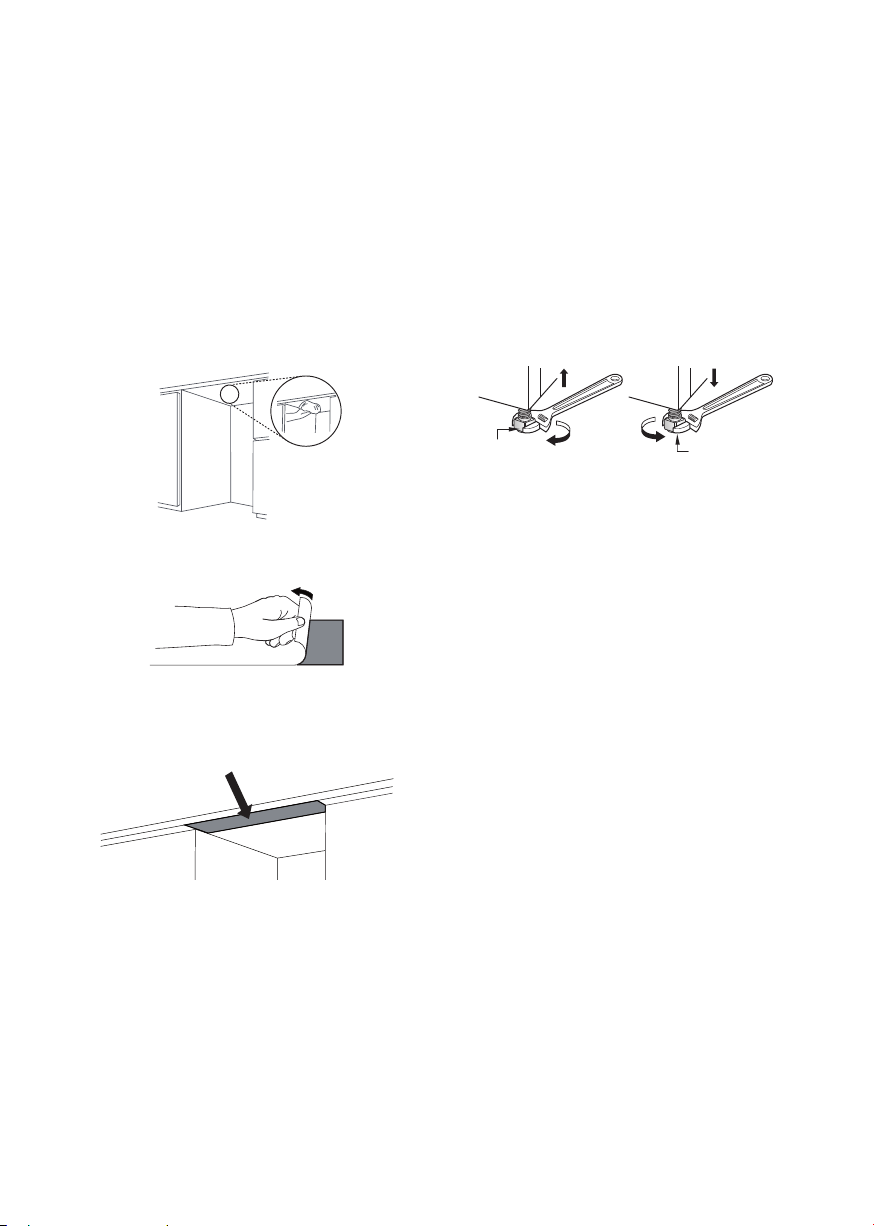
Levelling the Appliance
Levelling the appliance prevents unnecessary
leakage and poor washing. Place the appliance
on a solid, level floor. Do not install the
appliance on an elevated surface.
If the appliance is not properly level, adjust all
levelling feet as necessary.
Turn them clockwise to raise and counter-
clockwise to lower until the appliance no longer
wobbles, both front-to-back and side-to-side and
corner-to-corner.
Levelling feet
Levelling feet
NOTE
• The appliance is not level if there is a rubbing
sound or stickiness when the door is opened.
EN
Case 1. The Door is Slanted to
the Right
1
Unscrew (counter-clockwise) the rear left
leg and correct the level.
2
Check the opening of door and repeat if
necessary until the door opens and closes
properly.
Slant to the right
Case 2. The Door is Slanted to
the Left
1
Unscrew (counter-clockwise) the rear right
leg and correct the level.
2
Check the opening of door and repeat if
necessary until the door opens and closes
properly.
Slant to the left
Installing the Drain Hose
If the end of the drain hose does not fit to the
drain line, use a drain extension kit (optional)
that is resistant to heat and detergent.
This should be available from a plumbing shop
or a hardware store.
Connection to the Waste Spigot
Check the waste spigot when initially installing.
An OE error can occur when the waste spigot
below the sink is not drilled out properly. To
connect the drain hose, drill out at least a 15
mm diameter hole in the waste spigot before
connecting and securing.
Waste spigot
CAUTION
• Make sure that plastic debris is not remaining
inside of spigot after it has been drilled out.
• Do not attempt to open the waste hole with a
screwdriver and hammer. this will induce
debris to become stuck and cause a
malfunction.
• Caution should be taken when passing hoses
through Cabinetry holes as they may have
sharp edges and could damage the hoses.
Smooth or sand edges to avoid damaging the
drain or inlet hose.
• Make sure that the line is not kinked or
sharply bent.
Loading ...
Loading ...
Loading ...