Loading ...
Loading ...
Loading ...
43
ENGLISH
Advanced Menu (IMAGE menu)
IMAGE menu
The following functions are accessible via the
IMAGE menu. After selecting an item according to
the procedure described in the preceding "Advanced
Menu operation" section (35), refer to the following
table for details on operating the selected item.
Item Description
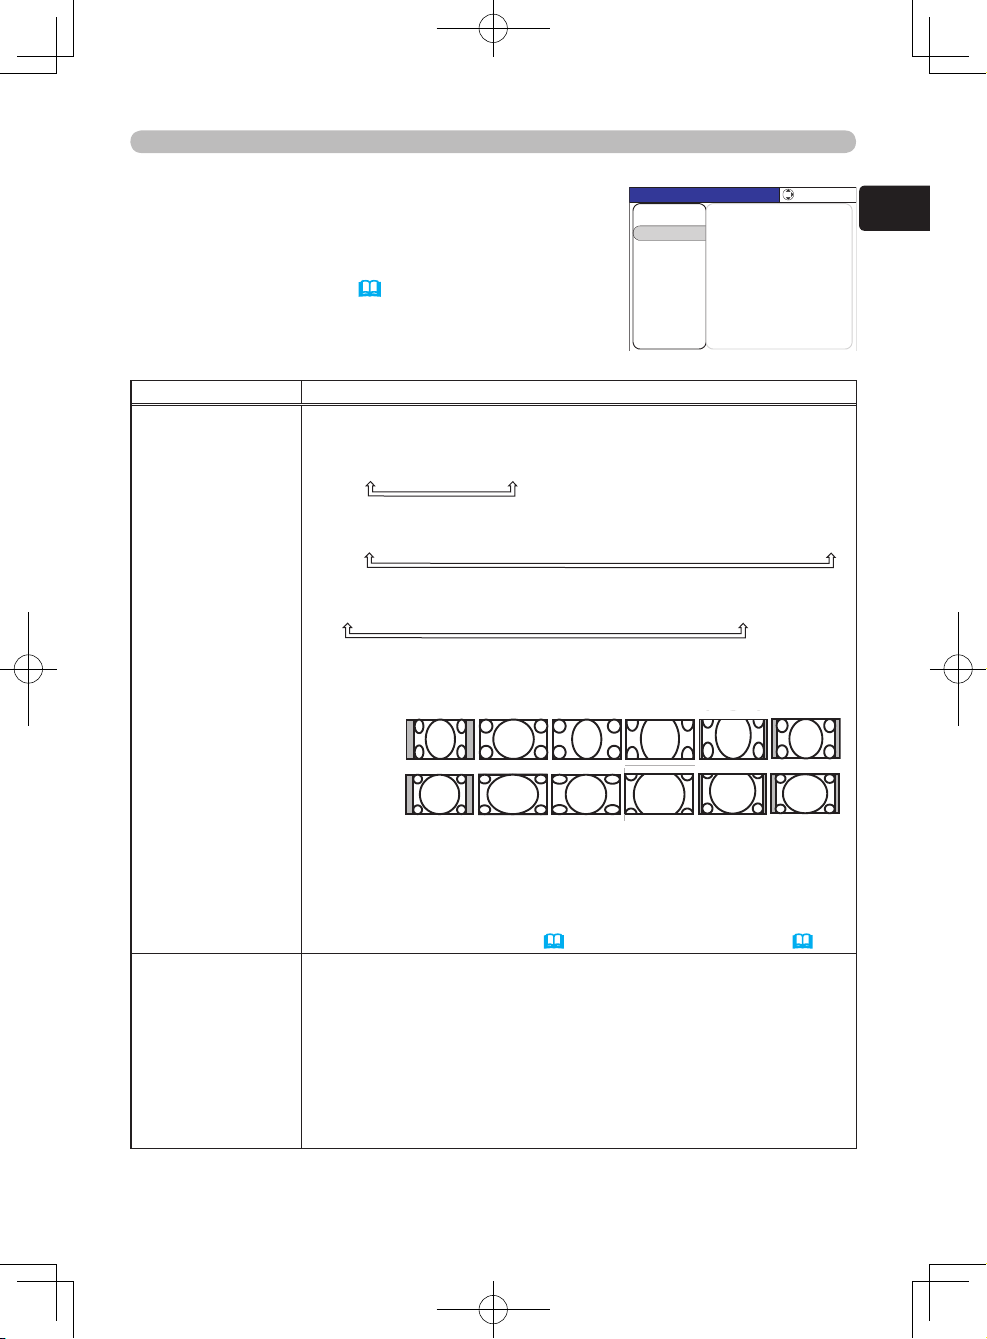
ASPECT
Using the ▲/▼ cursors buttons changes the aspect ratio.
For a computer (RGB) signal
NORMAL
4:3
16:9
For an HDMI signal
NORMAL
4:3
16:9
WIDE
MOVIE1
MOVIE2
14:9
For a video, s-video or component video signal
4:3
16:9
WIDE
MOVIE1
MOVIE2
14:9
For no signal or an unrecognized signal
16:9 (fixed)
- NOTE -
• The NORMAL mode uses the signal’s original aspect ratio.
• Performing an automatic adjustment initializes the aspect ratio
setting.
• The ASPECT function can also be accessed using the ASPECT
button on the remote control (
24) or via the EASY MENU (31).
OVER SCAN
Using the ▲/▼ cursor buttons adjusts the over-scan ratio.
Large (Reduces the picture)
Small (Magnifies the picture)
- NOTE -
• The OVER SCAN function can only be used for video, s-video or
component video signals.
• When this adjustment is too large, certain degradation may appear
on the border of the picture. If this occurs, readjust.
• The numbers displayed in the dialog and the IMAGE menu, are
just for your reference, and might not be the exact display ratio.
(Continued on next page)
MENU [COMPUTER]
SETUP
PICTURE
INPUT
OPTION
EASY MENU
SCREEN
:SELECT
ASPECT 4:3
OVER SCAN 5
V POSITION 25
H POSITION 142
H PHASE 16
H SIZE 1344
AUTO ADJUST
IMAGE
4:3
NORMAL
4:3 16:9 WIDE MOVIE1 MOVIE2 14:9
16:9
NORMAL
Example for
a 16:9 signal
Example for
a 4:3 signal
Loading ...
Loading ...
Loading ...