Loading ...
Loading ...
Loading ...
27
ENGLISH
Basic operation
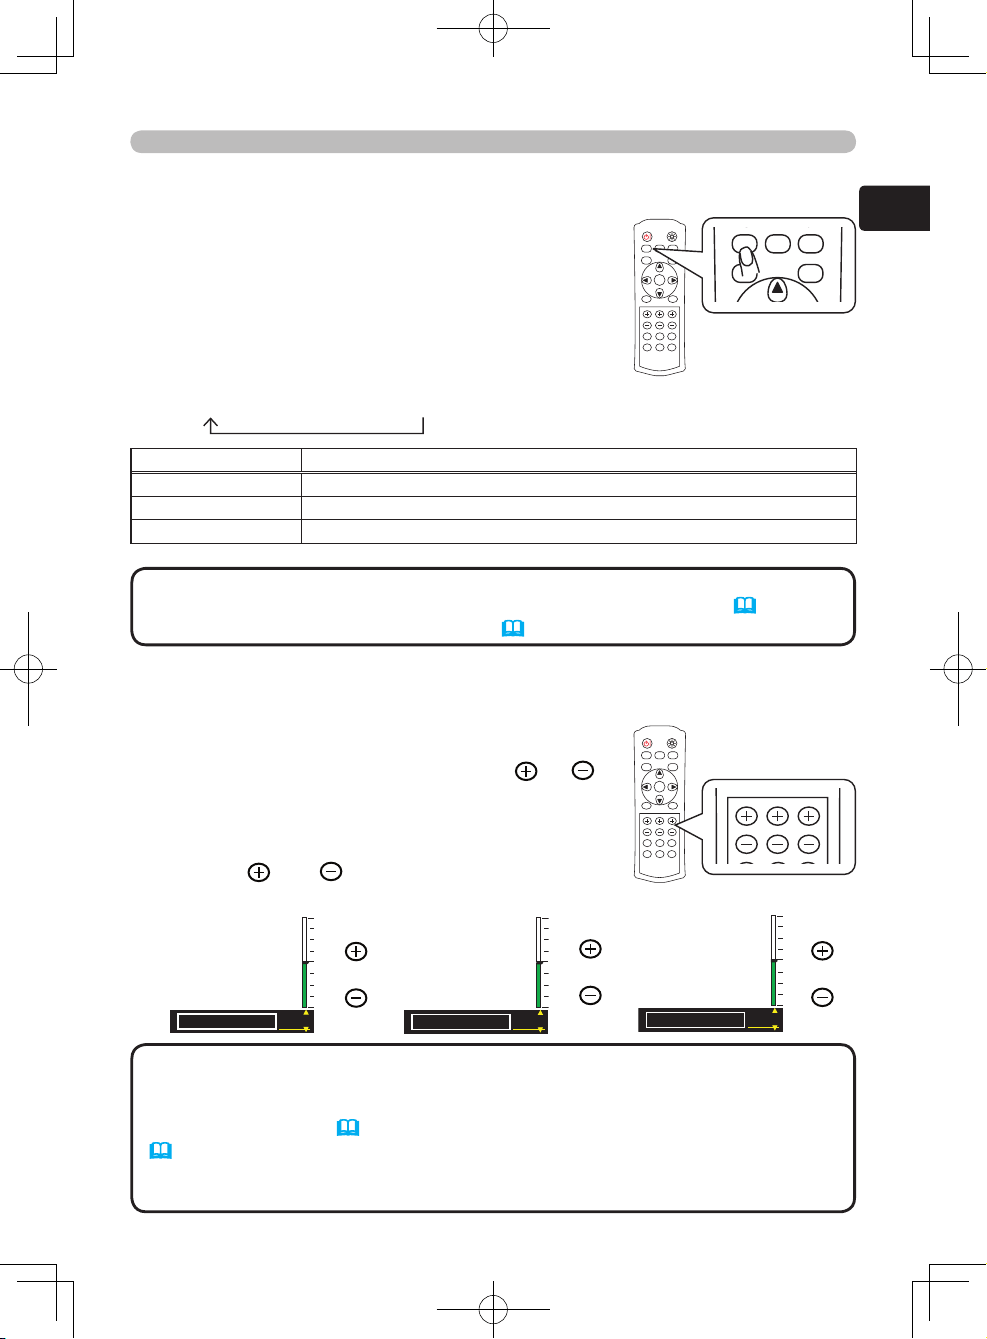
1.
Press the BLACK button.
Each time the button is pressed the mode will
change and a dialog indicating the selected mode
will be displayed.
BLACK
BLACK refers to the auto iris control modes as shown in
the table below. The auto iris is automatically controlled
to adjust the black level according to the mode selected.
TURN OFF AUTO1 AUTO2
BLACK Mode characteristics
TURN OFF The auto iris is always open.
AUT
O1 The auto iris displays a better black for dark images.
AUT
O2 The auto iris displays the best black for dark images.
•
The screen may flicker when the AUTO1 or AUTO2 modes are selected.
• The BLACK function can also be accessed via the EASY MENU (32) or the
PICTURE menu in the Advanced Menu (41).
NOTE
1.
On the remote control press either the or
buttons under the item you want to adjust.
The projector will then display a dialog to aid you
in adjusting the item.
BRIGHTNESS, CONTRAST, COLOR
The brightness, contrast and color can be easily
adjusted to suit your preferences.
2.
Use the and cursor buttons to adjust the
item.
• Pressing the RESET button while the dialog is displayed resets the
adjustment.
• The BRIGHTNESS, CONTRAST and COLOR functions can also be accessed
via the EASY MENU (33) or the PICTURE menu in the Advanced Menu
(37, 40).
• The COLOR function can only be used for video, s-video, component video or
HDMI signals.
NOTE
Bright
↕
Dark
Strong
↕
W
eak
Strong
↕
Weak
+0
BRIGHTNESS
+0
CONTRAST
+0
COLOR
POWER LIGHT
BLACK
ASPECT
MENU
BRIGHT CONTRAST COLOR
IRIS
MODE
MEMORY
ENTER
RESET
HDMI
PC
AUTO
COMPO
S-VIDEO
VIDEO
POWER LIGHT
BLACK
ASPECT
MENU
BRIGHT CONTRAST COLOR
IRIS
MODE
MEMORY
ENTER
RESET
HDMI
PC
AUTO
COMPO
S-VIDEO
VIDEO
POWER LIGHT
BLACK
ASPECT
MENU
BRIGHT CONTRAST COLOR
IRIS
MODE
MEMORY
ENTER
RESET
HDMI
PC
AUTO
COMPO
S-VIDEO
VIDEO
POWER LIGHT
BLACK
ASPECT
MENU
BRIGHT CONTRAST COLOR
IRIS
MODE
MEMORY
ENTER
RESET
HDMI
PC
AUTO
COMPO
S-VIDEO
VIDEO
Loading ...
Loading ...
Loading ...