Loading ...
Loading ...
Loading ...
40
Advanced Menu (PICTURE menu)
Item Description
Continuation of
"COLOR
TEMP"
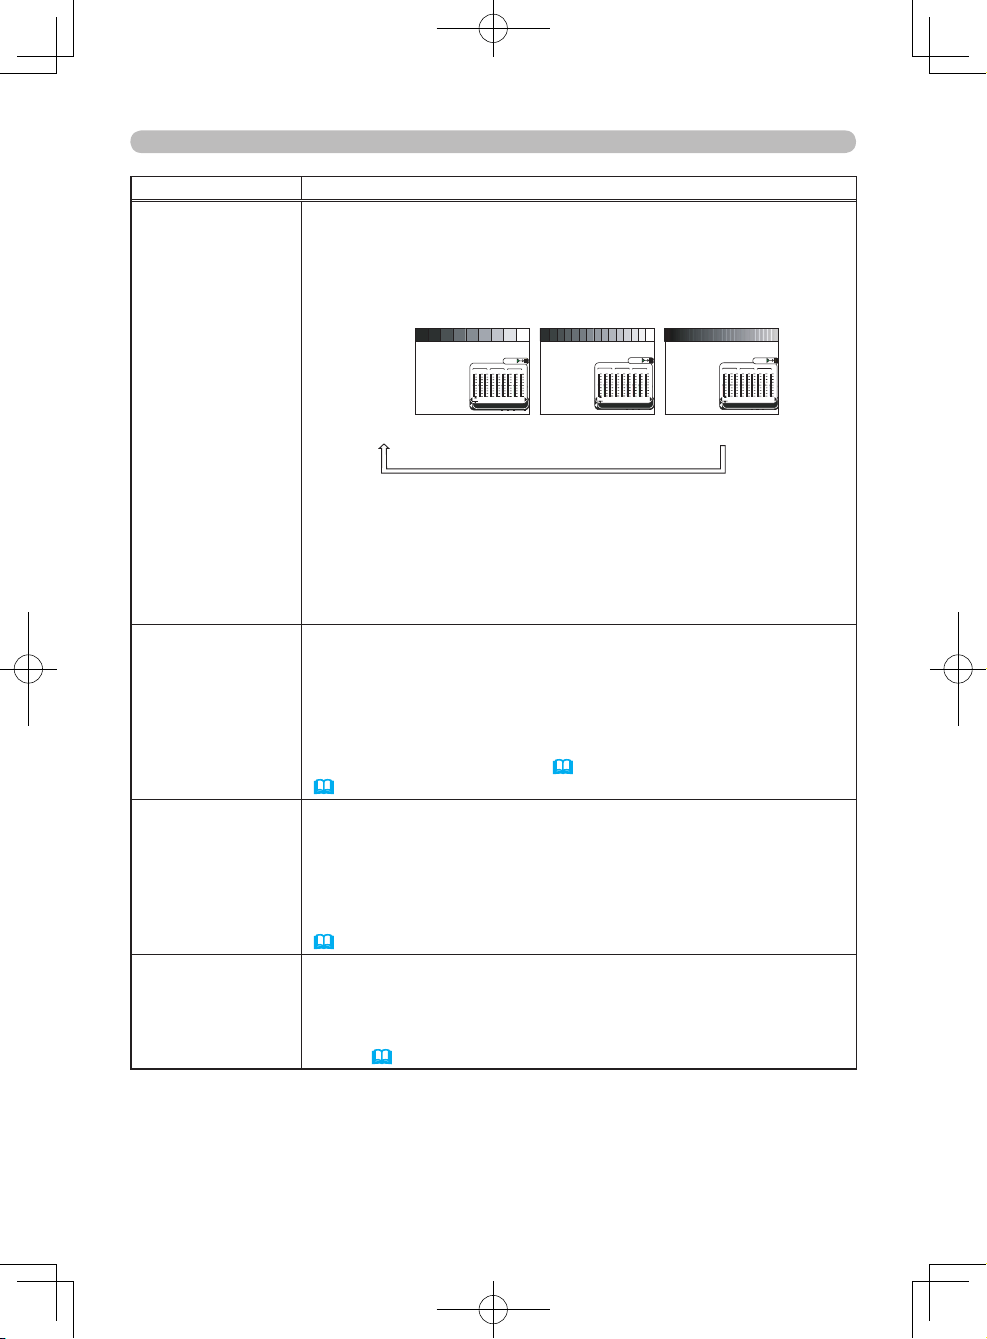
(3) Pressing the ENTER button while the dialog is displayed displays
a test pattern to aid in adjusting.
This projector has 3 types of test pattern. Each time you press
the ENTER button, the test pattern is changed.
Each part of the 9 step gray scale is linked to the corresponding
adjustment bar in the dialog.
(no display)
9 step
15 step
Ramp
gray scale gray scale
(4)
Select the adjustment bar for the color element to adjust using
the ◄/► cursor buttons.
Note that pressing the cursor ◄ button while the adjustment bar
of
the LOW step’s R is selected closes the dialog and turns it into
the COLOR TEMP menu.
(5) Adjust the tone of the selected step using the ▲/▼ cursor
buttons.
COLOR
Using the ▲/▼ cursor buttons adjusts the picture.
Stronger
W
eaker
- NOTE -
• The COLOR function can only be used for video, s-video,
component video or HDMI signals.
• The COLOR function can also be accessed using the COLOR
buttons on the remote control (
27) or via the EASY MENU
(
33).
TINT
Using the ▲/▼ cursor buttons adjusts the picture.
Greenish
Reddish
- NOTE -
• The TINT function can only be used for video, s-video, component
video or HDMI signals.
• The TINT function can also be accessed via the EASY MENU
(
33).
SHARPNESS
Using the ▲/▼ cursor buttons adjusts the picture.
Stronger
W
eaker
- NOTE -
• The SHARPNESS function can also be accessed via the EASY
MENU (
33).
(Continued on next page)
MIDDLE
CUSTOM
HIGH
LOW
R
G
B
R
OFFSET
+0
+0
+0
+0
+0
+0
+0
CUSTOM ‑1 [75 00K]
ENTER:
+0
+0
R G B
LOW
R
G B
MID
R G B
HIGH
MIDDLE
CUSTOM
HIGH
LOW
R
G
B
R
OFFSET
+0
+0
+0
+0
+0
+0
+0
CUSTOM‑1 [7500K]
ENTER:
+0
+0
R G B
LOW
R
G B
MID
R G B
HIGH
MIDDLE
CUSTOM
HIGH
LOW
R
G
B
R
OFFSET
+0
+0
+0
+0
+0
+0
+0
CUSTOM‑1 [7500K]
ENTER:
+0
+0
R G B
LOW
R
G B
MID
R
G B
HIGH
Loading ...
Loading ...
Loading ...