Loading ...
Loading ...
Loading ...
15
Setting up
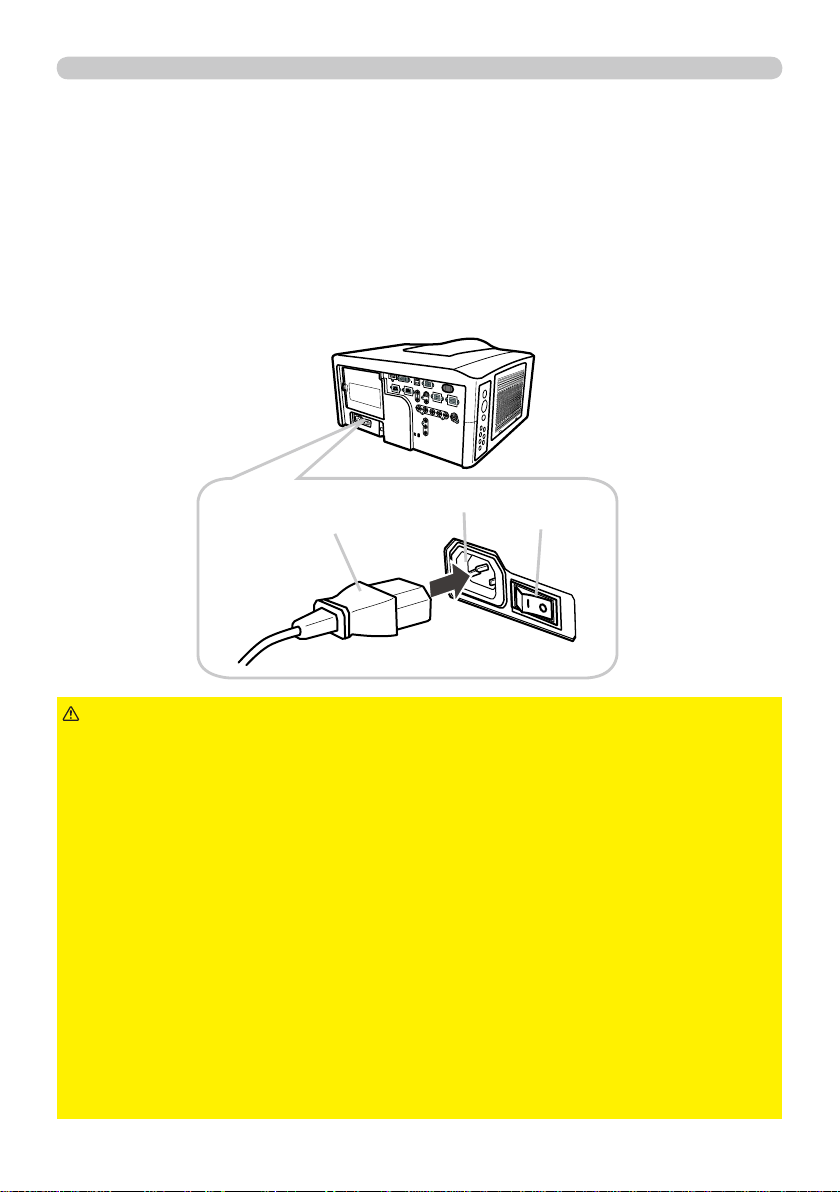
Connecting power supply
1.
Make sure that the power switch of the projector is set to the off-position
(marked with “
O
O”).
2.
Insert the socket end of the power cord into the
AC IN
AC IN (AC inlet) of the
projector.
►Do not connect the projector to a power supply when the lens
unit is not attached.
►Use this projector from only the specifi ed power supply in accordance with the
label indication on the projector.
►Use a power outlet that is close to the projector and easily accessible.
►Do not overload the outlet, since overloading can result in a fi re or an electric
shock.
►Use only the power cord that came with this product and is suitable for your
power supply. If the suitable power cord did not come with this product, consult
your dealer.
►Do not use a damaged power cord. If the power cord you need is damaged,
ask your dealer for a new power cord of the same type.
►Do not handle the power cord with wet hands.
►Do not repair or modify the power cord.
►Be careful not to damage the power cord. Route the power cord so that it is
not likely to be walked on or pinched by items placed upon or against them.
►Connect fi rmly the power cord not to result in loose connection. Do not use a
loose or unsound power outlet.
WARNING
AC IN
AC IN
Socket of the power cord
In accordance with the warnings shown below, connect the AC inlet of the
projector to the proper power outlet. The following walks you through the
connection.
3.
Plug the other end of the power cord into the power outlet.
Power switch
Loading ...
Loading ...
Loading ...