Loading ...
Loading ...
Loading ...
Mavic 2 Pro/Zoom User Manual
©
2019 DJI All Rights Reserved.
29
Exiting ActiveTrack 2.
0
Press the Flight Pause button on the remote controller to brake immediately. Tap on the screen or
toggle the Flight Mode switch to S-mode on the remote controller to exit ActiveTrack 2.0. After exiting
ActiveTrack 2.0, the aircraft hovers in place, at which point you may choose to fly manually, track
another subject, or return to home.
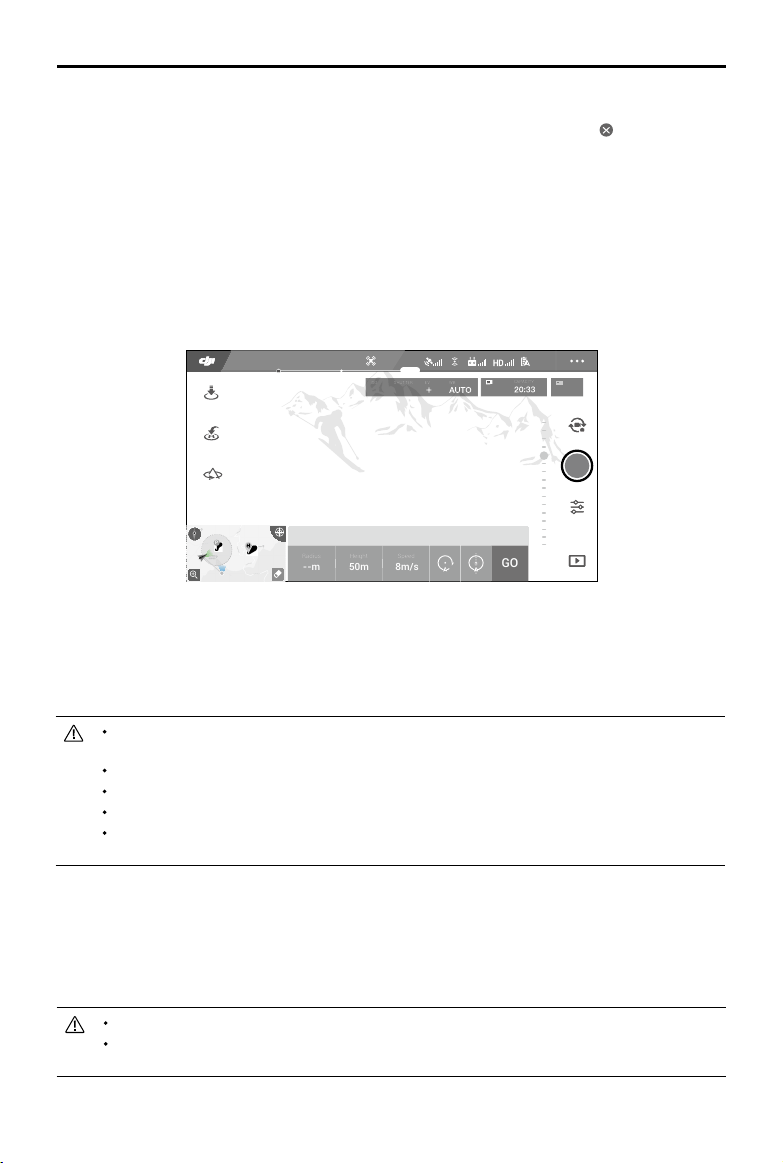
Point of Interest 2.0 (POI 2.0)
Select a static subject as the Point of Interest. Set the circle radius, ight altitude, and ight speed. The
aircraft ies around the subject according to these settings. Mavic 2 Pro/Zoom supports selecting the
POI through GPS positioning and selecting on the screen.
1. Select POI on the screen: drag a box around the desired subject and tap the “GO” icon on the
screen. The aircraft starts to measure the location of the subject and ies around the subject once
it measures the location successfully. Use the gimbal dial to adjust the subject framing. The circle
radius, ight altitude, and ight speed can also be adjusted during ight.
It is recommended to select a static subject (e.g., high-rise buildings, mountainous terrain) at a safe
distance from the aircraft (further than 10 m). Do not select a subject that is too near the aircraft.
Avoid selecting a subject without a clear pattern (e.g., a clear blue sky).
Avoid selecting subjects that are too small.
Select a subject with a clear outline. Otherwise, the subject may not be centered correctly onscreen.
The aircraft cannot be controlled while the location is being measured, but the measuring can be
stopped using the control sticks, Flight Pause button, Flight Mode switch, and the “STOP” icon.
2. Select a subject through GPS positioning: Manually y the aircraft above the subject, and then press
the C1 button or select in DJI GO 4 to conrm the subject. Fly the aircraft at least 5 m away from the
Point of Interest. The ight speed and the circle direction can be set in DJI GO 4. Tap “GO” to start
ying. Use the gimbal dial to adjust the subject framing. The circle radius, ight altitude, and ight
speed can also be adjusted during ight.
The GPS positioning has no altitude measurement.
It is recommended to adjust the gimbal tilt to -90° to make it easier to measure the GPS
location.
09:29
ISO
SHUTTER
EV
WB
1600 0.31/8000 4K/244K/25
Position
CAPACITY
GO
8m/s
Speed
50m
Height
--m
Radius
61%
P-GPS
12
P
In flight (GPS)
Point of Interest
Loading ...
Loading ...
Loading ...