Loading ...
Loading ...
Loading ...
Additional Maintenance Procedures
132 Servicing Your Honda
Additional Maintenance Procedures
Refer to Important Safety Precautions on page 23.
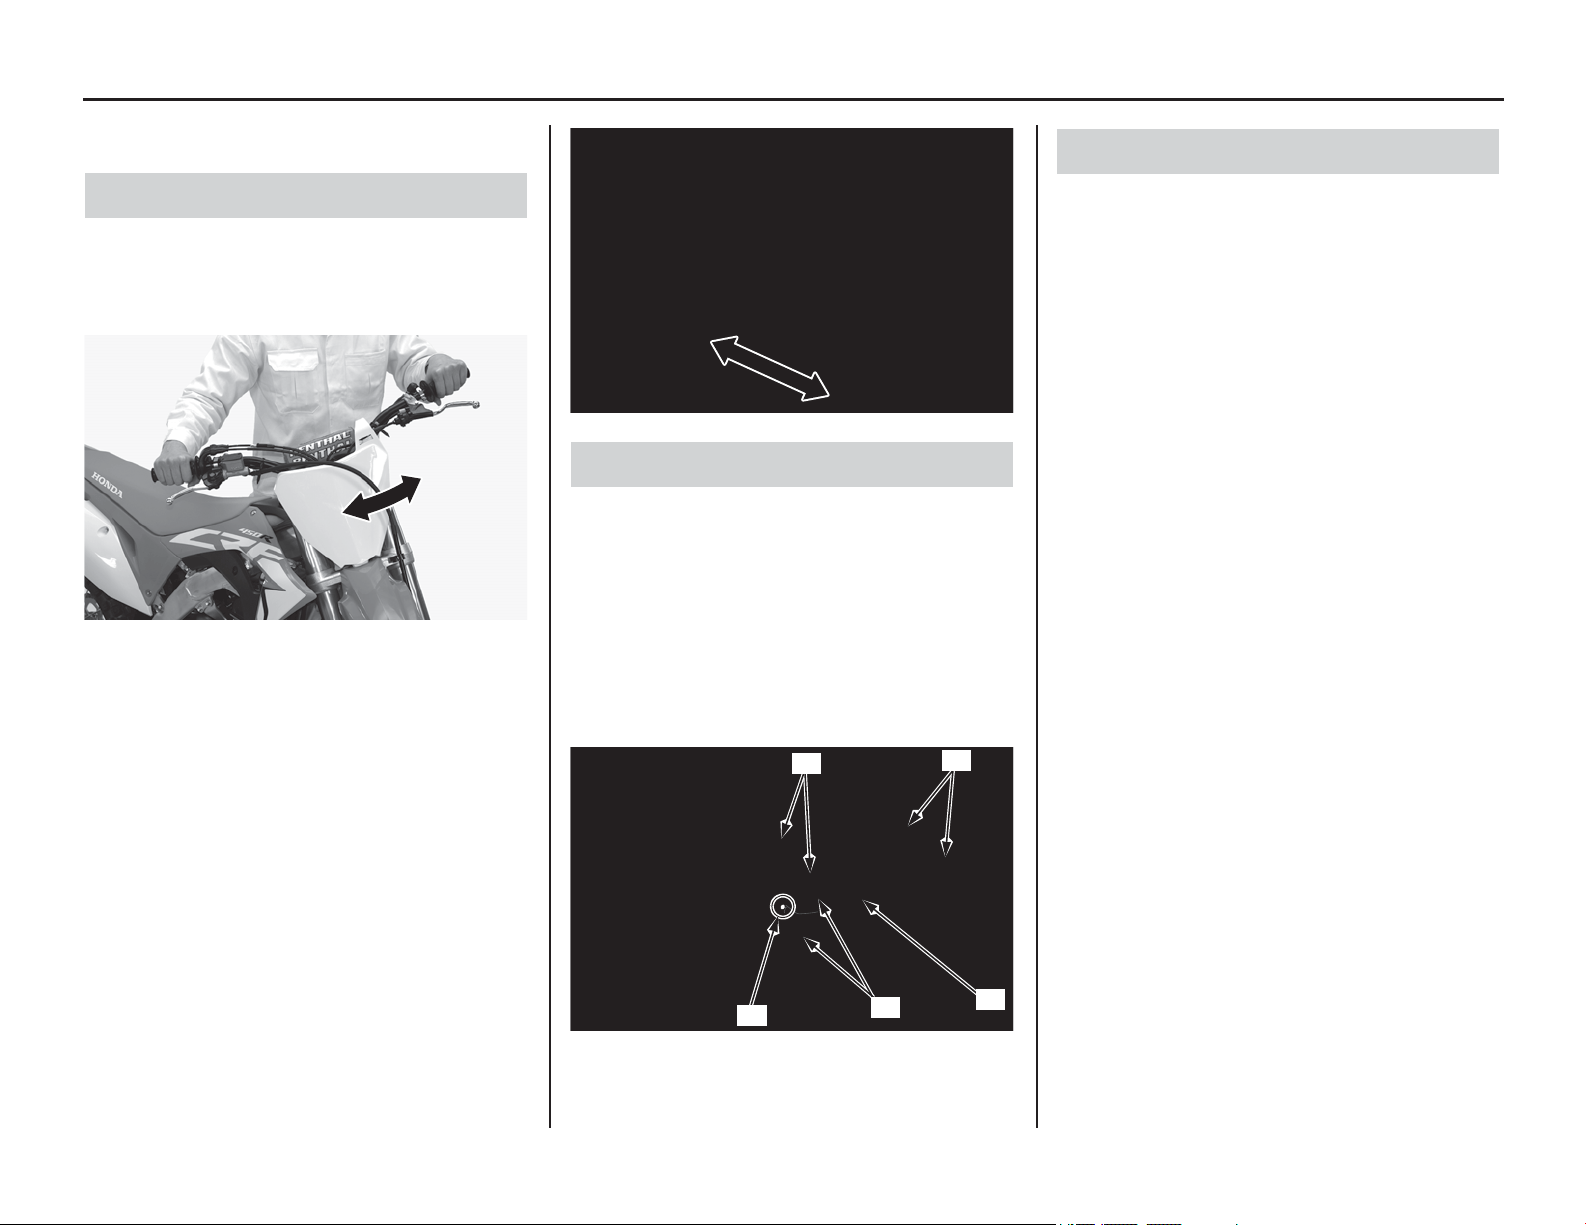
1. With your CRF on an optional workstand or
equivalent support (front wheel elevated), turn
the handlebar to the right and left to check for
roughness in the steering head bearings.
2. Stand in front of your CRF, grab the fork (at
the axle), look at the steering head, and push
the fork in and out (toward the engine) to check
for play in the steering head bearings.
If any roughness or play is felt, but you do not see
any movement in the steering head, the fork
bushings may be worn.
Refer to an official Honda Service Manual for
replacement or adjustment procedures, or see your
dealer.
1. Remove the handlebar protector and check the
handlebar (1) for bends or cracks.
2.
Check that the handlebar has not moved from its
original position where the end of the left handlebar
holders (2) is aligned with the paint mark (3).
3. Check the torque of the handlebar upper holder
bolts (4):
16 lbf·ft (22 N·m, 2.2 kgf·m)
Tighten the front bolts first.
4. Install the handlebar protector.
Periodically, disconnect the clutch cables at their
upper ends. Thoroughly lubricate the cable pivot
points with a commercially available cable
lubricant. If the clutch lever and throttle operation
is not smooth, replace the cable.
Be sure the throttle returns freely from fully open
to fully closed automatically, in all steering
positions.
Steering Head Bearing Inspection
Handlebar Inspection
(1) handlebar
(2) left handlebar holders
(3) paint mark
(4) handlebar upper holder bolts
(4)
(4)
(2)
(1)
(3)
Control Cables
Loading ...
Loading ...
Loading ...