Loading ...
Loading ...
Loading ...
48
En
06
Use Other Equipment With Your Flat Panel Display
6.1.4 Clear Added Manufacturer Codes from the Remote Control
To return all learned and preset codes to the defaults (PIONEER), follow the steps below.
To exit before the reset is complete, press the EDIT button again. The reset is cancelled if no action is taken within
60 seconds. Switching the Mode during this procedure also cancels the reset.
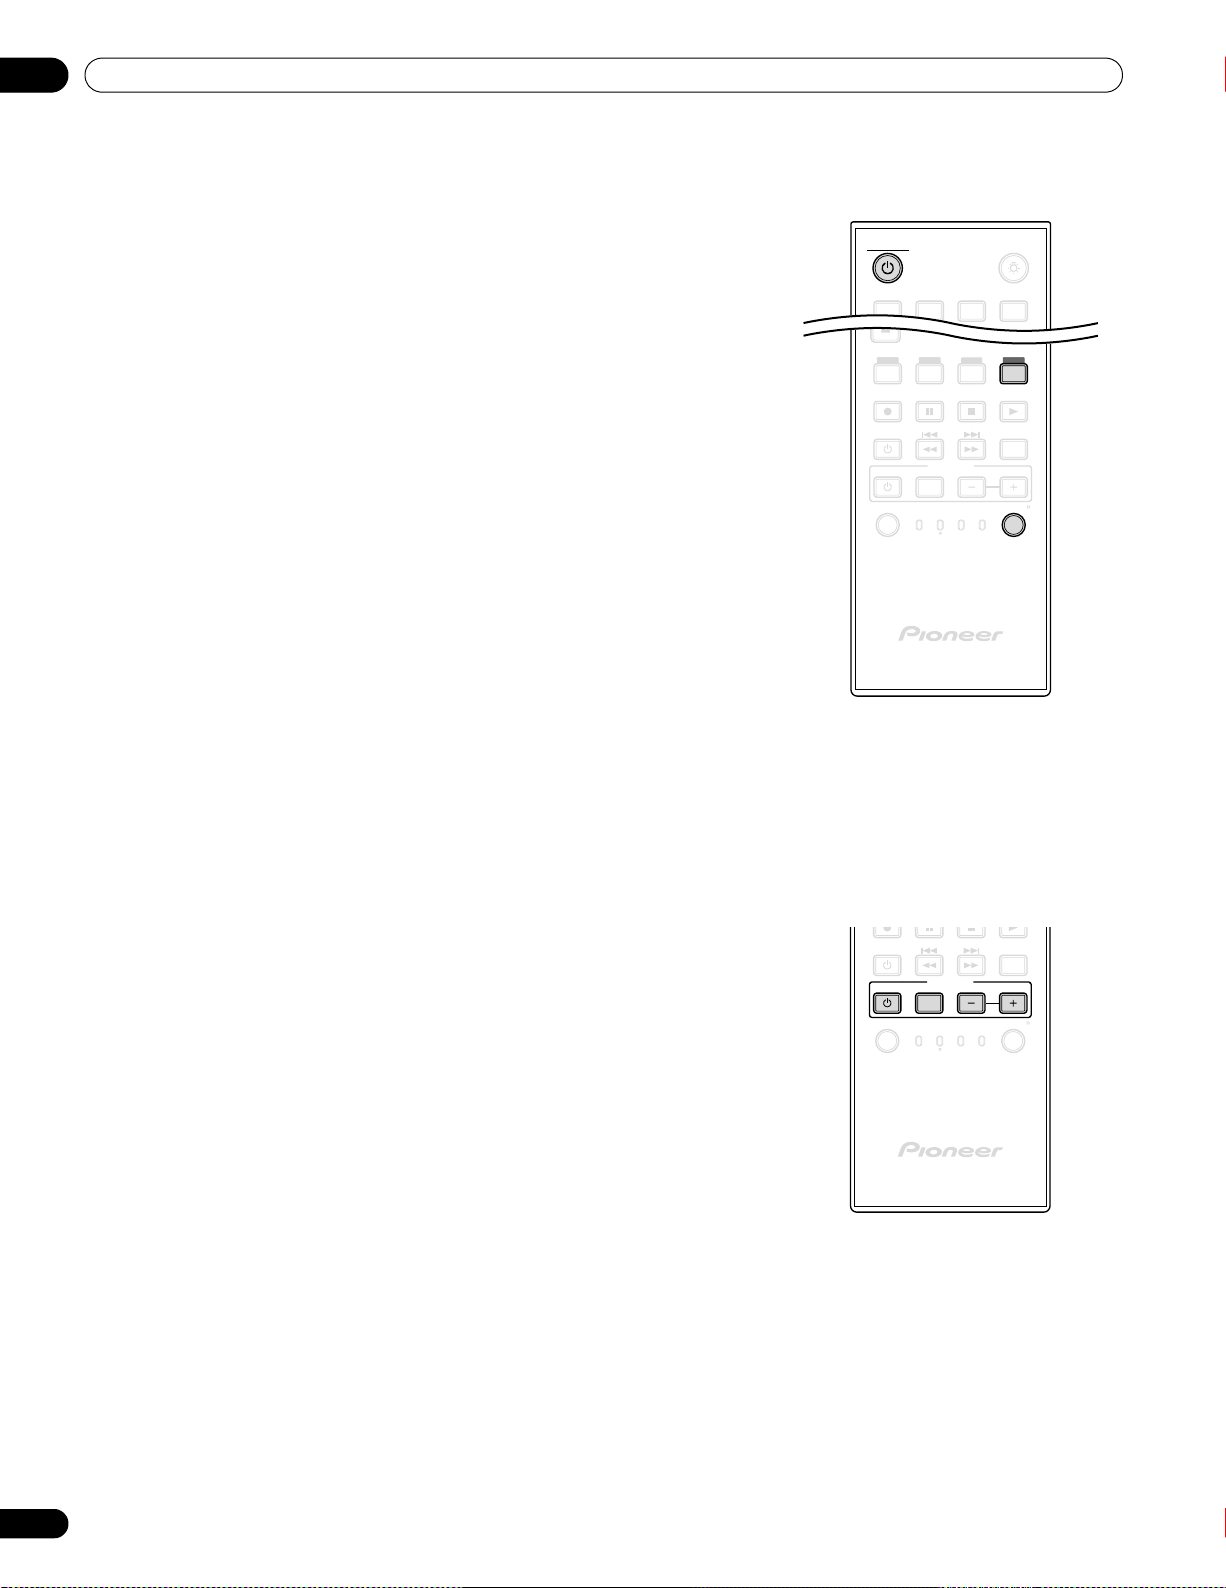
6.1.5 Control a Pioneer Receiver
The flat panel display’s remote control has a bank of buttons specifically for controlling a Pioneer receiver. The
active buttons, left to right, are as follows:
1 ) Simultaneously press EDIT and MONITOR () buttons to begin.
Selection can be in any mode.
2 ) Press the Yellow button to clear added codes.
Confirm that the selected mode indicator flashes.
The remote control enters the Manufacturing Reset mode. The
reset is complete when the mode indicator flashes once. The
remote control then returns to normal operation.
Note: The panel’s remote control may not control or have complete
control of some equipment listed in the tables.
• RECEIVER STANDBY/ON
(turns the Pioneer Receiver On/Off)
• RECEIVER INPUT
(cycles through/selects an input)
• RECEIVER VOL –
(adjusts the volume lower)
• RECEIVER VOL +
(adjusts the volume higher)
M
E
N
U
O
N
D
E
M
A
N
D
S
O
U
R
C
E
D
V
D
/
H
DD
V
O
L
R
E
C
E
I
V
E
R
E
D
I
T
/
L
E
A
R
N
V
C
R
S
T
B
M
O
N
I
T
O
R
B
D
P
L
D
D
V
D
D
V
R
C
B
L
S
A
T
S
E
L
E
C
T
F
A
V
O
R
I
T
E
I
N
P
U
T
M
O
N
I
T
O
R
I
N
P
U
T
1234
SOURCE
DVD/HDD
VOL
RECEIVER
EDIT/LEARN
VCRSTBMONITOR
BDP
LD
DVD
DVR
CBL
SAT
SELECT
INPUT
PRO-141FD_PRO-101FD.book Page 48 Tuesday, May 13, 2008 2:32 PM
Loading ...
Loading ...
Loading ...