Loading ...
Loading ...
Loading ...
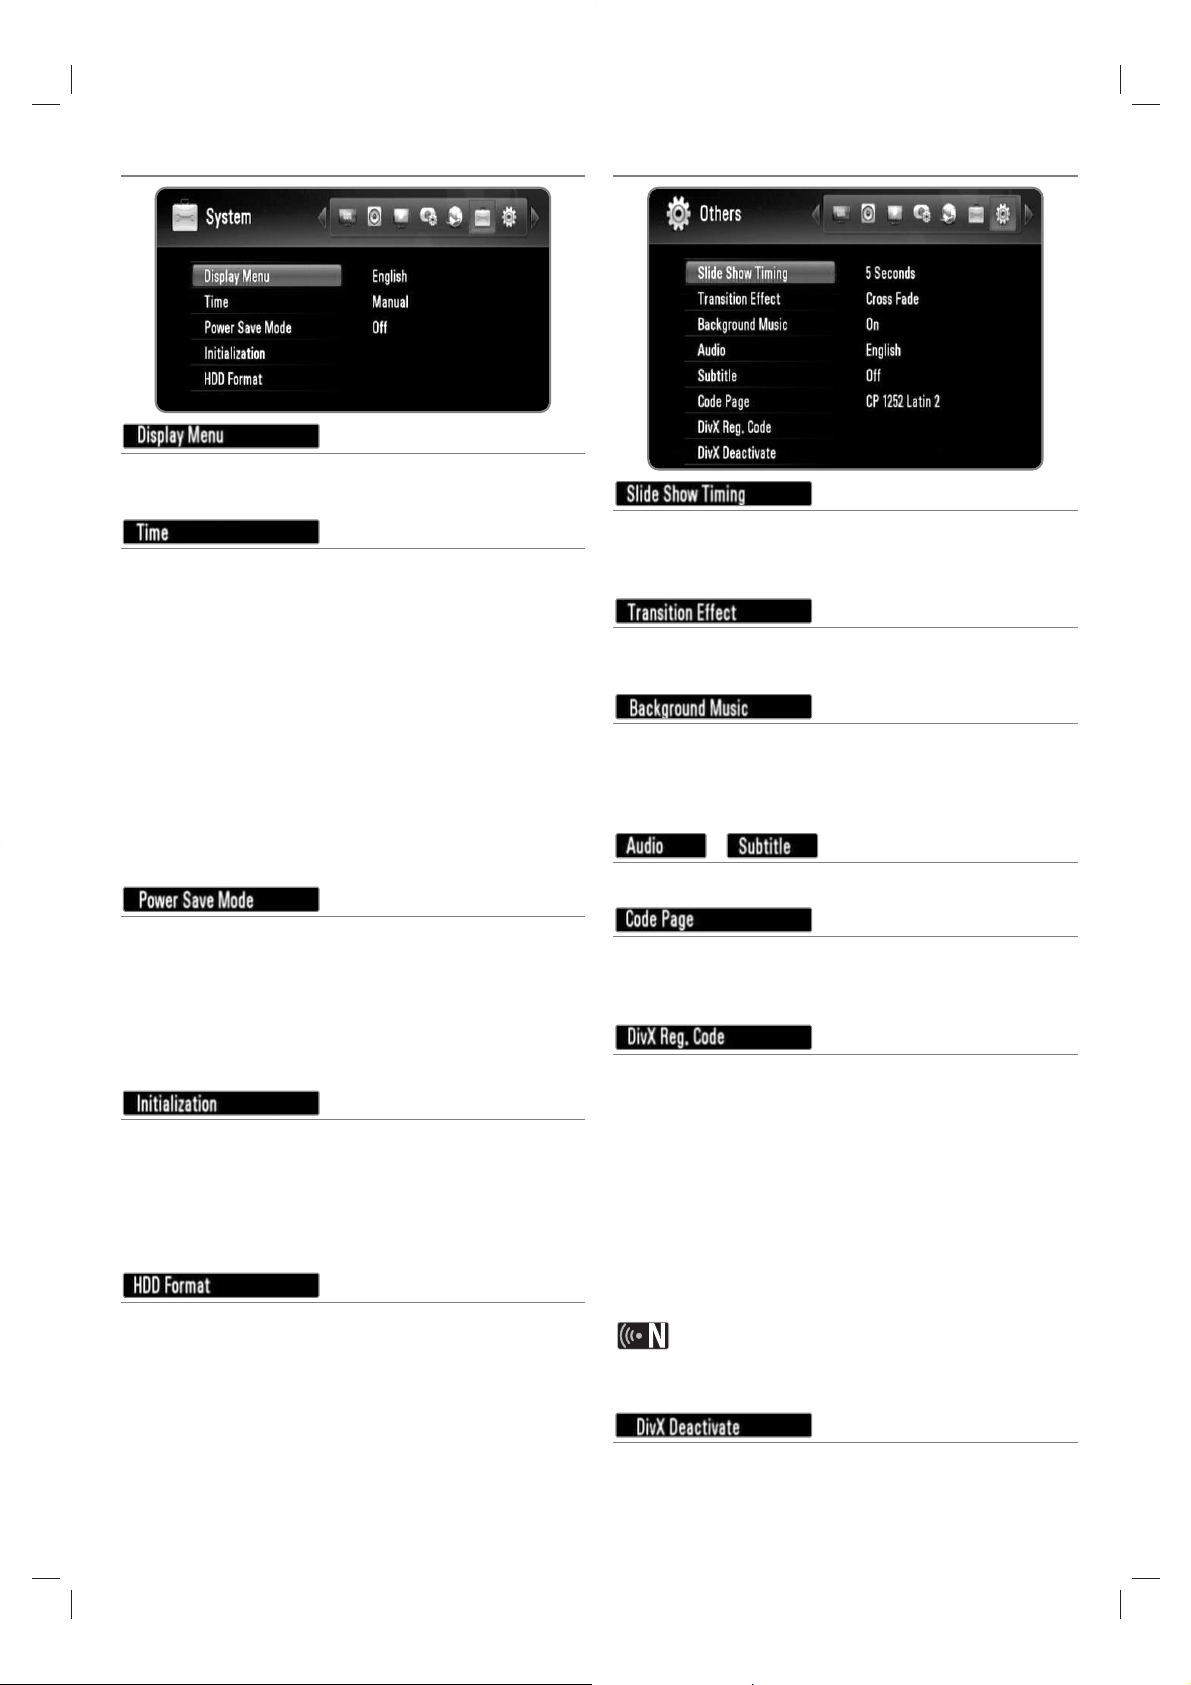
System settings
Select a language for the Setup menu and information
display.
The clock must be set in order to use timer recording.
[Auto]: Set the programme that broadcasts a clock sig-
nal and the clock will be set automatically.
If the time that has been automatically set is not correct
when compared your local time, you can set additional
time option. Select your region in the [Time Zone]
option to set a time relative to area. If the summer time
has started in your region, select the [Time Offset]
option and increase or decrease time using b/B, and
press OK.
[Manual]: If there is no channel that broadcasts a clock
signal in your area, you can set the time and date man-
ually. Use b/B to select each field, and input
correct time and date using v/V, and press OK.
Selects whether this recorder is in power save mode
when the power is turned off. This option is not available
when a timer recording is set.
[ON]: The front panel display is off and only signals
arriving at the antenna input are passed through when
the recorder is turned off.
[OFF]: Turns off the [Power Save Mode] function.
You can reset the recorder to its original factory settings.
[Cancel]: Return to the previous.
[Factory Set]: You can reset the recorder to all its fac-
tory settings. Some options cannot be reset (Rating
and Password). The [Setup Wizard] menu appears on
the screen after the factory settings.
Everything recorded on the HDD will be erased.
Select an storage option between [HDD (Internal)] and
[HDD (External)], and press OK to perform the
formatting.
Others settings
You can set the photo delaying timing while viewing a
Slide Show. (See “Selecting slideshow speed” on pages
35.)
Specify the transition style between pictures in a slideshow.
(See “Selecting a slideshow effect” on pages 35.)
This option is available after the background music is
selected using [On]. This option is not available on [Off]
(See “Listening to music while viewing a slideshow” on
pages 35.)
/
Select a default language for the DTV Audio/Subtitle.
If a movie subtitle does not display properly, change the
recorder’s subtitle language code. (See “Selecting a sub-
title language code” on pages 33.).
ABOUT DIVX VIDEO: DivX® is a digital video format
created by DivX, Inc. This is an official DivX Certified
device that plays DivX video. Visit www.divx.com for more
information and software tools to convert your files into
DivX videos.
ABOUT DIVX VIDEO-ON-DEMAND: This DivX® Certified
device must be registered in order to play DivX Video-on-
Demand (VOD) content. To generate the registration
code, locate the [DivX Reg. Code] section in the [Setup]
menu. Go to vod.divx.com with this code to complete the
registration process and learn more about DivX VOD.
All the downloaded videos from DivX
®
VOD can only be
played back on this recorder.
Deactivate your recorder and display the deactivation
code. Go to vod.divx.com for more information.
48
Loading ...
Loading ...
Loading ...