Loading ...
Loading ...
Loading ...
35
Below is an explanation of fields on the UPnP settings screen:
• Enable: This checkbox allows the user to enable the UPnP function.
• Router State: This field shows the UPnP status and has two options: Unknown: This means that
UPnP mapping has failed. Successful: This means that UPnP mapping has succeeded.
• Port Mapping List: This table is used to show how the ports for each protocol listed below have been remapped by the
UPnP protocol.
o The first column shows the checkboxes to enable the corresponding service on the table.
o The second column shows the name of the services. To edit this, double click on the service line item.
o The third column shows the name of the protocol used by that service. To edit this, click the pencil button in the
modify column for that line item.
o The fourth column shows the Internal Port used by that service to establish communication from the router to the
camera. To edit this, click the pencil button in the modify column for that line item.
o The fifth column shows the External Port used by that service to establish communication from the router to the
internet. To edit this, click the pencil button in the modify column for that line item.
o The sixth column shows the status of the protocol. If the protocol was mapped successfully, this field will say
“Mapping Succeeded”.
o The seventh column allows the user to open a dialog box and edit the service’s information.
To reset to default settings, click the Reset Defaults button. To refresh the page, click the Refresh button. To save the
settings, click the Save button.
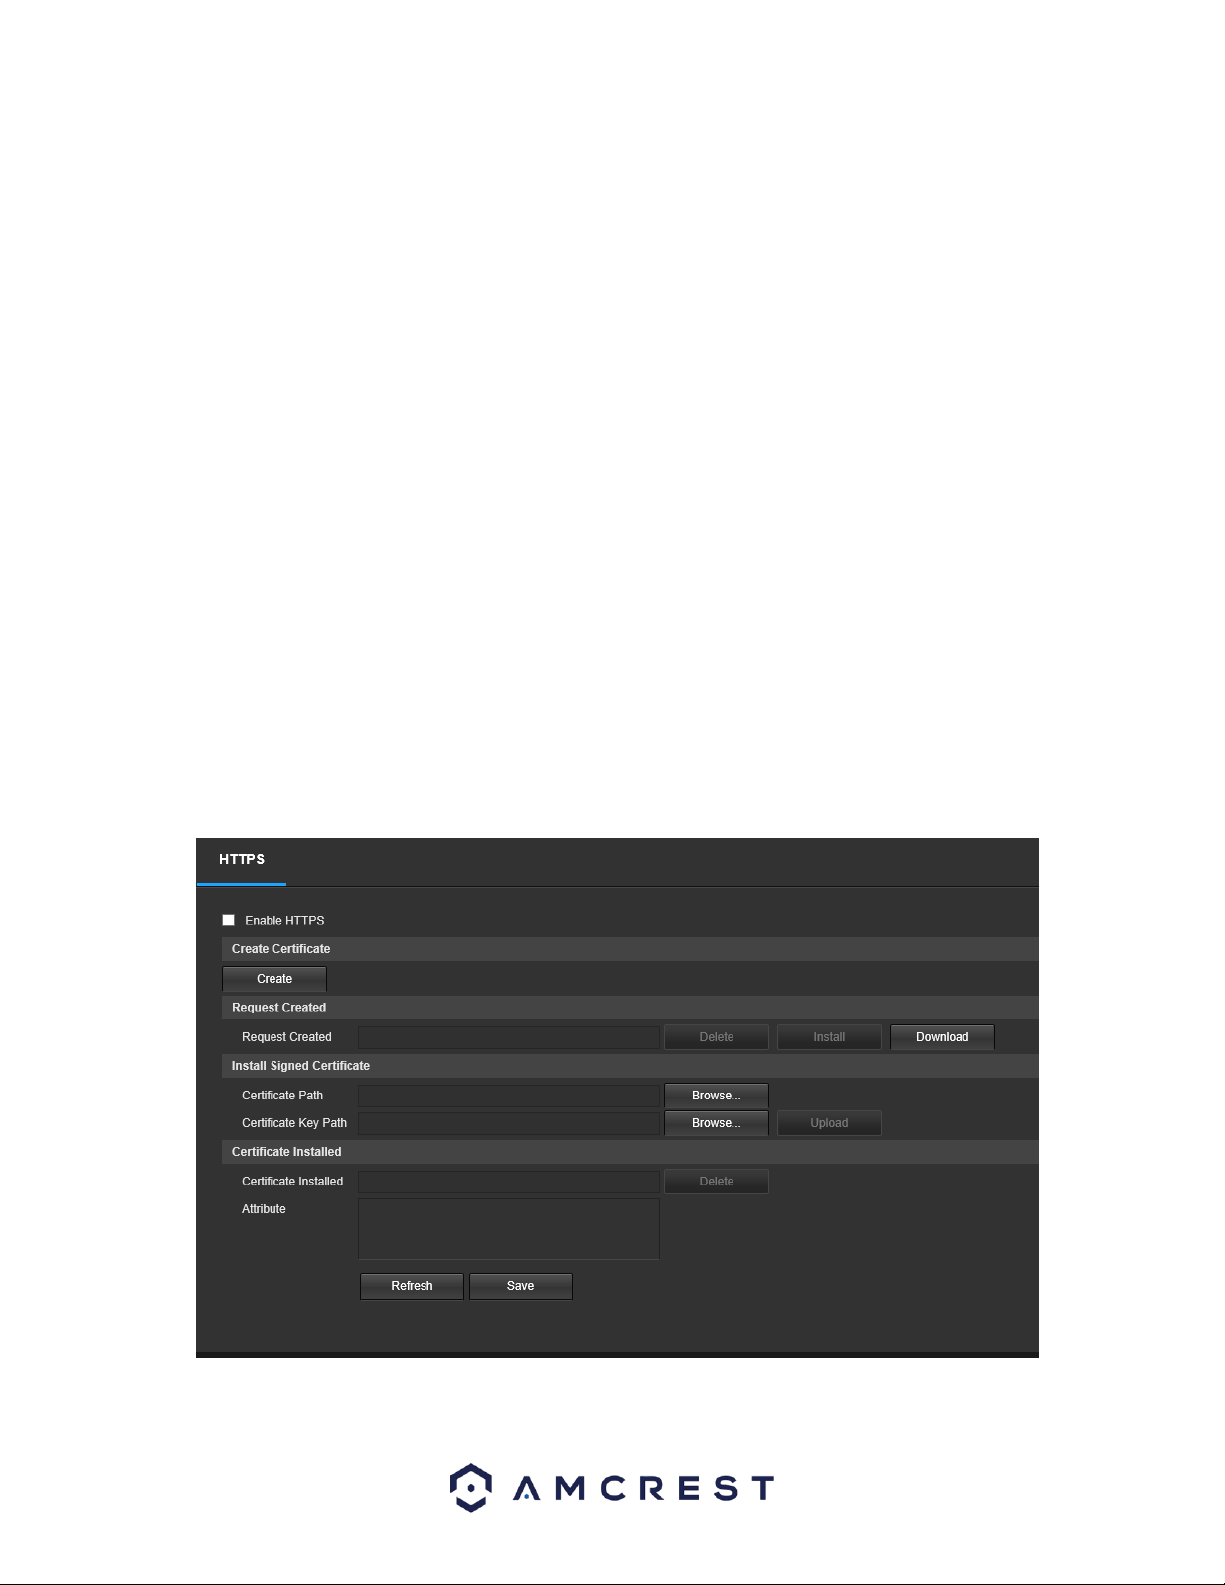
HTTPS
This menu allows the user to enable and create HTTPS certificates. Below is a screenshot of this menu:
Loading ...
Loading ...
Loading ...