Loading ...
Loading ...
Loading ...
Driving
●
The bumper sensors may become dam-
aged or misaligned, for ex
ample, when
parking.
●
To ensure that the system works properly,
the bumper sensors must be kept clean,
free of ice and snow and uncovered.
●
When cleaning the sensors with high-
pressure or steam cleaning equipment,
spray the sensors briefly at a distance of
no less than 10 cm.
●
Different sources of noise can produce
errors in the parking distance warning sys-
tem, e.g. parking distance warning systems
from other vehicles, inductive loops or con-
struction works machines.
●
Retrofitting of components to the vehicle,
such as a bicycle carrier, may interfere with
the function of the parking distance warn-
ing system.
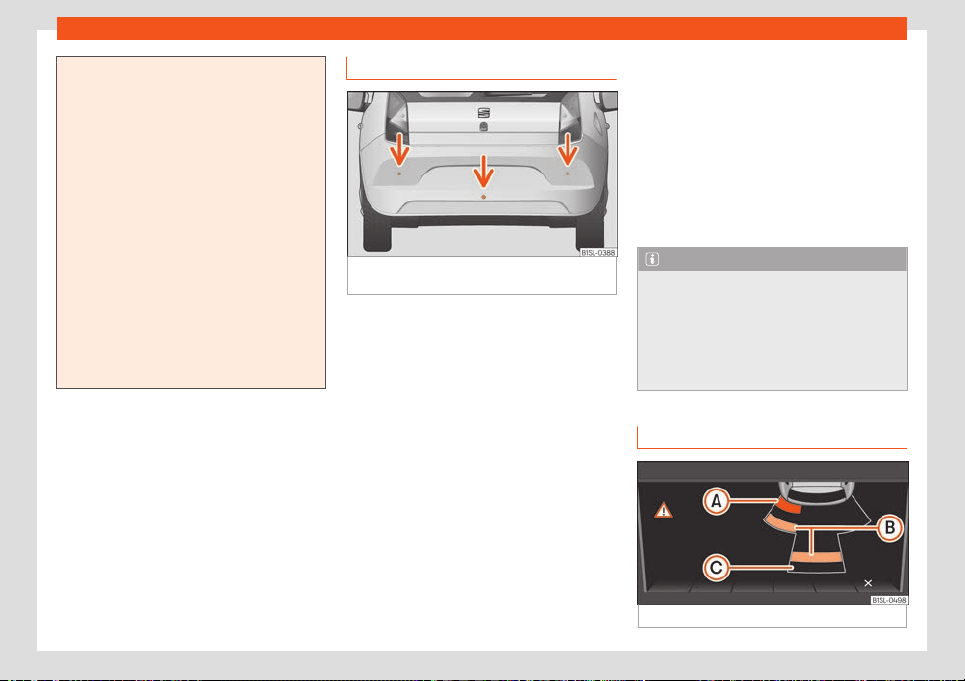
Parking distance warning system
Fig. 143
Parking distance warning system sen-
sors on the r
ear bumper
The sensors of the parking distance warning
syst
em ar
e sit
uated on the rear bumper
›››
Fig. 143.
Switching the parking distance warning
system on and off
●
Switch on: With the ignition switched on, se-
lect reverse gear. A short audible warning
confirms that the parking distance warning
system is switched on and functioning.
●
Switch off: Release reverse gear.
Special features of the parking distance
warning system
●
The parking distance warning system
sometimes registers water on the sensors as
an obstacle.
●
If the distance does not change, the warn-
ing signal will sound less loudly after a few
seconds. If the continuous signal sounds, the
volume will remain constant.
●
When the vehicle moves away from the ob-
stacle, the beeping sound automatically
switches off. When getting close again, it re-
connects.
●
Your SEAT dealership can adjust the volume
of the warning signals.
Note
A fault in the parking distance warning sys-
tem is indicated thr
ough a brief audible
warning that is constant for about 3 sec-
onds when switching it on the first time.
Have the parking distance warning system
checked as soon as possible at a special-
ised workshop.
Optical parking system* (OPS)
Fig. 144 On-screen OPS display
156
Loading ...
Loading ...
Loading ...