Loading ...
Loading ...
Loading ...
31
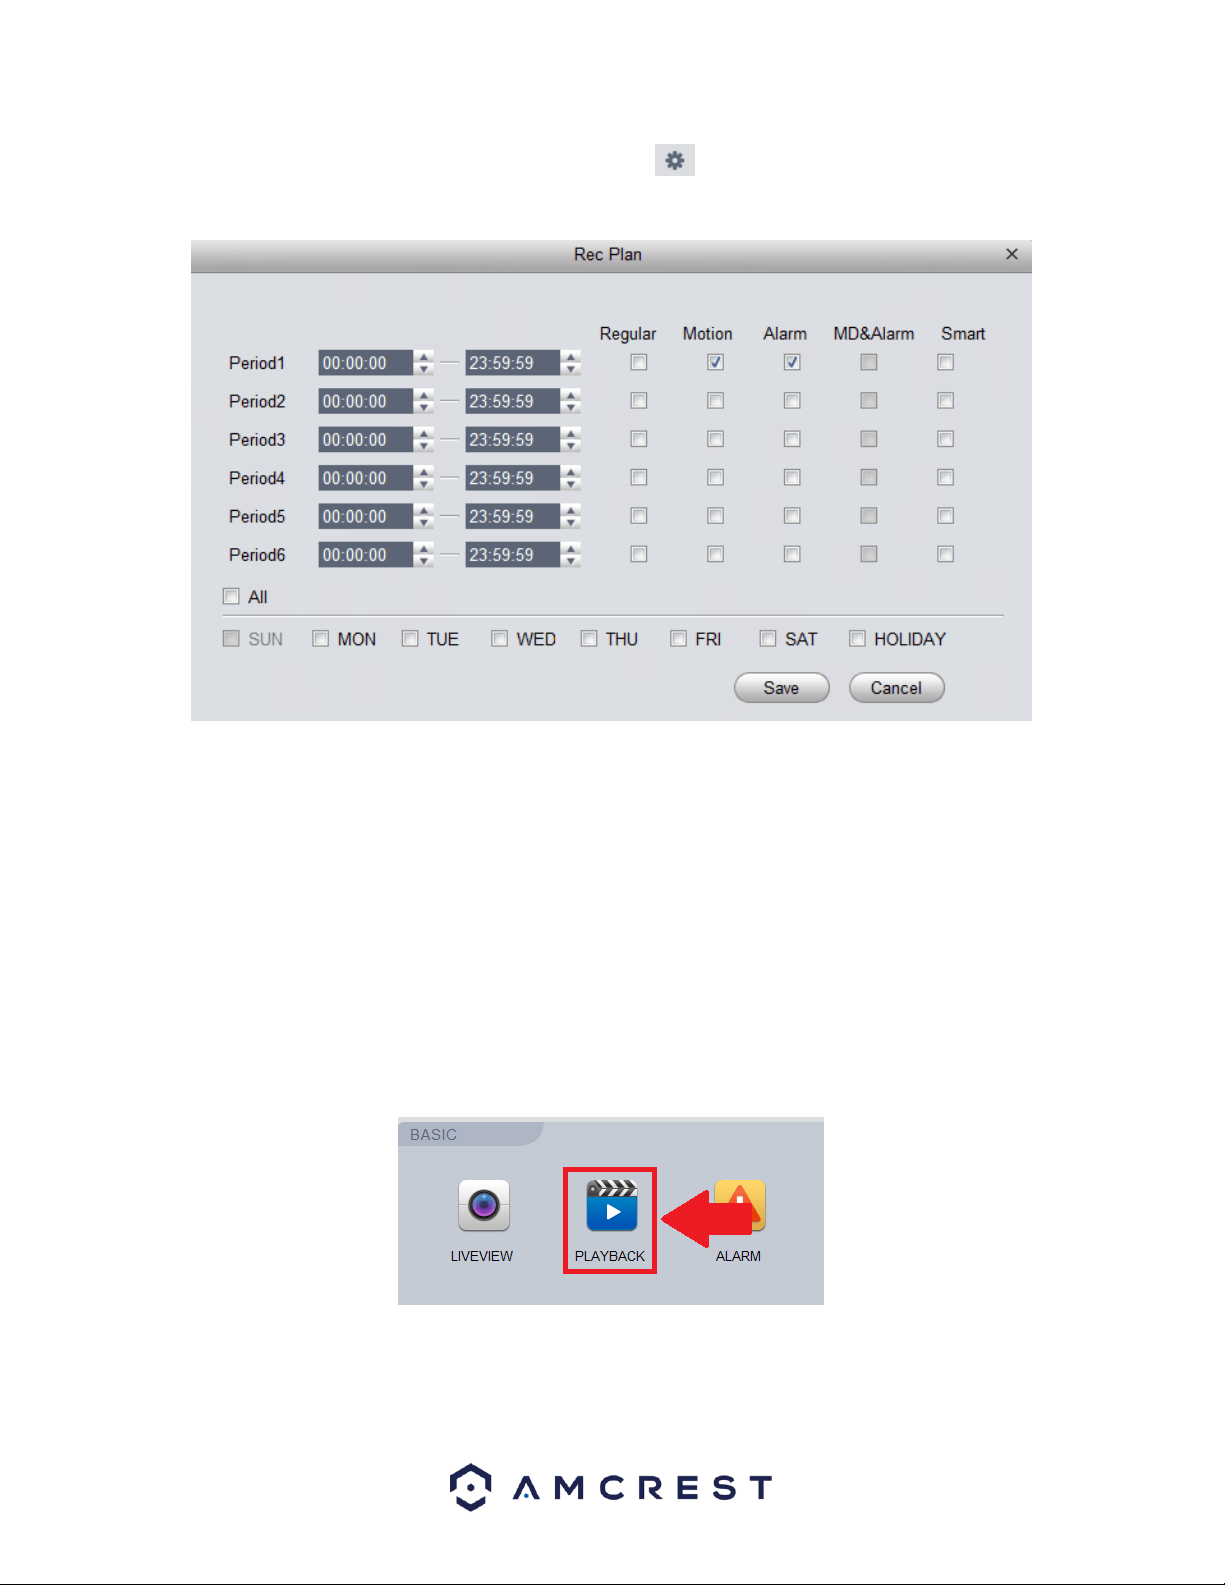
To begin setting a record schedule for your device, click on the icon next to the day you want to schedule
your record plan.
Clicking this button opens a screen that allows for recording periods to be set for each day and for each recording
type. There are a total of 6 periods that can be set. To set a recording schedule, select the record type (Regular,
Motion, Alarm, MD&Alarm, Smart) and select the times you would like your schedule to apply. If you would like
the record type to record 24/7 the period will remain on 00:00:00 – 23:59:59.
Next, select which days you would like the schedule to apply with and click Save to continue. If you would like the
schedule to apply to all days, click the All button. On the main record menu, click on Apply and Save to save the
schedule to the software.
How to View Playback
To playback recorded material in the Amcrest Surveillance Pro software, navigate back to the Home Page and in
the Basic menu, click on Playback.
In the Organizations menu, click on the device you would like to view playback on. Ensure the checkbox next to
the device name and group name are checked.
Loading ...
Loading ...
Loading ...