
To prevent possible SERIOUS INJURY or DEATH from a moving gate
or garage door:
• Install door control within sight of garage door, out of reach of
children at a minimum height of 5 feet (1.5 m), and away from ALL
moving parts of door.
• NEVER permit children to operate or play with door control push
buttons or remote control transmitters.
• Activate door ONLY when it can be seen clearly, is properly adjusted
and there are no obstructions to door travel.
• ALWAYS keep garage door in sight until completely closed. NEVER
permit anyone to cross path of closing garage door.
Only for use with 315MHz Security+
®
garage door openers and
universal receivers that have a purple “learn” button.
Instructions are Described and Illustrated Below
To Program The Large Push Button or Auxiliary Button To
A Garage Door Opener
You can use the wireless control panel to control up to two separate
garage door openers. Select large push button for
the primary opener and use the auxiliary button for
the secondary opener.
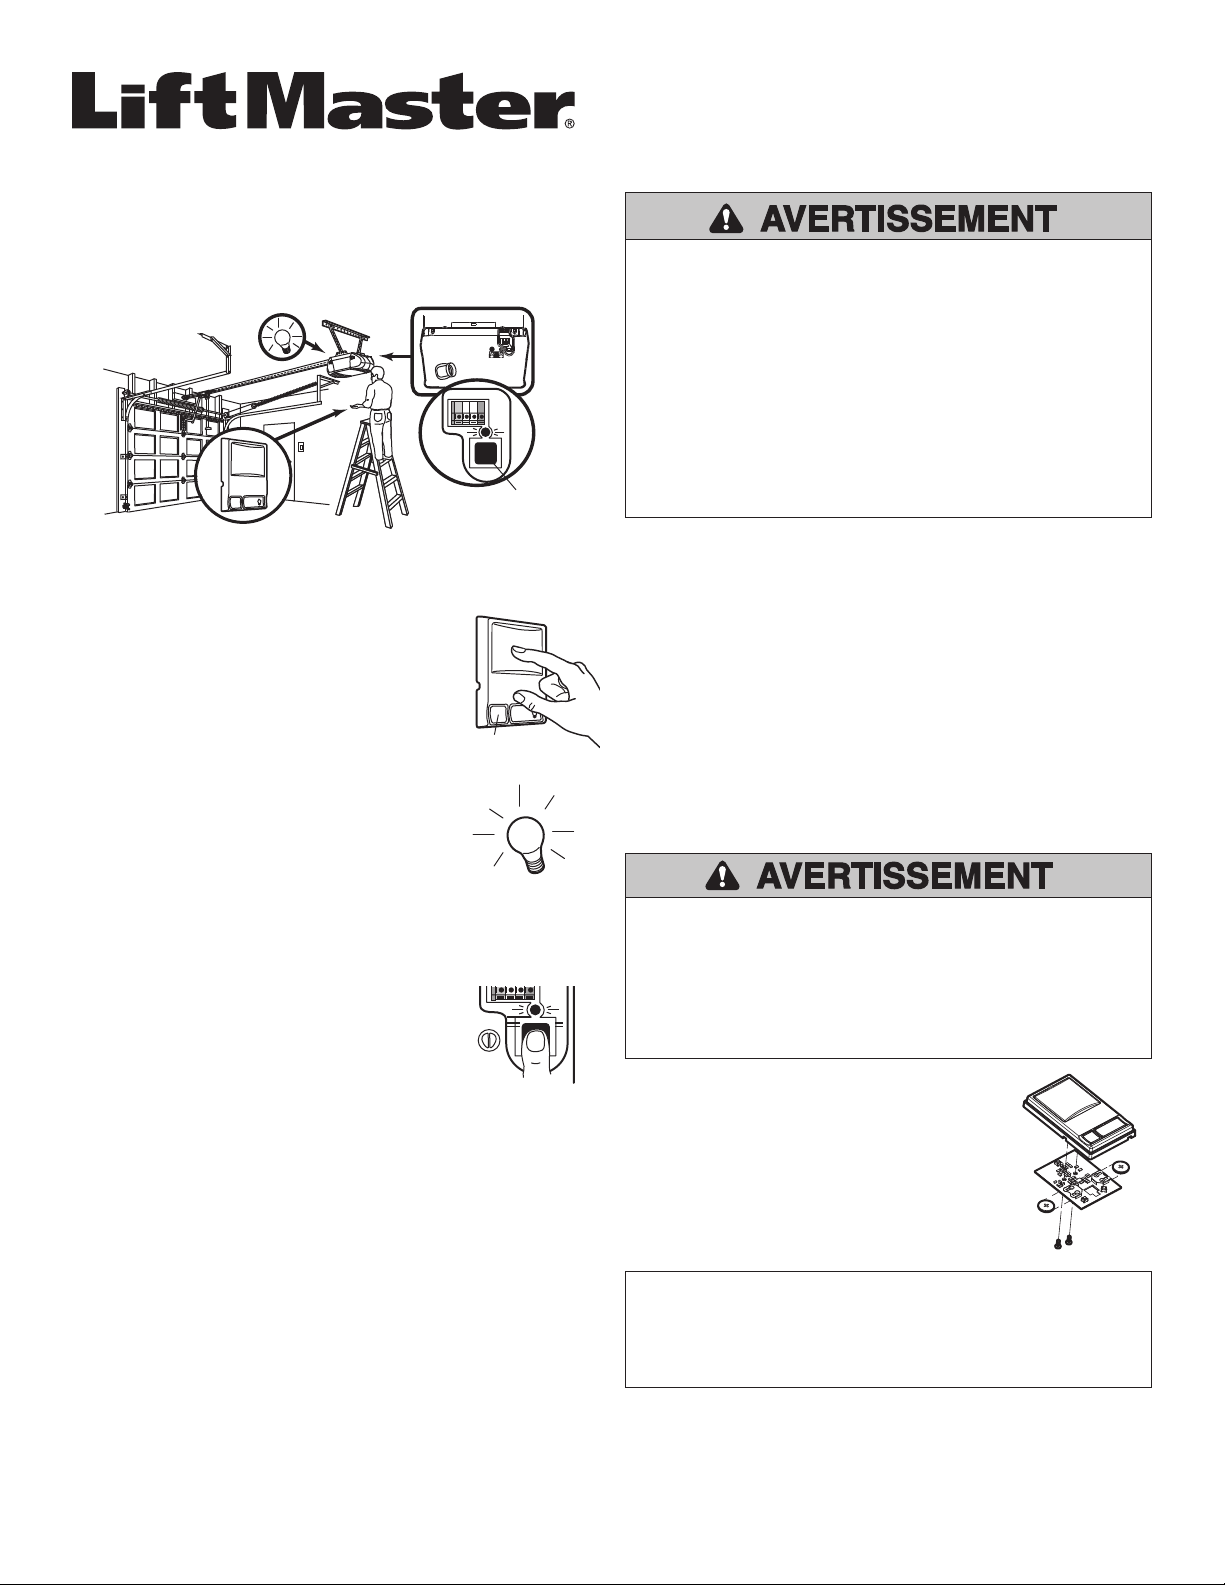
1. Press and release the “Learn” button on the
motor unit. The learn indicator light will glow
steadily for 30 seconds.
2. Within 30 seconds, press and hold either the
large push button or auxiliary button on the
wireless control panel.
3. Release the button when the motor unit light
blinks. It has learned the code. If light bulbs are
not installed, two clicks will be heard.
To Erase All Codes From Motor Unit Memory
To deactivate any unwanted remote, first erase all codes:
Press and hold the “Learn” button on motor unit
until the learn indicator light goes out
(approximately 6 seconds). All previous codes are
now erased. Reprogram each remote or keyless
entry you wish to use.
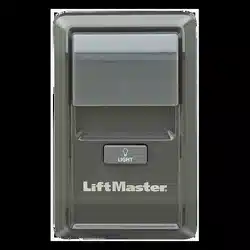
To Control the Opener Lights
NOTE: Feature not available with universal receiver.
With 315MHz Security+
®
wireless control panel, the Light button can be
programmed to operate the opener lights without opening the door. A
wired multi-function control panel is required to program the Light
button on the wireless control panel.
1. With the door closed, press and hold the Light button on the wireless
control panel.
2. Press and hold the Light button on the multi-function control panel.
3. Press and hold the Lock button on the multi-function control panel.
4. After the opener lights flash, release all buttons.
Test by pressing the Light button on the wireless control panel. The
opener lights should turn on or off but the door should not move.
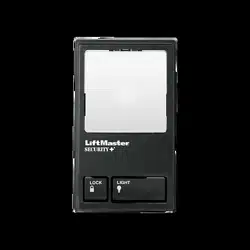
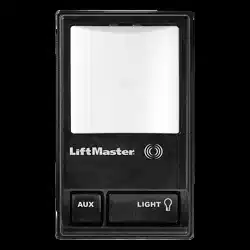
315MHz Security+
®
Wireless
Control Panel
Models 378LM and 378LMC
Installation
NOTE: Locate the door control within sight of the door at a minimum
height of 5' (1.5 m) where small children cannot reach and away from all
moving parts of the door and door hardware.
Remove the push button cover by gently prying off the top edge with a
screwdriver. Fasten with 6ABx1-1/4" self-tapping screws as follows:
• Drill pilot holes and install bottom screw, allowing 1/8" (3 mm) to
protrude above the wall surface.
• Position bottom of door control on screw head and slide down to
secure. Adjust screw for snug fit.
• Install top screw. DO NOT overtighten, you may damage the plastic
housing.
The Wireless Control Panel Batteries
The lithium battery should produce power for up to
3 years. To replace the battery, remove the two
screws and the circuit board from the plastic
housing, as shown. Insert new battery positive side
up (+).
Dispose of old battery properly.
Replacement Parts
3V CR2032 Lithium battery . . . . . . . . . . . . . . . . . . . . . . . . . . . . . . . 10A20
To prevent possible SERIOUS INJURY or DEATH:
• NEVER allow small children near batteries.
• If battery is swallowed, immediately notify doctor.
To reduce risk of fire, explosion or chemical burn:
• Replace ONLY with 3V CR2032 coin batteries.
• DO NOT recharge, disassemble, heat above 212°F (100°C) or
incinerate.
NOTICE: To comply with FCC and or Industry Canada rules (IC), adjustment or modifi cations of this receiver
and/or transmitter are prohibited, except for changing the code setting or replacing the battery. THERE ARE
NO OTHER USER SERVICEABLE PARTS.
Tested to Comply with FCC Standards for Home or offi ce use. Operation is subject to the following two
conditions: (1) this device may not cause harmful interference, and (2) this device must accept any
interference received, including interference that may cause undesired operation.
L
IG
HT
“Learn” Button
LI
G
H
T
Auxiliary Button
Pour prévenir d'éventuelles BLESSURES GRAVES ou LA MORT dues à un
portail ou une porte de garage en mouvement :
• Poser la commande de porte à portée de vue de la porte de garage, hors de
la portée des enfants à une hauteur minimum de 1,5 m (5 pieds) et à l'écart
de TOUTES les pièces mobiles de la porte.
• Ne JAMAIS laisser des enfants faire fonctionner les boutons-poussoirs de la
commande de porte ou les émetteurs de la télécommande, ni jouer avec
ceux-ci.
• Actionner la porte UNIQUEMENT lorsqu'on la voit clairement, qu'elle est bien
réglée et que rien ne gêne la course de la porte.
• TOUJOURS avoir l'œil sur la porte de garage jusqu'à sa fermeture complète.
Ne JAMAIS laisser personne croiser le chemin d'une porte de garage qui se
ferme.
ATTENTION
AVERTISSEMENT
AVERTISSEMENT
AVERTISSEMENT
© 2014, LiftMaster
114A3327C All Rights Reserved, Tous droits réservés
Uniquement pour utilisation avec ouvre-portes de garage fonctionnant sur
315MHz Security+
®
et récepteurs iniversels ayant un bouton « Learn » de
programmation mauve.
Les Instructions Sont Décrites et Illustrées Ci-dessous
Programmation du Grand Bouton-Poussoir ou du Bouton
Auxiliaire pour un Ouvre-Porte de Garage
Il est possible d’utiliser le panneau de commande sans fil
pour contrôler, selon le besoin, deux ouvre-portes de
garage différents. Sélectionner le grand bouton-poussoir
pour l’ouvre-porte principal et utiliser le bouton auxiliaire
pour l’ouvre-porte secondaire.
1. Enfoncer et relâcher le bouton learn sur le moteur. Le
témoin lumineux learn s’allumera en continu pendant 30
secondes.
2. Dans les 30 secondes, appuyer sans relâcher sur le
grand bouton-poussoir ou sur le bouton auxiliaire du
panneau de commande sans fil.
3. Relâcher le bouton lorsque l’éclairage du moteur
clignote. Il a appris le code. Si les ampoules ne sont pas
posées, deux clics se feront entendre.
Pour Effacer Tous les Codes de la Mémoire du Moteur
Pour inactiver toute télécommande non désirée, effacer d’abord tous les codes :
Enfoncer et tenir le bouton “learn” du moteur jusqu’à ce
que le témoin lumineux learn s’éteigne (environ 6
secondes). Tous les codes précédents sont maintenant
effacés. Reprogrammer chaque télécommande ou entrée
sans clé qu’on désire utiliser.
Commande de L’éclairage de L’ouvre-porte
REMARQUE : Cette fonctionnalité n’est pas disponible sur un récepteur universel.
Grâce au panneau de commande sans fil Security+
®
de 315 MHz, il est possible
de programmer le bouton Light (Éclairage) pour faire fonctionner l’éclairage de
l’ouvre-porte sans ouvrir la porte. Un panneau de commande multifonction avec
fils est requis pour programmer le bouton Light sur le panneau de commande
sans fil.
1. La porte étant fermée, appuyer sans relâcher sur le bouton Light (Éclairage) du
panneau de commande sans fil.
2. Appuyer sans relâcher sur le bouton Light du panneau de commande multi-
fonction.
3. Appuyer sans relâcher sur le bouton Lock (Verrouillage) du panneau de
commande multi-fonction.
4. Lorsque l’éclairage de l’ouvre-porte clignote, relâcher tous les boutons.
Effectuer un essai en appuyant sur le bouton Light du panneau de commande sans
fil. L’éclairage de l’ouvre-porte doit s’allumer ou s’éteindre sans que la porte ne
bouge.
315 MHz Security+
®
Panneau de
Commande sans fil
Modèles 378LM et 378LMC
Pose
REMARQUE : Positionner les commandes en vue de la porte, à une hauteur
minimale de 1,5 m (5 pi), hors de la portée des enfants, et à l'écart des pièces en
mouvement et de la visserie de porte.
Retirer le couvercle de bouton-poussoir en soulevant doucement la fente dans la
partie supérieure du couvercle à l’aide d’un petit tournevis à tête plate. Fixer en
place à l'aide de six vis autotaraudeuses AB x 1 1/4 po de la façon suivante :
• Percer et poser la vis inférieure en laissant 3 mm (1/8 po) faire saillie du mur.
• Placer le bas de la commande de porte par-dessus la tête de vis et ajuster
pour un ajustement serré.
• Installez l’écrou du dessus. NE serrez pas trop, car vous risquez
d’endommager le boîtier en plastique.
Pile du Panneau de Commande sans fi l
La pile au lithium devrait durer pendant une période allant
jusqu'à 3 ans. Pour remplacer la pile, retirer les deux vis et
la carte de circuit imprimé du boîtier en plastique, comme
indiqué. Insérer la pile neuve en pointant le côté positif (+)
vers le haut.
Se débarrasser de la pile usée de manière appropriée.
Pièces de Rechange
Pile au lithium 3V CR2032 ............................................................................. 10A20
Pour éviter des BLESSURES GRAVES, VOIRE MORTELLES :
• Ne JAMAIS laisser des enfants s’approcher de la pile.
• Communiquer immédiatement avec un médecin en cas d’ingestion d’une pile.
Pour réduire le risque d'incendie, d'explosion ou de brûlure chimique :
• La remplacer UNIQUEMENT par une pile bouton 3V CR2032.
• NE PAS la recharger, la démonter, la chauffer à plus de 100 °C (212 °F) ou
l'incinérer.
ATTENTION
AVERTISSEMENT
AVERTISSEMENT
AVERTISSEMENT
L
IG
HT
Bouton “Learn”
LI
G
H
T
Bouton auxiliaire
1-800-528-9131
LiftMaster.com
AVIS : Les règles de la FCC et d’Industrie Canada (IC) interdisent tout ajustement ou toute modifi cation de ce
récepteur ou émetteur, sauf pour modifi er le code ou pour remplacer la pile. IL N'EXISTE AUCUNE AUTRE
PIÈCE SUSCEPTIBLE D'ÊTRE ENTRETENUE PAR L'UTILISATEUR.
Conformité vérifi ée pour répondre aux normes de la FCC dans le cadre d'une utilisation domestique ou
au bureau. Le fonctionnement est assujetti aux deux conditions suivantes : (1) ce dispositif ne provoque
pas d'interférences nuisibles et (2) il doit accepter les interférences reçues y compris celles qui pourraient
provoquer un fonctionnement indésirable.