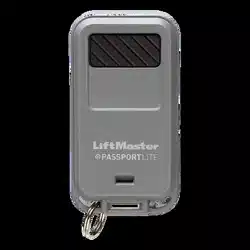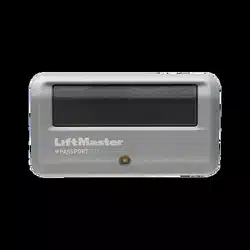
Single Button Remote Control
Model 891LM
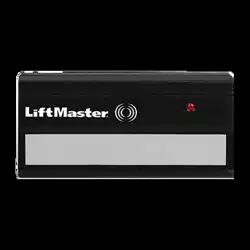
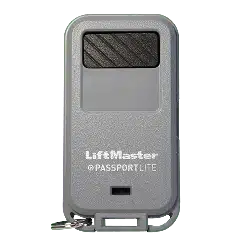
3-Button Remote Control
Model 893LM
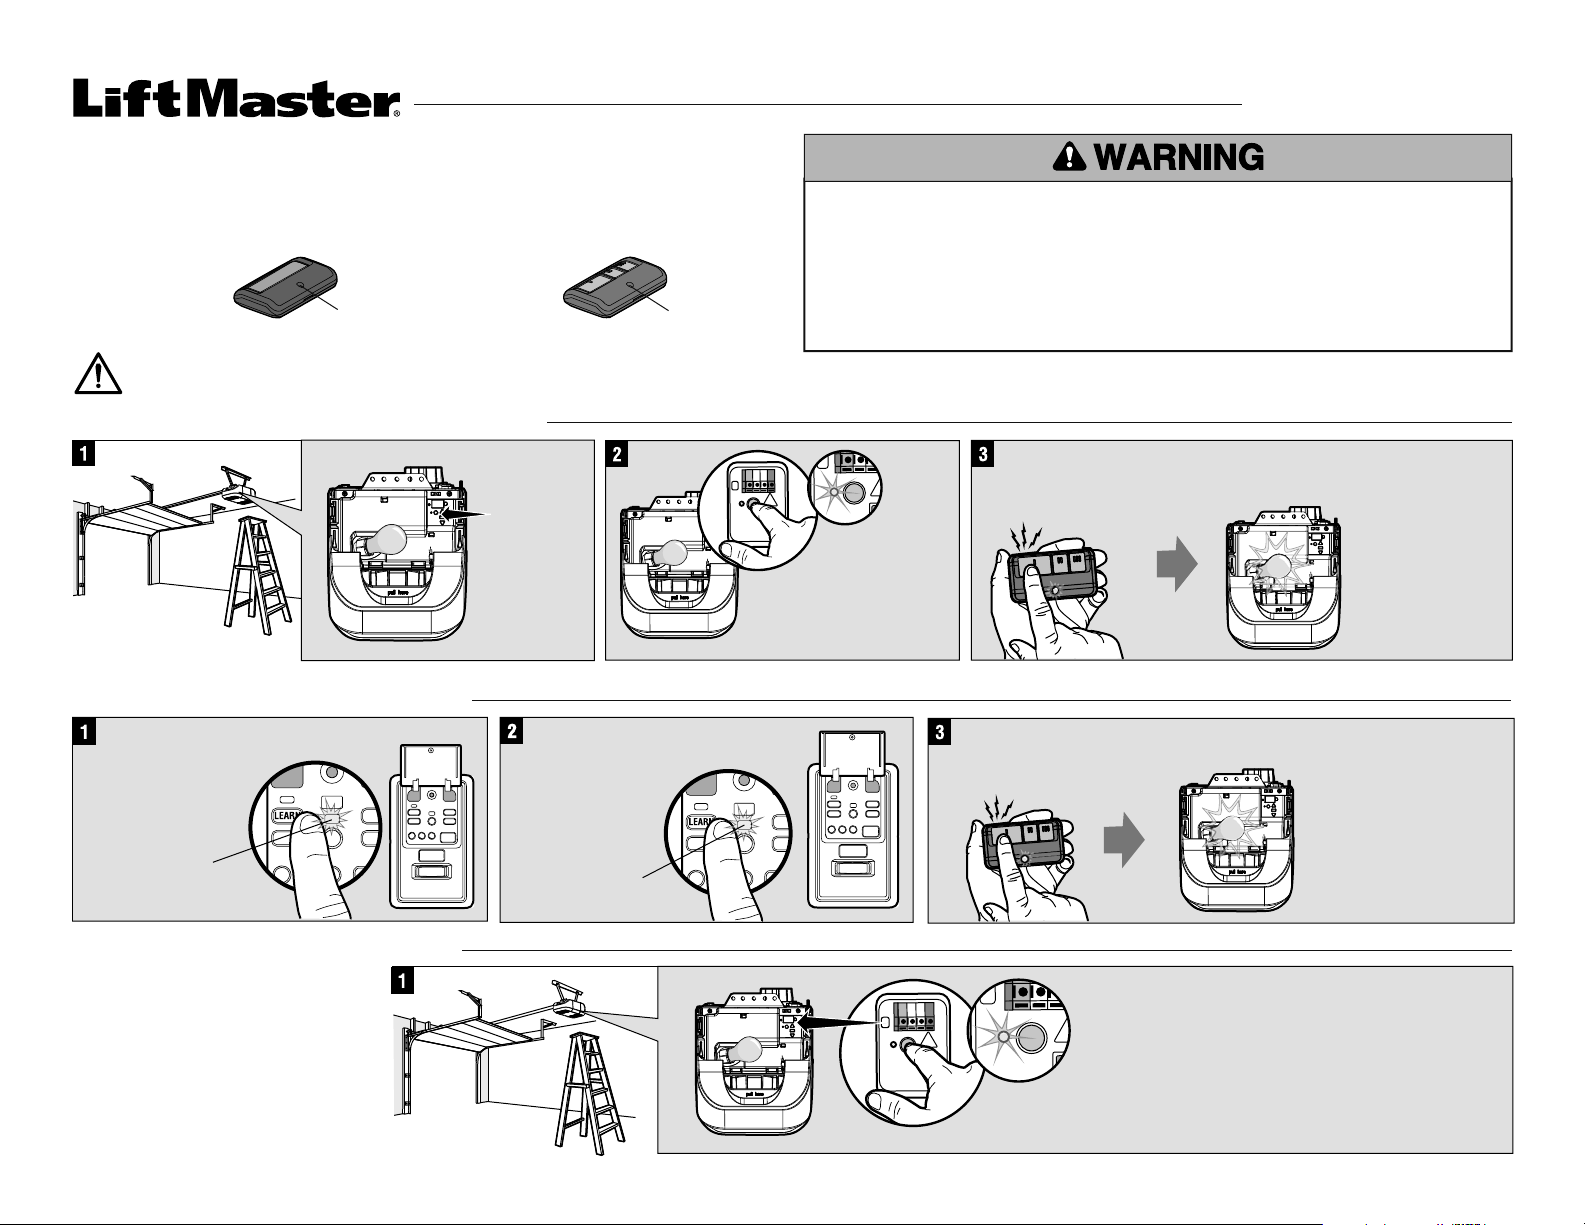
TO ERASE ALL CODES FROM MEMORY
REMOTE CONTROLS
MODELS 891LM & 893LM
To prevent possible SERIOUS INJURY or DEATH from a moving gate or garage door:
• ALWAYS keep remote controls out of reach of children. NEVER permit children to operate,
or play with remote controls.
• Activate gate or door ONLY when it can be seen clearly, is properly adjusted, and there are
no obstructions to door travel.
• ALWAYS keep gate or garage door in sight until completely closed. NEVER permit anyone
to cross path of moving gate or door.
Press and hold the button
on the remote control
that you wish to use.
“click”
“click”
Release the button
when the garage
door opener lights
blink or two clicks
are heard.
If programming to
other products,
press the button a
second time to
activate the product.
Locate the
Learn button.
Press and
immediately release
the Learn button.
The Learn LED will glow
steadily for 30 seconds.
Within 30 seconds...
PROGRAM USING THE GARAGE DOOR OPENER
For use with Security+ 2.0
®
products. All Security+ 2.0
®
Garage Door Openers have a yellow Learn
button and two yellow antennas. The code between the remote control and the receiver changes
with each use, randomly accessing over a billion new codes. Refer to your product manual for the
location of the learn button.
NOTE: Your product may look different than the products illustrated in this manual.
When deactivating any unwanted remote
control code, all previous codes will be
erased.
Press and hold the Learn button on garage door opener
or other product until the learn LED goes out
(approximately 6 seconds). All previous codes are
now erased. Reprogram each remote control you
wish to use.
LED
LED
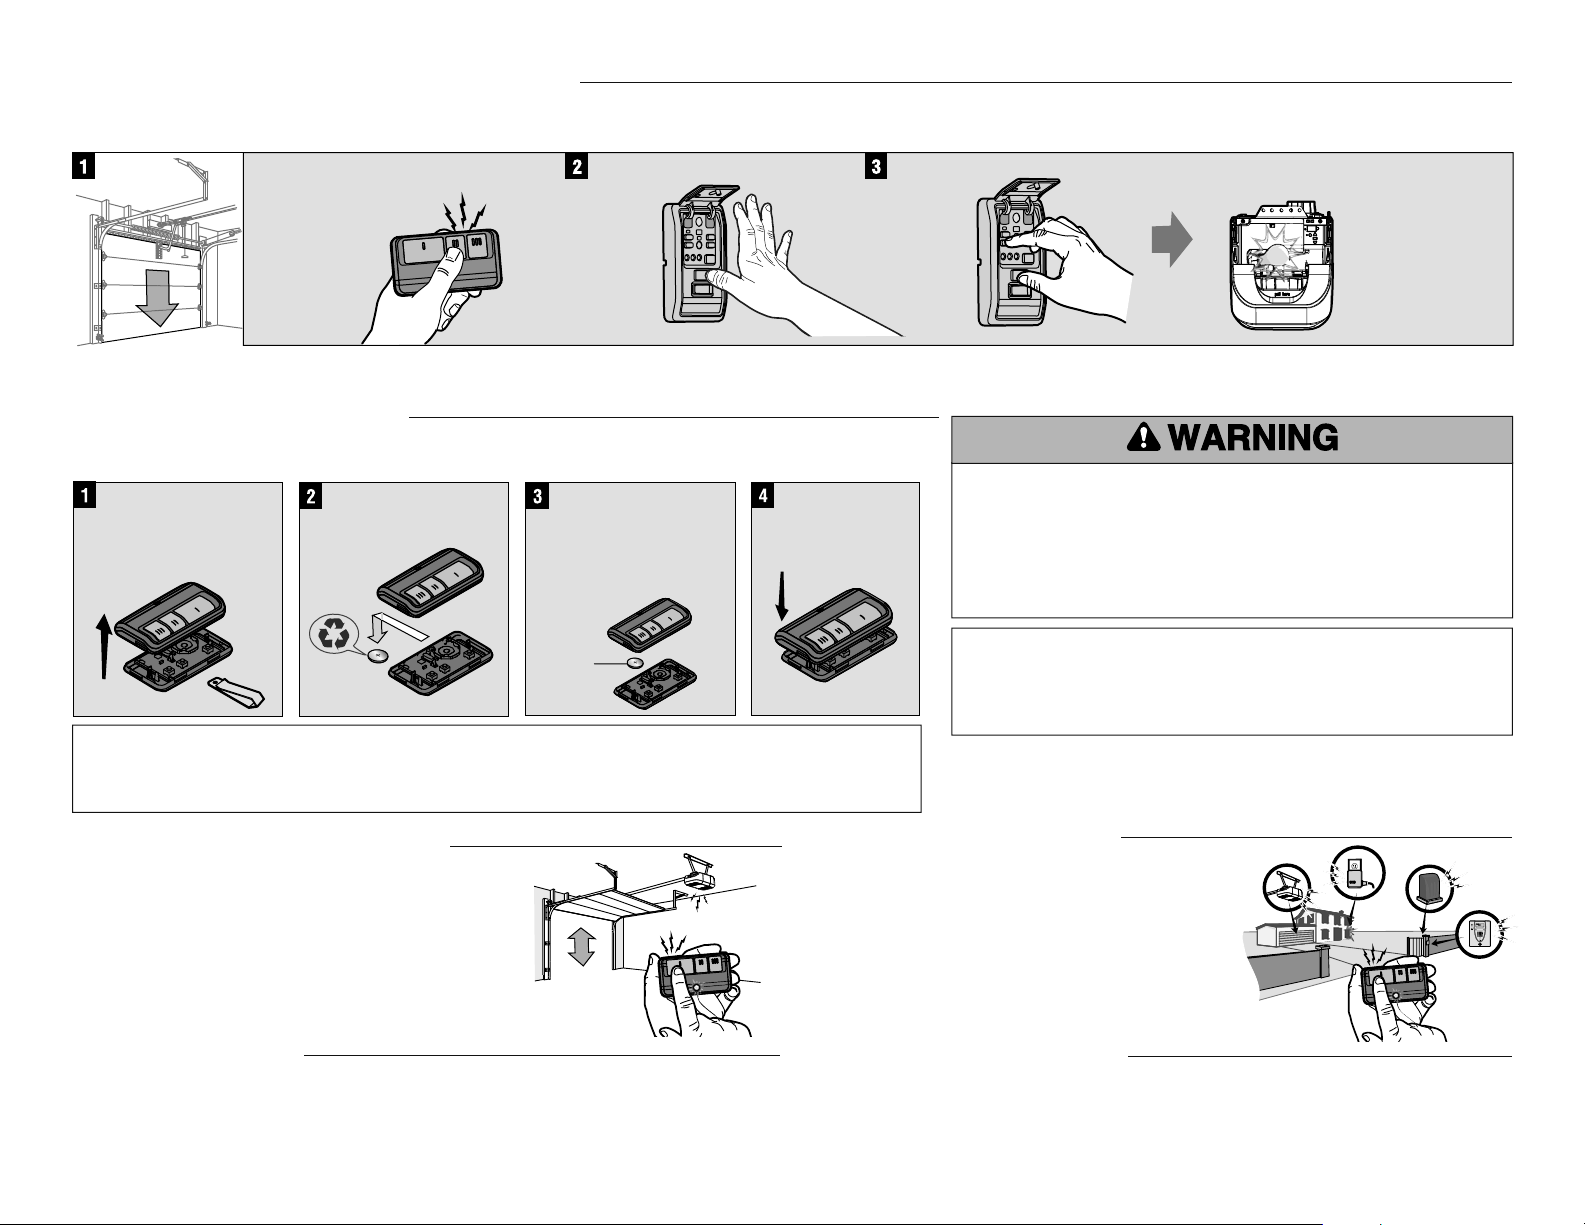
Press the LEARN button again,
the LED will flash once.
Press the LEARN button on
the door control to enter
Programming Mode.
The command LED
will flash once.
The command LED
will flash once again.
Press and hold the button
on the remote control
that you wish to use.
“click”
“click”
Release the button when
the garage door opener
lights blink or two clicks
are heard.
If programming to other
products, press the
button a second time to
activate the product.
PROGRAM USING THE DOOR CONTROL
WARNING: This product can expose you to chemicals including lead, which are known to the State of California to cause cancer or birth defects or other reproductive harm. For more information
go to www.P65Warnings.ca.gov.
REPLACEMENT PARTS
3V CR2032 Lithium battery . . . . . . . . . . . . . . . . . . . . . . . . . . . . . . . . . . . . . . . . . . . . . . . . . . .10A20
Visor Clip . . . . . . . . . . . . . . . . . . . . . . . . . . . . . . . . . . . . . . . . . . . . . . . . . . . . . . . . . . . . . . . .29B137
ONE YEAR LIMITED WARRANTY
LiftMaster warrants to the first consumer purchaser of this product that it is free from defect in
materials and/or workmanship for a period of 1 year from the date of purchase.
3-BUTTON REMOTE CONTROLS
Press and hold the button down until the door or gate starts
to move. The remote control will operate from up to 3 car
lengths away on typical installations. Installations and
conditions vary, contact an installing dealer for more
information.
NOTICE: To comply with FCC and or Industry Canada rules (IC), adjustment or modifications of this
receiver and/or transmitter are prohibited, except for changing the code setting or replacing the battery.
THERE ARE NO OTHER USER SERVICEABLE PARTS.
Tested to Comply with FCC Standards FOR HOME OR OFFICE USE. Operation is subject to the following
two conditions: (1) this device may not cause harmful interference, and (2)this device must accept any
interference received, including interference that may cause undesired operation.
3V CR2032
Pry open the case first
in the middle (1), then
at each side (2 and 3)
with the visor clip.
Remove the old battery.
Dispose of old batteries
properly.
Insert replacement
batteries positive side up.
Replace the batteries
with only 3V CR2032
coin cell batteries.
Replace cover.
THE REMOTE CONTROL BATTERY
The Lithium battery should produce power for up to 3 years. If the battery is low, the remote control's LED will not
flash when the button is pressed. To replace battery:
To prevent possible SERIOUS INJURY or DEATH:
• NEVER allow small children near batteries.
• If battery is swallowed, immediately notify doctor.
To reduce risk of fire, explosion or chemical burn:
• Replace ONLY with 3V CR2032 coin batteries.
• DO NOT recharge, disassemble, heat above 212° F (100° C) or incinerate.
© 2018, LiftMaster
114A3936F All Rights Reserved
LiftMaster.com
1-800-528-9131
1
2
3
HOW TO USE THE REMOTE CONTROL
Additional buttons on the remote control can be
programmed to operate up to 3 devices such as additional
garage door openers, light controls, gate operators or
access control systems.
TO CONTROL THE GARAGE DOOR OPENER LIGHTS
With the door closed,
press and hold
the remote
control button
that you want to
control the light.
Press and
hold the
LIGHT button
on the
door control.
+
Press and
hold the
LOCK button
on the
door control.
After the garage
door opener
lights flash,
release all
buttons.
+
“click”
“click”
This feature is only available on garage door openers equipped with a multi-function door control and a remote control with more than one button. Not available with external receiver.
A remote control button can be programmed to operate the garage door opener lights without opening the door.
Test by pressing the remote control button. The garage door opener lights should turn on or off but the door should not move.
Remote Control 893LM: IFT #: RCPLI8917-2064
Remote Control 891LM: IFT #: RCPLI8918-0755
Operation of this equipment is subject to the following two conditions: (1) This equipment or device may not
cause harmful interference and (2) this equipment or device must accept any interference, including that
which may cause undesired operation.
Make: LiftMaster
Model: 891LM, 893LM
Description: Remote Control
Uses 1 3Vdc battery (CR2032)
Country of Origin: Mexico
Télécommande à bouton unique
Modèle 891LM
Télécommande à 3 boutons
Modèle 893LM
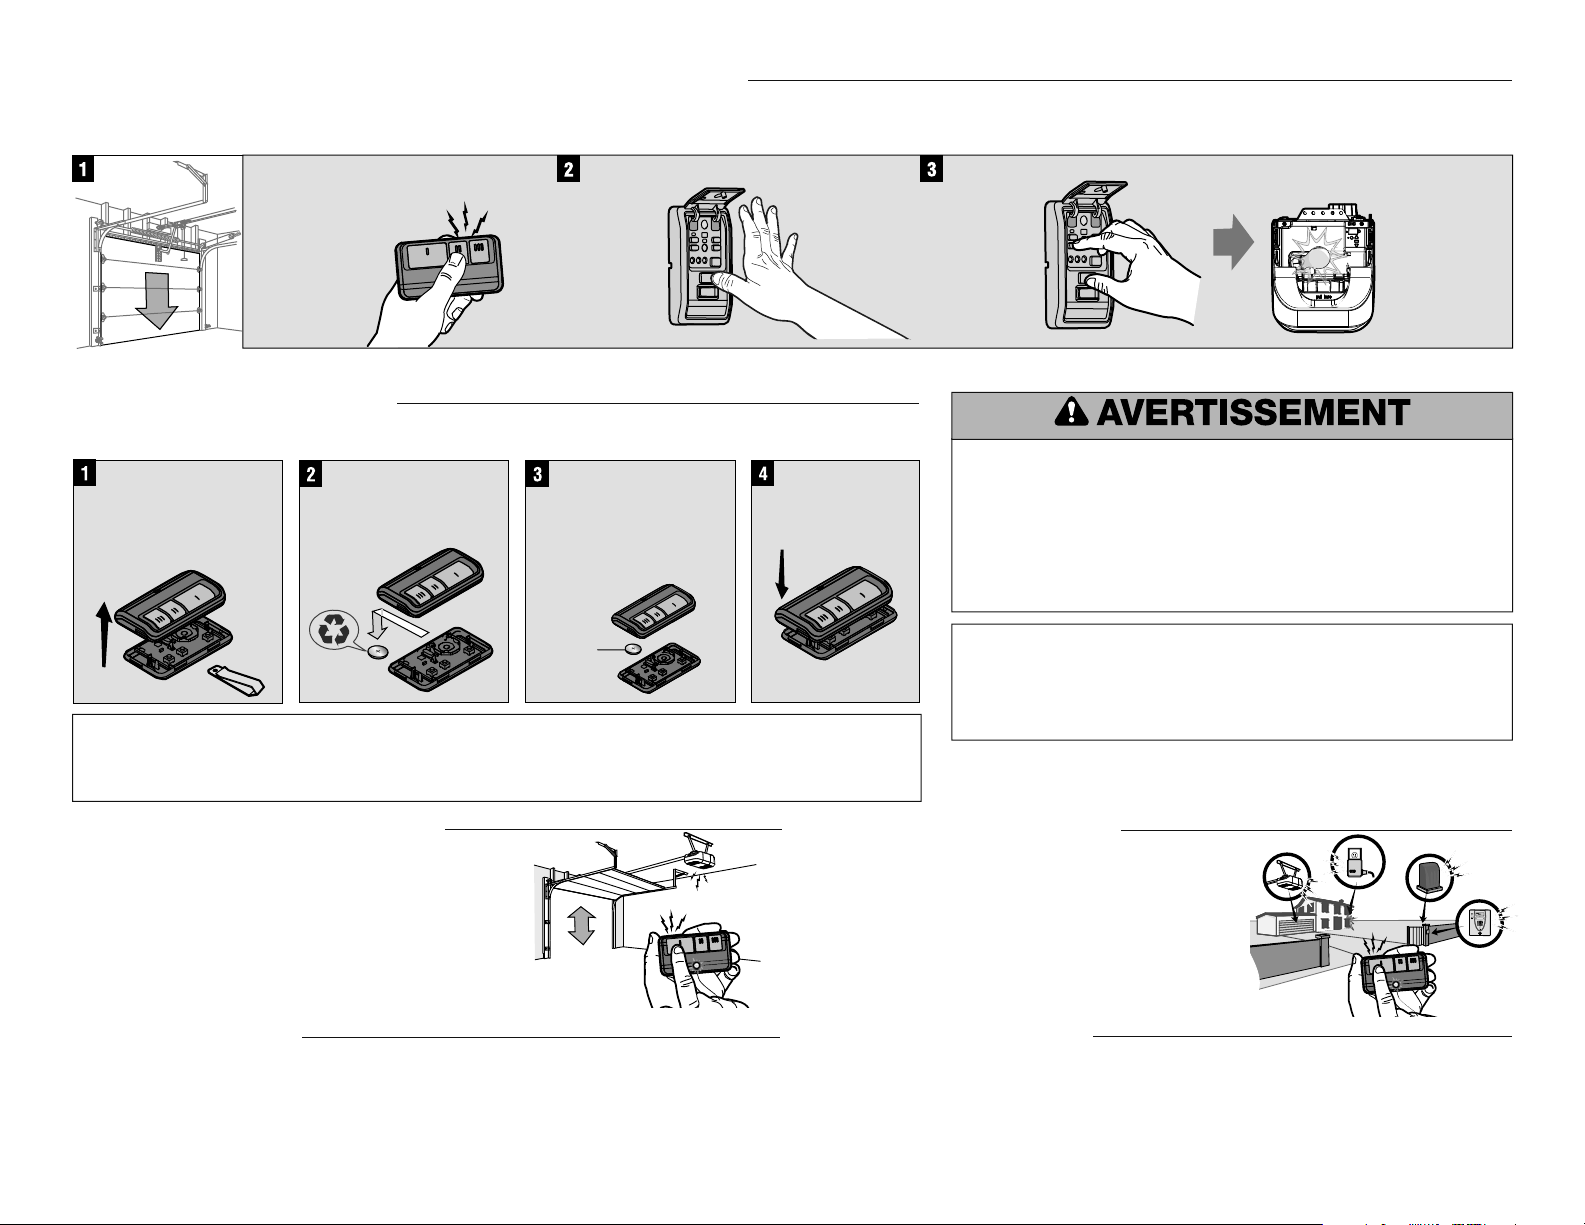
POUR EFFACER TOUS LES CODES DE LA MÉMOIRE
TÉLÉCOMMANDES
MODÈLES 891LM ET 893LM
Afin d’éliminer les risques de BLESSURES GRAVES ou de MORT découlant de l’actionnement
d’une clôture ou d’une porte de garage :
• TOUJOURS garder les télécommandes hors de la portée des enfants. Ne JAMAIS laisser un
enfant manipuler une télécommande ni jouer avec elle.
• Actionner la clôture ou la porte UNIQUEMENT lorsqu’elle est clairement visible, correctement
ajustée et que le mécanisme est libre de TOUTE entrave.
• TOUJOURS garder la clôture ou la porte de garage en vue jusqu’à sa fermeture complète. NE
permettez à quiconque de passer lorsqu’une clôture ou une porte est en mouvement.
Appuyer et maintenir
enfoncé le bouton de la
télécommande que vous
désirez utiliser.
« clic »
« clic »
Relâcher le bouton
lorsque les lumières
de l’ouvre-porte du
garage clignoten ou
lorsque deux clics
sont émis.
Pour programmer
d’autres produits,
appuyer sur le bouton
une seconde fois pour
activer le produit.
Localiser
le bouton
« Learn ».
Appuyer et relâcher
immédiatement le
bouton « Learn ». Le voyant
DEL « Learn » s’allumera en
continu pendant 30 secondes.
Dans un délai de 30 secondes...
PROGRAMMATION À L’AIDE DE L’OUVRE-PORTE DE GARAGE
À utiliser avec des produits Security+ 2.0
®
. Tous les ouvre-portes de garage Security+ 2.0
®
ont un
bouton d’apprentissage (« Learn ») jaune et deux antennes jaunes. Le code entre la télécommande
et le récepteur change avec chaque usage, accédant de manière aléatoire à plus de cent milliards
de nouveaux codes. Reportez-vous au manuel de votre produit pour connaître l’emplacement du
bouton « Learn » (apprentissage).
REMARQUE : Votre appareil peut être différent des illustrations de ce manuel.
En désactivant un code de télécommande
non désiré, tous les codes précédents
seront effacés.
Appuyer et maintenir enfoncé le bouton « Learn » de
l’ouvre-porte de garage ou d’un autre produit jusqu’à
ce que la DEL « Learn » s’éteigne (environ 6 secondes).
Tous les codes précédents sont maintenant effacés.
Reprogrammer chaque télécommande que vous
désirez utiliser.
Voyant DEL Voyant DEL
Appuyer à nouveau sur le
bouton « LEARN », le voyant
DEL va clignoter une
seule fois.
Appuyer sur le bouton « LEARN »
de la commande de porte
pour passer en mode
de programmation.
Le voyant DEL de commande
va clignoter une seule fois.
Le voyant DEL de commande
va clignoter une seule fois.
Appuyez sur le bouton de
la télécommande qu’on désire
utiliser.
Relâcher le bouton lorsque
les lumières de l’ouvre-porte
du garage clignoten ou
lorsque deux clics sont émis.
Pour programmer d’autres
produits, appuyer sur le
bouton une seconde fois
pour activer le produit.
« clic »
« clic »
PROGRAMMATION À L’AIDE DE LA COMMANDE DE PORTE
AVERTISSEMENT : Ce produit peut vous exposer à des produits chimiques comme le plomb, reconnu par l’État de la Californie comme cause de cancers, d’anomalies congénitales et d’autres
problèmes liés à la reproduction. Pour plus d’informations, visitez www.P65Warnings.ca.gov.
Pile au Lithium 3V CR2032 . . . . . . . . . . . . . . . . . . . . . . . . . . . . . . . . . . . . . . . . . . . . . . . . . . .10A20
Pince de pare-soleil . . . . . . . . . . . . . . . . . . . . . . . . . . . . . . . . . . . . . . . . . . . . . . . . . . . . . . . .29B137
GARANTIE LIMITÉE D’UN AN
LiftMaster garantit à l’acheteur initial que le produit est exempt de tout défaut de matériaux ou de
fabrication pendant une période d’un an à compter de la date d’achat.
TÉLÉCOMMANDES 3 BOUTONS
Appuyer sur le bouton et le maintenir enfoncé jusqu’à ce que
la porte ou la barrière commence à bouger. La télécommande
fonctionne habituellement jusqu’à une distance maximum de
trois véhicules. Les installations et les conditions peuvent
varier. Communiquer avec un revendeur-installateur pour
plus de renseignements.
AVIS : Les règles de la FCC ou d’Industrie Canada (IC), ou les deux, interdisent tout ajustement ou toute
modification de ce récepteur et ou de cet émetteur, sauf pour modifier le code ou pour remplacer la pile.
IL N’EXISTE AUCUNE AUTRE PIÈCE SUSCEPTIBLE D’ÊTRE ENTRETENUE PAR L’UTILISATEUR. Vérifié
pour conformité avec les normes de la FCC POUR UTILISATION À LA MAISON OU AU BUREAU.
L’utilisation est sujette aux deux conditions ci-après : (1) ce dispositif ne peut causer des interférences
nuisibles, et (2) ce dispositif doit accepter toute interférence reçue, y compris une interférence pouvant
causer un fonctionnement non désiré.
Soulever le boîtier
d’abord au milieu (1),
puis de chaque côté
(2 et 3) à l’aide de la
pince de pare-soleil.
Retirer la pile usagée.
Se débarrasser des
anciennes piles
convenablement.
Insérer les piles de
remplacement avec le
côté positif vers le haut.
Remplacer les piles
uniquement avec des
piles boutons 3V CR2032.
Replacer le
couvercle.
3V CR2032
LA PILE DE LA TÉLÉCOMMANDE
La pile au Lithium devrait durer pendant une période allant jusqu’à 3 ans. Si la pile est faible, la DEL de la
télécommande ne clignotera pas lorsque l’on appuiera sur le bouton. Pour remplacer la pile :
Pour prévenir d’eventuelles BLESSURES GRAVES ou la MORT :
• Ne JAMAIS laisser de petits enfants à proximité des piles.
• Aviser immédiatement un médecin en cas d’ingestion de la pile.
Pour réduire le risque d'incendie, d'explosion ou de brûlure chimique :
• Remplacer les piles UNIQUEMENT par des piles capsules 3V CR2032.
• NE PAS recharger, ni démonter, ni chauffer à une température supérieure
à 100°C (212°F), ni incinérer.
© 2018, LiftMaster
114A3936F Tous Droits Réservés
1
2
3
UTILISATION DE LA TÉLÉCOMMANDE
PIÈCES DE RECHANGE
Il est possible de programmer d’autres boutons de la
télécommande pour faire fonctionner jusqu’à trois
appareils tels que d’autres ouvre-portes de garage,
commandes d’éclairage, actionneurs de barrière ou
systèmes de contrôle d’accès.
POUR CONTRÔLER LES LUMIÈRES DE L’OUVRE-PORTE DE GARAGE
La porte étant fermée, appuyer
et maintenir enfoncé le bouton
de la télécommande
auquel on attribuera
le contrôle de
l’éclairage.
Appuyer et
maintenir
enfoncé le
bouton
d’ÉCLAIRAGE
sur le panneau
de commande
de la porte.
+
Appuyer et
maintenir
enfoncé le
bouton de
VERROUILLAGE
sur le panneau
de commande
de la porte.
Lorsque les
lumières de
l’ouvre-porte de
garage clignotent,
relâcher tous
les boutons.
+
« clic »
« clic »
Cette fonction n’est offerte qu’avec les ouvre-portes de garage dotés d’une commande de porte multifonction et d’une télécommande à plusieurs boutons. Non disponible avec un récepteur externe.
Un bouton de télécommande peut être programmé pour faire fonctionner les lumières de l’ouvre-porte de garage sans ouvrir la porte.
Pour procéder à un essai, appuyer sur le bouton de la télécommande. Les lumières de l’ouvre-porte de garage doivent s’allumer ou s’éteindre mais la porte ne doit pas se déplacer.
Télécommande 893LM: RCPLI8917-2064
Télécommande 891LM: RCPLI8918-0755
L’utilisation est sujette aux deux conditions ci-après: (1) ce dispositif ne peut causer de brouillage nuisible,
et (2) ce dispositif doit accepter tout brouillage reçu, y compris tout brouillage pouvant causer un
fonctionnement indésirable.
Marque : LiftMaster
Modèle 891LM, 893LM
Description : Télécommande
Utiliser une pile de 3V c.c. (CR2032)
Pays d’origine: Mexique
LiftMaster.com
1-800-528-9131